PortSwigger
Lab Description
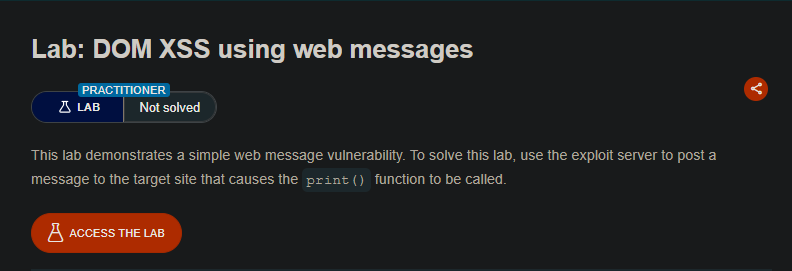
This lab demonstrates a simple web message vulnerability.
Objective: Use the exploit server to post a message to the target site that causes theprint()function to be called.
Step 1: Understanding the Vulnerability
Web Message Vulnerability occurs when:
- A page uses
window.addEventListener('message', ...)to receive messages from other origins - The page does not validate the origin of incoming messages
- The page does not sanitize the message content before inserting it into the DOM
- An attacker can send a malicious message from any origin
In this lab:
- The homepage has an event listener waiting for web messages
- The listener is intended to serve ads
- It inserts message content into a
divwithout sanitization
Step 2: Reconnaissance
- Open the lab homepage
- Right-click → View Page Source or open Browser Developer Tools → Console
- Look for an event listener:
window.addEventListener('message', function(event) {
    // Intended to serve ads
    document.getElementById('ads').innerHTML = event.data;
});

Key observations:
- No origin check (
event.originis not validated) - No sanitization (message content is directly inserted into the DOM)
Step 3: Crafting the Exploit Payload
The goal is to call print(). We’ll use an <img> tag with an invalid src attribute to trigger the onerror event.
Malicious message:
<img src=1 onerror=print()>
Why this works:
src=1is an invalid image source- The browser attempts to load the image and fails
- The
onerrorevent executes theprint()function
Step 4: Building the Exploit Page
- Go to the Exploit server (provided in the lab)
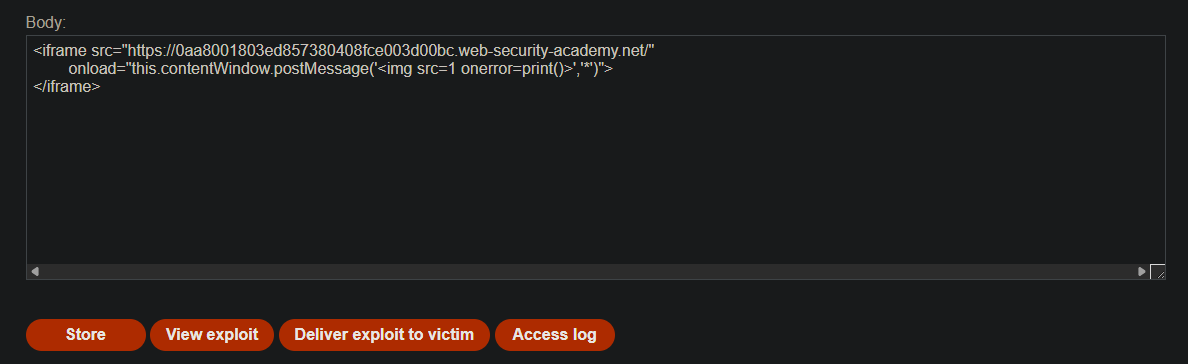
- In the Body section, paste the following HTML:
<iframe src="https://YOUR-LAB-ID.web-security-academy.net/"
        onload="this.contentWindow.postMessage('<img src=1 onerror=print()>','*')">
</iframe>
- Replace
YOUR-LAB-IDwith your actual lab ID (e.g.,abc123.web-security-academy.net)
Step 6: Testing the Exploit
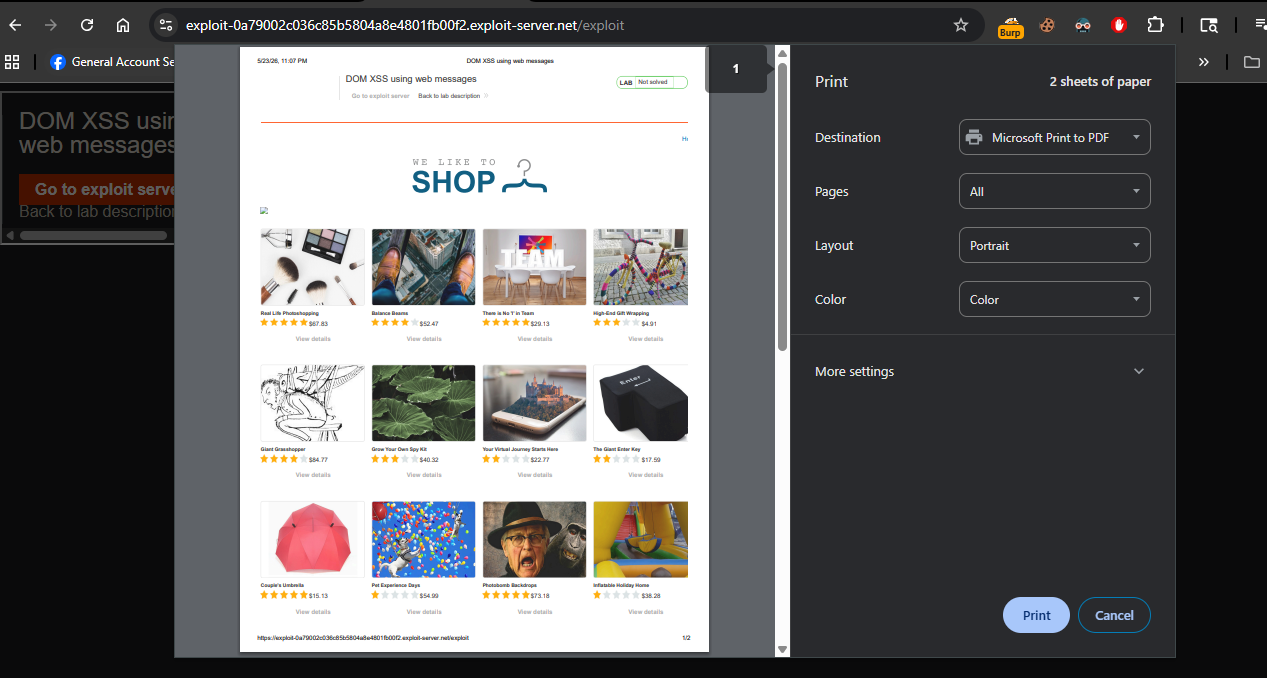
- Click View exploit (simulates visiting your malicious page)
- Observe that the
print()dialog appears
Success indicator: Your browser’s print dialog pops up. The same will happen to the victim.
Step 7: Delivering to the Victim
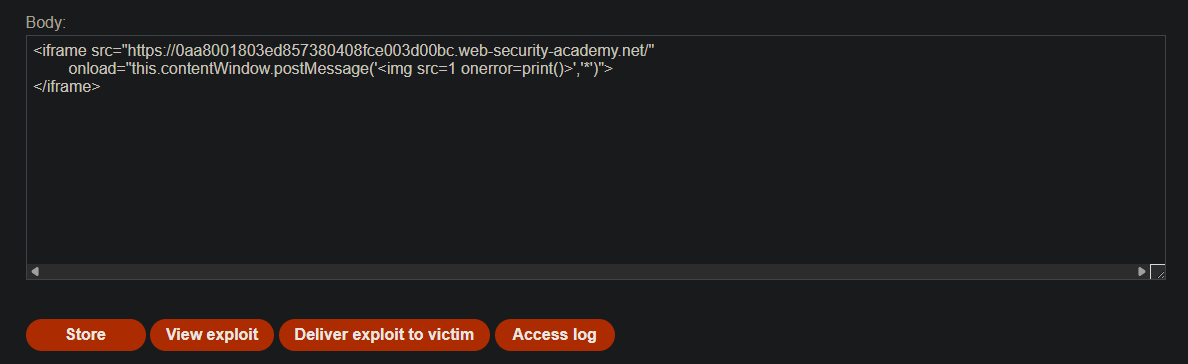
- Click Store to save the exploit
- Click Deliver exploit to victim
- The lab solves when the victim’s browser executes the payload
Step 8: Lab Solved
Success message displayed:
