PortSwigger
Lab Description
This lab uses the HTMLJanitor library, which is vulnerable to DOM clobbering.
Objective: Construct a vector that bypasses the filter and uses DOM clobbering to inject a vector that calls theprint()function. You may need to use the exploit server in order to make your vector auto-execute in the victim’s browser.
- Note: The intended solution to this lab will not work in Firefox. We recommend using Chrome to complete this lab.
Step 1: Understanding the Vulnerability
This lab combines:
- HTMLJanitor - a client-side HTML sanitizer
- DOM clobbering - polluting global variables/properties
- Attribute clobbering - specifically clobbering the
attributesproperty of a DOM element
The key insight:
- HTMLJanitor checks the
attributesproperty of elements to filter dangerous attributes - If we can clobber the
attributesproperty, the filter breaks - We can then inject arbitrary attributes (like
onfocus)
Step 2: Reconnaissance
Step 2.1: Understanding HTMLJanitor
HTMLJanitor is a client-side library that sanitizes HTML by:
- Iterating through DOM elements
- Checking each element’s
attributesproperty - Removing attributes that aren’t in an allowlist
Typical filter logic:
for each element:
    for each attribute in element.attributes:
        if attribute not in allowlist:
            remove attribute
Step 2.2: The Clobbering Attack
If we can replace element.attributes with something that:
- Has no
lengthproperty (orlength = 0) - Or behaves differently than the native
NamedNodeMap
Then the filter’s attribute loop may skip all checks.
Step 3: Crafting the DOM Clobbering Injection
Step 3.1: The Payload
<form id=x tabindex=0 onfocus=print()><input id=attributes>
What does this do?
| Element | Purpose |
|---|---|
<form id=x> | Creates a form element with ID “x” (for focusing later) |
tabindex=0 | Makes the form focusable |
onfocus=print() | XSS payload — calls print() when focused |
<input id=attributes> | Clobbers the attributes property of the form! |
Step 3.2: How the Clobbering Works
Without clobbering:
form.attributes → NamedNodeMap {0: attr1, 1: attr2, length: 2}
With <input id=attributes> inside the form:
form.attributes → HTMLInputElement (the input element!)
Why?
- The form’s
attributesproperty is normally aNamedNodeMap - But we’ve added an element with
id="attributes"inside the form - DOM clobbering causes
form.attributesto be overwritten by the element with that ID - Now
form.attributespoints to an<input>element, not the attribute collection
Step 3.3: Effect on HTMLJanitor
When HTMLJanitor checks the form:
// What the filter expects:
element.attributes.length  // Works for NamedNodeMap

// What it gets after clobbering:
element.attributes.length  // undefined (input element has no length)
Result: The filter loop either:
- Skips all attribute validation (if it checks
length > 0) - Or errors out, allowing the element to pass through unsanitized
Step 4: Triggering the XSS
The payload has onfocus=print() but needs to be focused.
Step 4.1: Using URL Fragment to Focus
We can focus an element using the URL fragment (#elementId):
https://lab.web-security-academy.net/post?postId=3#x
When the page loads with #x in the URL:
- Browser scrolls to element with
id="x" - The element receives focus
onfocusevent fires ⇒print()executes
Step 4.2: Delay Requirement
The comment with our payload needs time to load before focusing.
Exploit iframe with delay:
<iframe src="https://YOUR-LAB-ID.web-security-academy.net/post?postId=3"
        onload="setTimeout(()=>this.src=this.src+'#x',500)">
Step 5: Complete Attack Steps
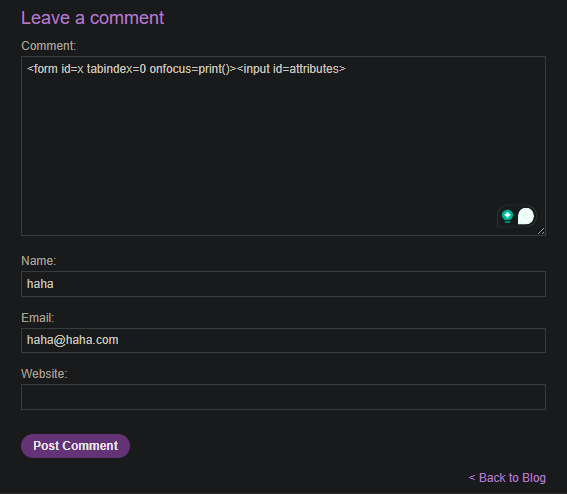
Step 5.1: Post the Malicious Comment
- Navigate to a blog post (e.g.,
/post?postId=3) - Post a comment with the following HTML:
<form id=x tabindex=0 onfocus=print()><input id=attributes>
- Submit the comment
Step 5.2: Create the Exploit Page
- Go to the Exploit server
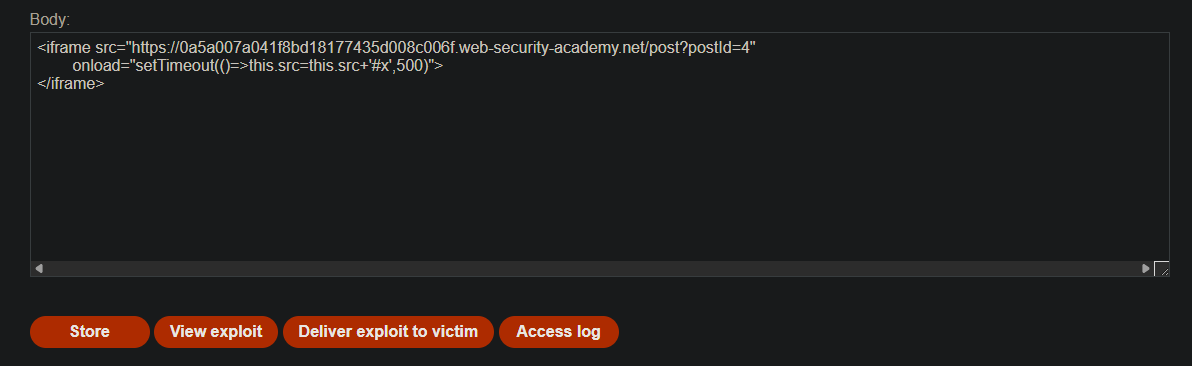
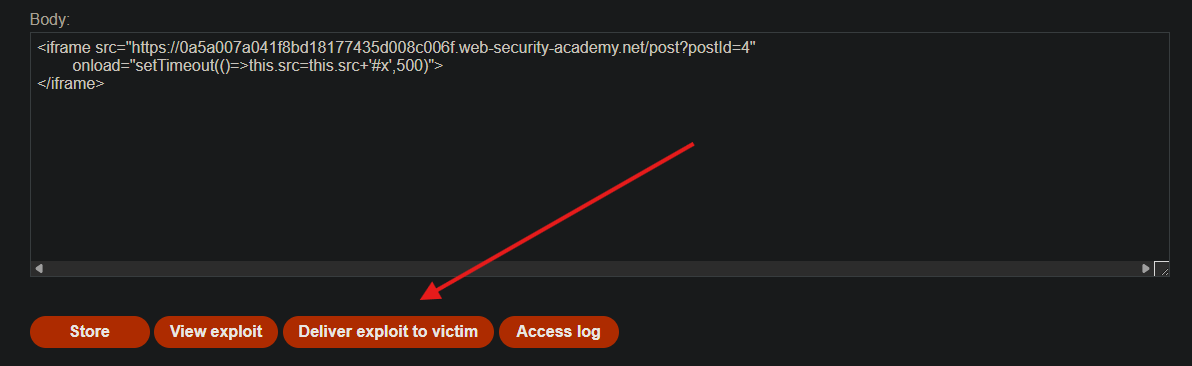
- In the Body section, paste:
<iframe src="https://YOUR-LAB-ID.web-security-academy.net/post?postId=4"
        onload="setTimeout(()=>this.src=this.src+'#x',500)">
</iframe>
- Replace
YOUR-LAB-IDwith your actual lab ID - Ensure
postId=4matches the post where you injected the comment
Step 5.3: Deliver the Exploit
-
Click Store
-
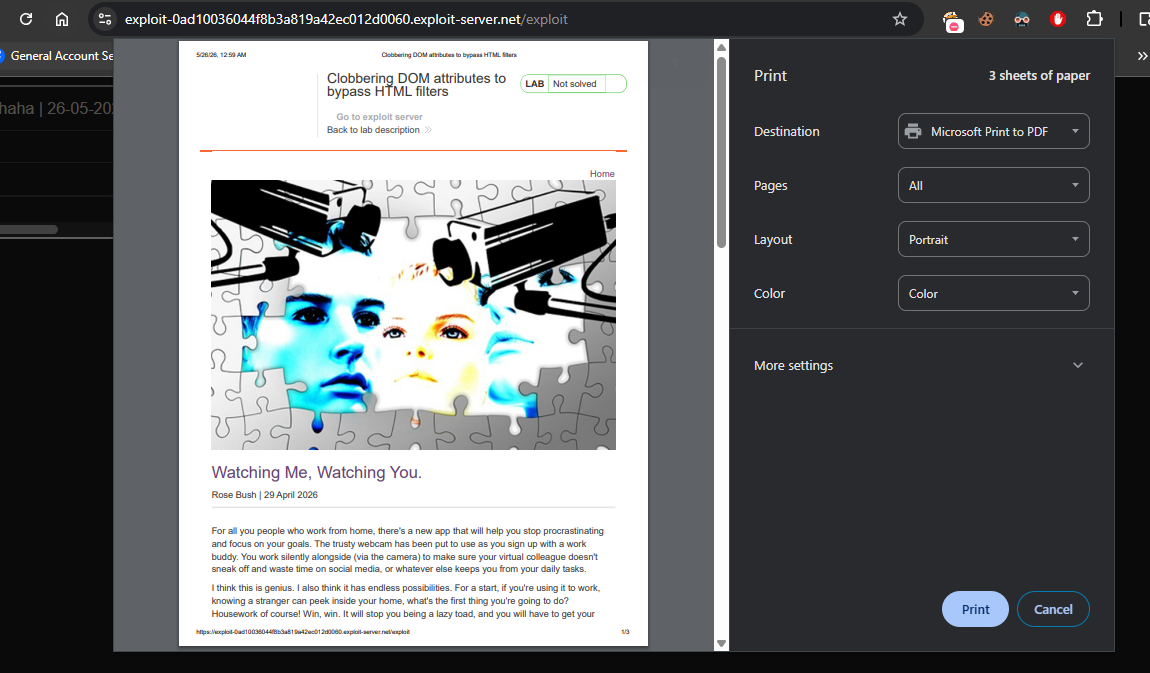
Click View exploit (to test)
-
Click Deliver exploit to victim
Step 6: Lab Solved
Success message displayed
